A Beginner's Guide to Scrapbooking
If a picture says a thousand words, then a scrapbook feels like an encyclopaedia about your life. Documenting it by splicing together pictures, words and little mementos that you collected along the way.
The Best Christmas Craft Kits For Adults 2024
The holiday season is the perfect time of year to embrace creativity, and what better way to do that than with some festive crafting?
How to Make a Traditional Christmas Wreath
Create a beautiful DIY traditional Christmas wreath with this step-by-step guide. Use festive greenery, cinnamon sticks, and ornaments to craft a stunning holiday decoration that adds warmth and cheer to your home.
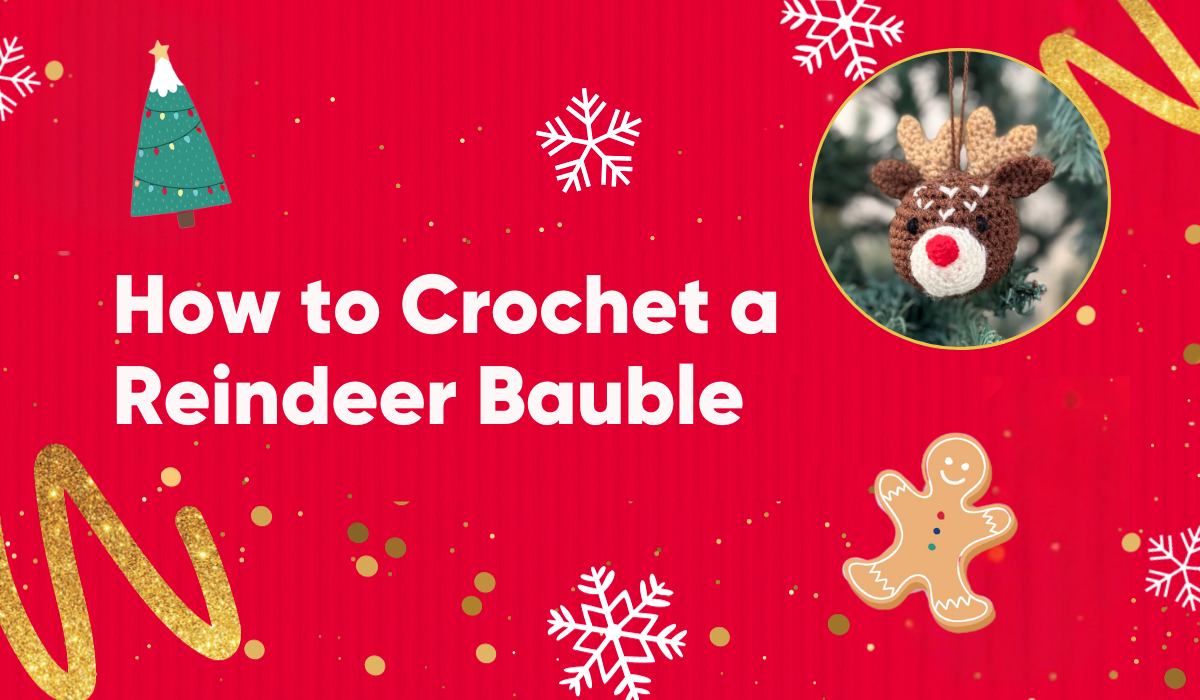
How to Crochet a Reindeer Bauble
Learn how to crochet a reindeer bauble with our free pattern and step-by-step guide.
6 Easy Handmade Christmas Card Ideas
If you need inspiration for handmade Christmas cards this year, we have six ideas to get you started.
How To Make Your Own Tree Advent
Create a unique countdown to Christmas with a DIY tree advent calendar! This fun, family-friendly craft allows you to customise each drawer for a festive and personal touch to the holiday season.
How to Crochet Your Own Scarf
Learn how to crochet your own cosy scarf with this step-by-step guide for beginners! From choosing materials to mastering basic stitches, this easy tutorial will help you create a beautiful, handmade accessory.
10 Crafts to Improve Wellbeing this Winter
The wintertime can be a difficult period for many. While we’re told it is the season to be jolly, and of course parts of it are, we also see the days get shorter and colder, with the reduced hours of sunlight
26 Easy Halloween Craft Ideas for Kids
Halloween is creeping up fast, and the kids are already buzzing with spooky excitement (and that's before they’re loaded up with sugar from trick-or-treating!). So, how about we channel all that energy into some wickedly fun crafts?
How to Make An Autumn Wreath for Your Front Door
Learn how to create a beautiful DIY autumn wreath with this step-by-step guide. Perfect for adding a touch of autumn to your front door and satisfying your crafting cravings.
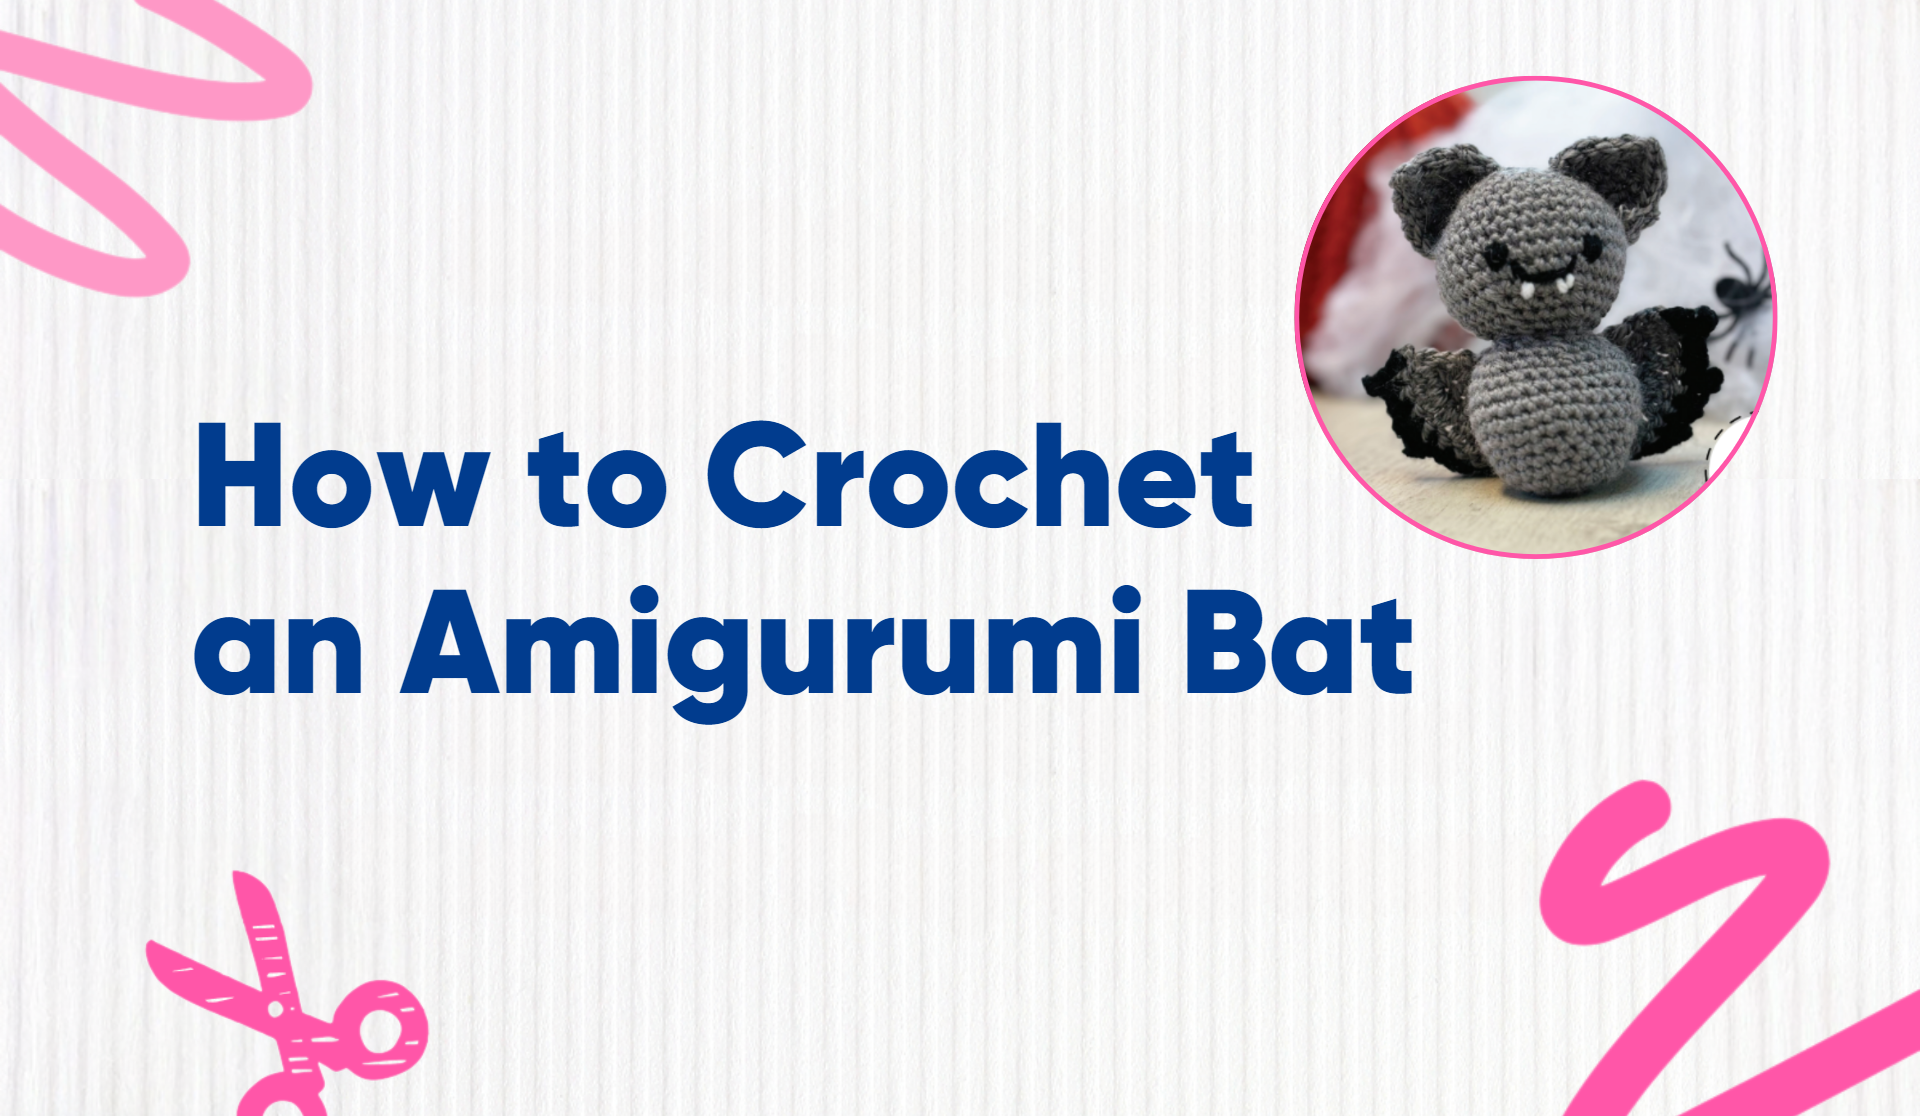
How to Crochet an Amigurumi Bat
Looking to craft something spooky but equally cute? Why not try crocheting an amigurumi bat with this free pattern? Suitable for both beginners and experienced crocheters.
How to Crochet Your Own Amigurumi Character
Do you want to learn how to make amigurumi animals but don't know where to start? We have tips and ideas for both beginners and crochet experts.
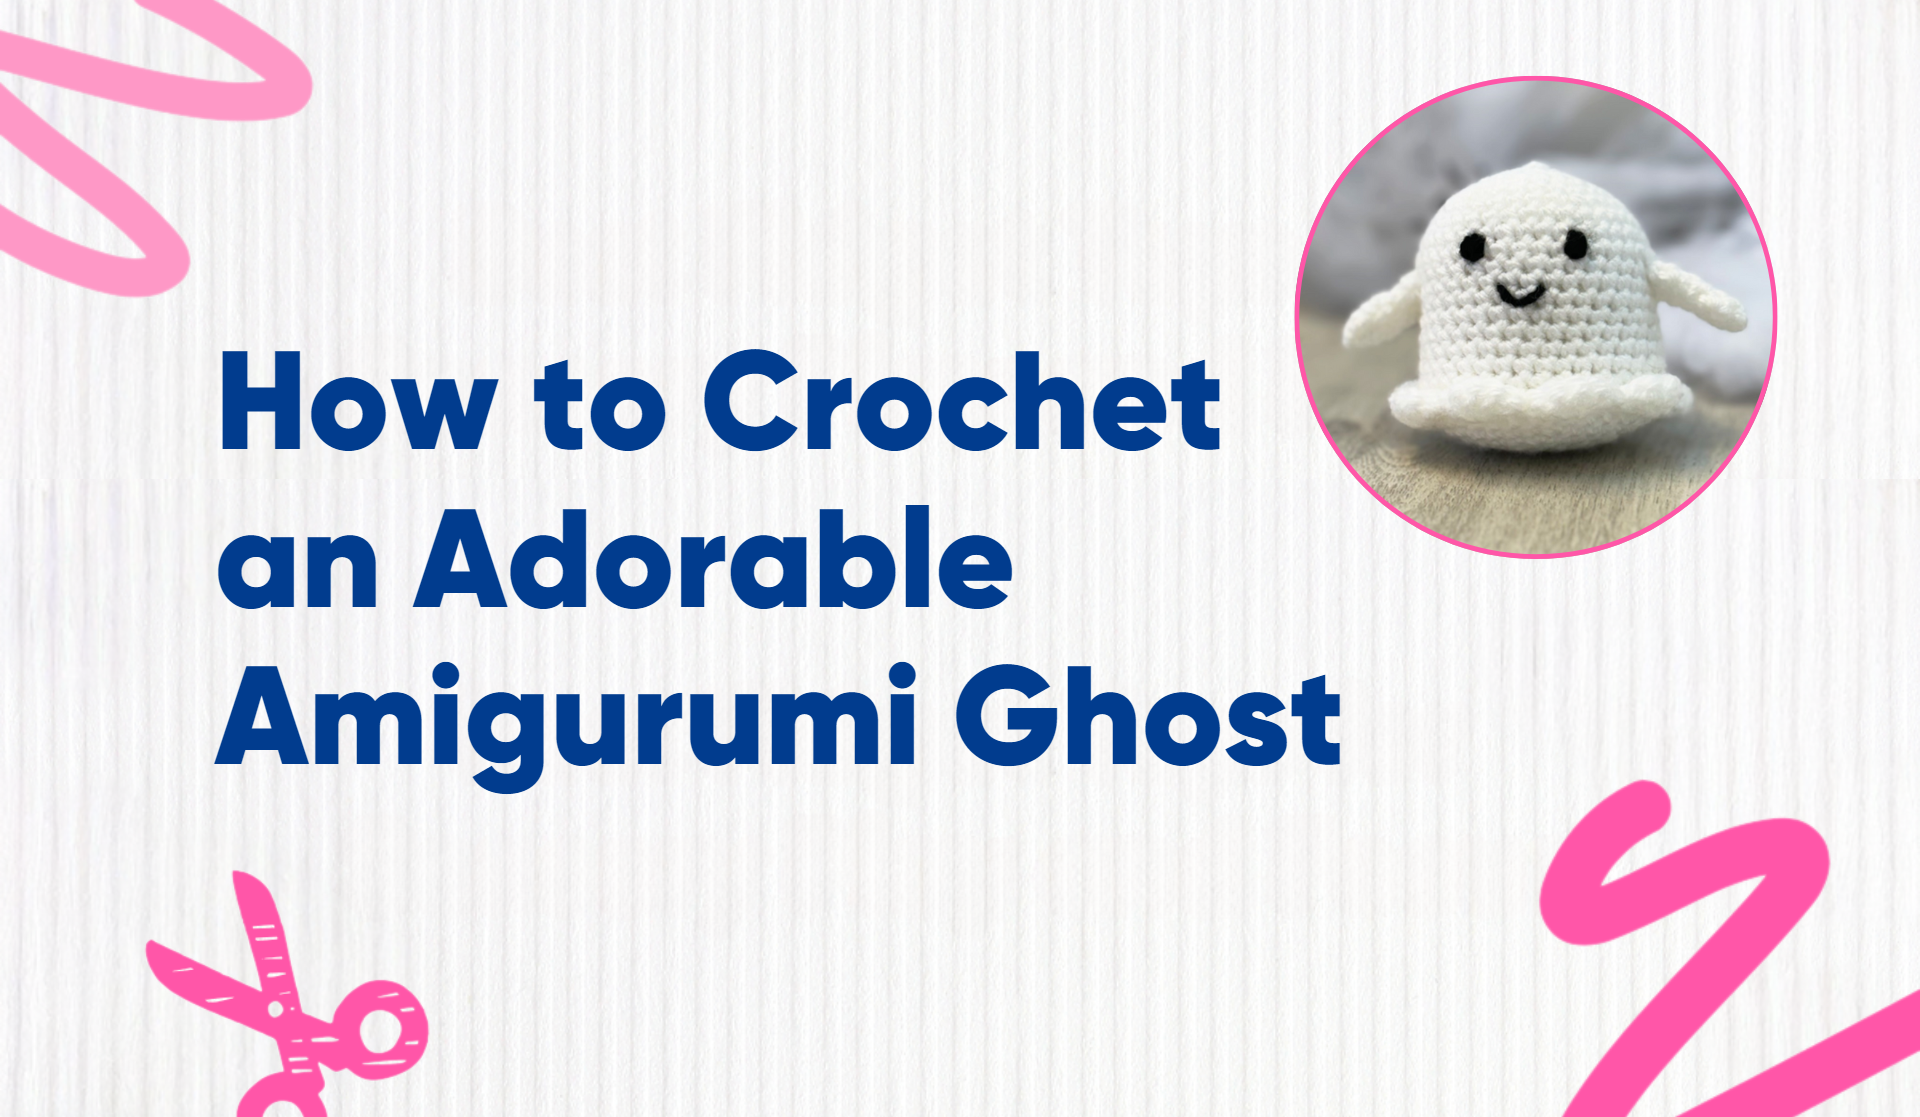
How to Crochet an Adorable Amigurumi Ghost
Give yourself a new challenge and try crocheting an amigurumi ghost with this free pattern? Suitable for both beginners and experienced crocheters.
How to Make a Tiny Book for a Miniature Bookshelf
There's nothing cuter than a mini version of something you love. Perfect for book lovers and crafters alike, this tiny book diy is the perfect way to switch off and make something fun that can double as
Simple Outdoor Scavenger Hunt Idea for Kids
Plan the perfect outdoor activity with your kids and get creative at the same time! This scavenger hunt idea will encourage your kids to get outside and explore nature and have fun doing so.
Summer Holiday Craft Ideas for 6-10 Year Olds
Keep children entertained all summer long with our holiday craft ideas. Perfect for parents looking to add a splash of creativity to their summer fun activities.
30 Easy & Fun Summer Crafts For Kids
Keeping them entertained isn’t always easy, but there’s one thing most kids love to do, and that’s craft. Crafting allows them to be creative, messy, silly, resourceful, and productive and can fill days of the holiday, meaning you can relax a little more and enjoy your summer too.
15 Super Easy Spring Crafts For Kids
Spring is that awkward shoulder period. The weather feels like it has turned, but then it can still catch you out with the odd shower here and there and temperatures that are cold enough to make you want to stay indoors.
5 Fun And Simple Easter Craft Ideas
We’ve made it, gang! We’ve survived those dark wintery months, and Easter is just around the corner, so we can turn our minds to chocolate, mouth-watering roast dinners and, most importantly, crafts.
5 Easy Homemade Easter Card Ideas
Normalise giving homemade Easter cards! Yeah, they’re not the first thing we think of when it comes to Easter gifts - that’s usually chocolate - but they’re a brilliant and fun little addition to the day. And with it being in spring, there are so many cute little designs with bunnies, chicks and eggs to choose from.
Fun Creative Rainy Day Activities For Kids
As the wind howls and the rain pelts against the windows, the idea of coaxing your little ones outdoors becomes increasingly daunting. However, fear not, as in the face of these dreary and damp days, we have a backup plan: indoor activities.
Valentines Craft - How To Make A Paper Hug
It’s that time of the year again - Valentine's Day! You know, the day when we're all supposed to be all lovey-dovey and shower our loved ones with chocolates, flowers, and cards that cost more than a three-course meal.
How To Make A Heart Shaped Wreath (Valentine's Day Craft)
Wreaths aren’t just for Christmas. It might sound like a controversial opinion, but a good wreath of hearts is the perfect decoration for this Valentine’s Day.
5 Easy Valentine's Day Origami Ideas
Nothing says “I love you” more than a gift made by hand. Except maybe a Valentine’s Day gift where the person has made a crate that requires a serious amount of patience and the dexterity of a surgeon.
The Best Rainy Day Crafts
Imagine the perfect summer day of outdoor activities. Barbeque on, paddling pool full, and all the outdoor toys ready for a day of fun in the sun - but what is that? Rain? Typical!
Decorate your own giraffe mask
Find out how you can recreate this amazing giraffe mask at home.
Decorate your own cheetah mask
We have the perfect quick and easy craft for you! Find out how you can make this amazing cheetah mask at home.
Decorate your own butterfly masks
Check out our simple tutorial for some inspiration on how you can decorate your own butterfly mask.
Decorate your own lion mask
Find out how you can recreate this RAWR-SOME lion mask at home.
How to make your own coronation bunting
Check out our 10-step guide or watch our video to find out how to make your own Coronation bunting!
Make your own paper crown
The coronation of Charles III and Camilla is almost here! We know lots of you will already be planning on celebrating over the weekend so why not be king for the day?
Make your own coronation invitation
Check out our step-by-step instructions or watch our video to find out how to make your own Coronation invitations!
9 Crafty Ways To Save Money On Craft Supplies
Being a crafter is great. You get to be super creative, you've got this incredible skill, and there are loads of mental health benefits. But the one thing crafting isn't always, is cheap.
Make your own lollipop finger puppets
Discover how to make your own lollipop finger puppets with this amazing printable. The perfect rainy day activity to do with kids.
5 Craft Ideas For Under £5
The beauty of crafting is that you don’t have to break the bank to enjoy it. Sometimes cheaper is better, especially when times are tight, and you’re looking for quick and fun things to keep the kids entertained.
Best Homemade Teacher Gifts
As the end of term fast approaches, parents and pupils will be looking out for gifts to show their teachers and teaching assistants just how much they appreciate them. Most kids will opt for a ‘thank you’ mug or maybe a box of chocolates. But the one’s that really care will make a homemade gifts.
Make your own spring box frame with Pretty Paper By B
Join Bethan from PrettyPaperByB and create your own gorgeous box frame artwork with a spring theme.
14 Mothers Day Card Ideas for Kids
We've pulled together 14 of our favourite Mother’s Day card ideas for your little ones to create themselves.
Cute Homemade Valentines Cards
We've pulled together two of our cutest DIY Valentine's day card ideas for a little bit of inspiration. Follow the tutorial in our latest blog.
20 Easy Homemade Valentines Gift Ideas
If you’ve not made Valentine’s gift before, don’t worry, we’ve compiled a list of 20 Easy DIY Valentine's gifts they'll love, so take a scroll through our ideas and start flexing those creative muscles.
Decorate your own wooden heart wall hanging
Hey fellow crafter! Join Bethan (founder of Pretty In Paper By B), a world-leading craft influencer from Yorkshire and learn how to decorate a wooden love heart!
Hayfield Bonus DK Pattern
Make your own stunning blanket using this Hayfield Bonus DK pattern.
Hayfield Baby Bonus DK Pattern
Make your own baby jumper with this amazing Hayfield Baby Bonus DK pattern.
Make your own Autumn blessings card with Crafter's Companion
Whether you’re celebrating a harvest festival, giving thanks or just marvelling at the splendour of the season, the Autumn Blessings Collection is perfect for creating seasonal cards.
5 Christmas Cards To Make With Kids
If you’re looking for something fun to do with kids to get them in the Christmas spirit, then making Christmas cards with your kids is the perfect activity.
10 Father's Day Card Ideas for Kids
Father’s day is fast approaching and we already know you’re dad deserves the best this Father’s day, but today, let’s just start with making sure he has the best Father’s day card!
How to make a Father’s Day Scrapbook
Father’s day is almost here! Are you looking for something thoughtful and personal to make for your dad this Father’s day? Then a Father’s day scrapbook is the perfect way for you to show your dad just how much you care!
Make your own two tone scarf
Keep reading to find out how to make this amazing two-tone scarf using our brand new yarn from Deramores.
Make your own crochet blanket
Keep reading to find out how to make this amazing crochet blanket using our brand new yarn from Deramores.
Make your own mini bean stitch cushion
Keep reading to find out how to make this amazing bean stitch cushion using our brand new yarn from Deramores.
6 Easy Valentine’s Day Crafts To Try At Home
Valentine’s Day is right around the corner. With more time than ever to get creative why not try out some new crafts and make personalised gifts and cards for your loved ones?
Decorate Wooden Items With Pyrography Tool
In this blog post we will show you how you can get started with pyrography and create your own masterpiece.
Make Your Own Geometric Jewellery box
Looking for an easy at home craft? Find out how to make this colourful geometric jewellery box!
Print off your own amazing animal masks
Get ready to fill your home with outrageous owls, marvellous monkeys and many more amazing animals.
Make Your Own Peg Pals
Looking for something crafty? We’ve got pegs, pom-poms and googly eyes so stay right here and discover how to make your very own peg pals in just 3 easy steps.
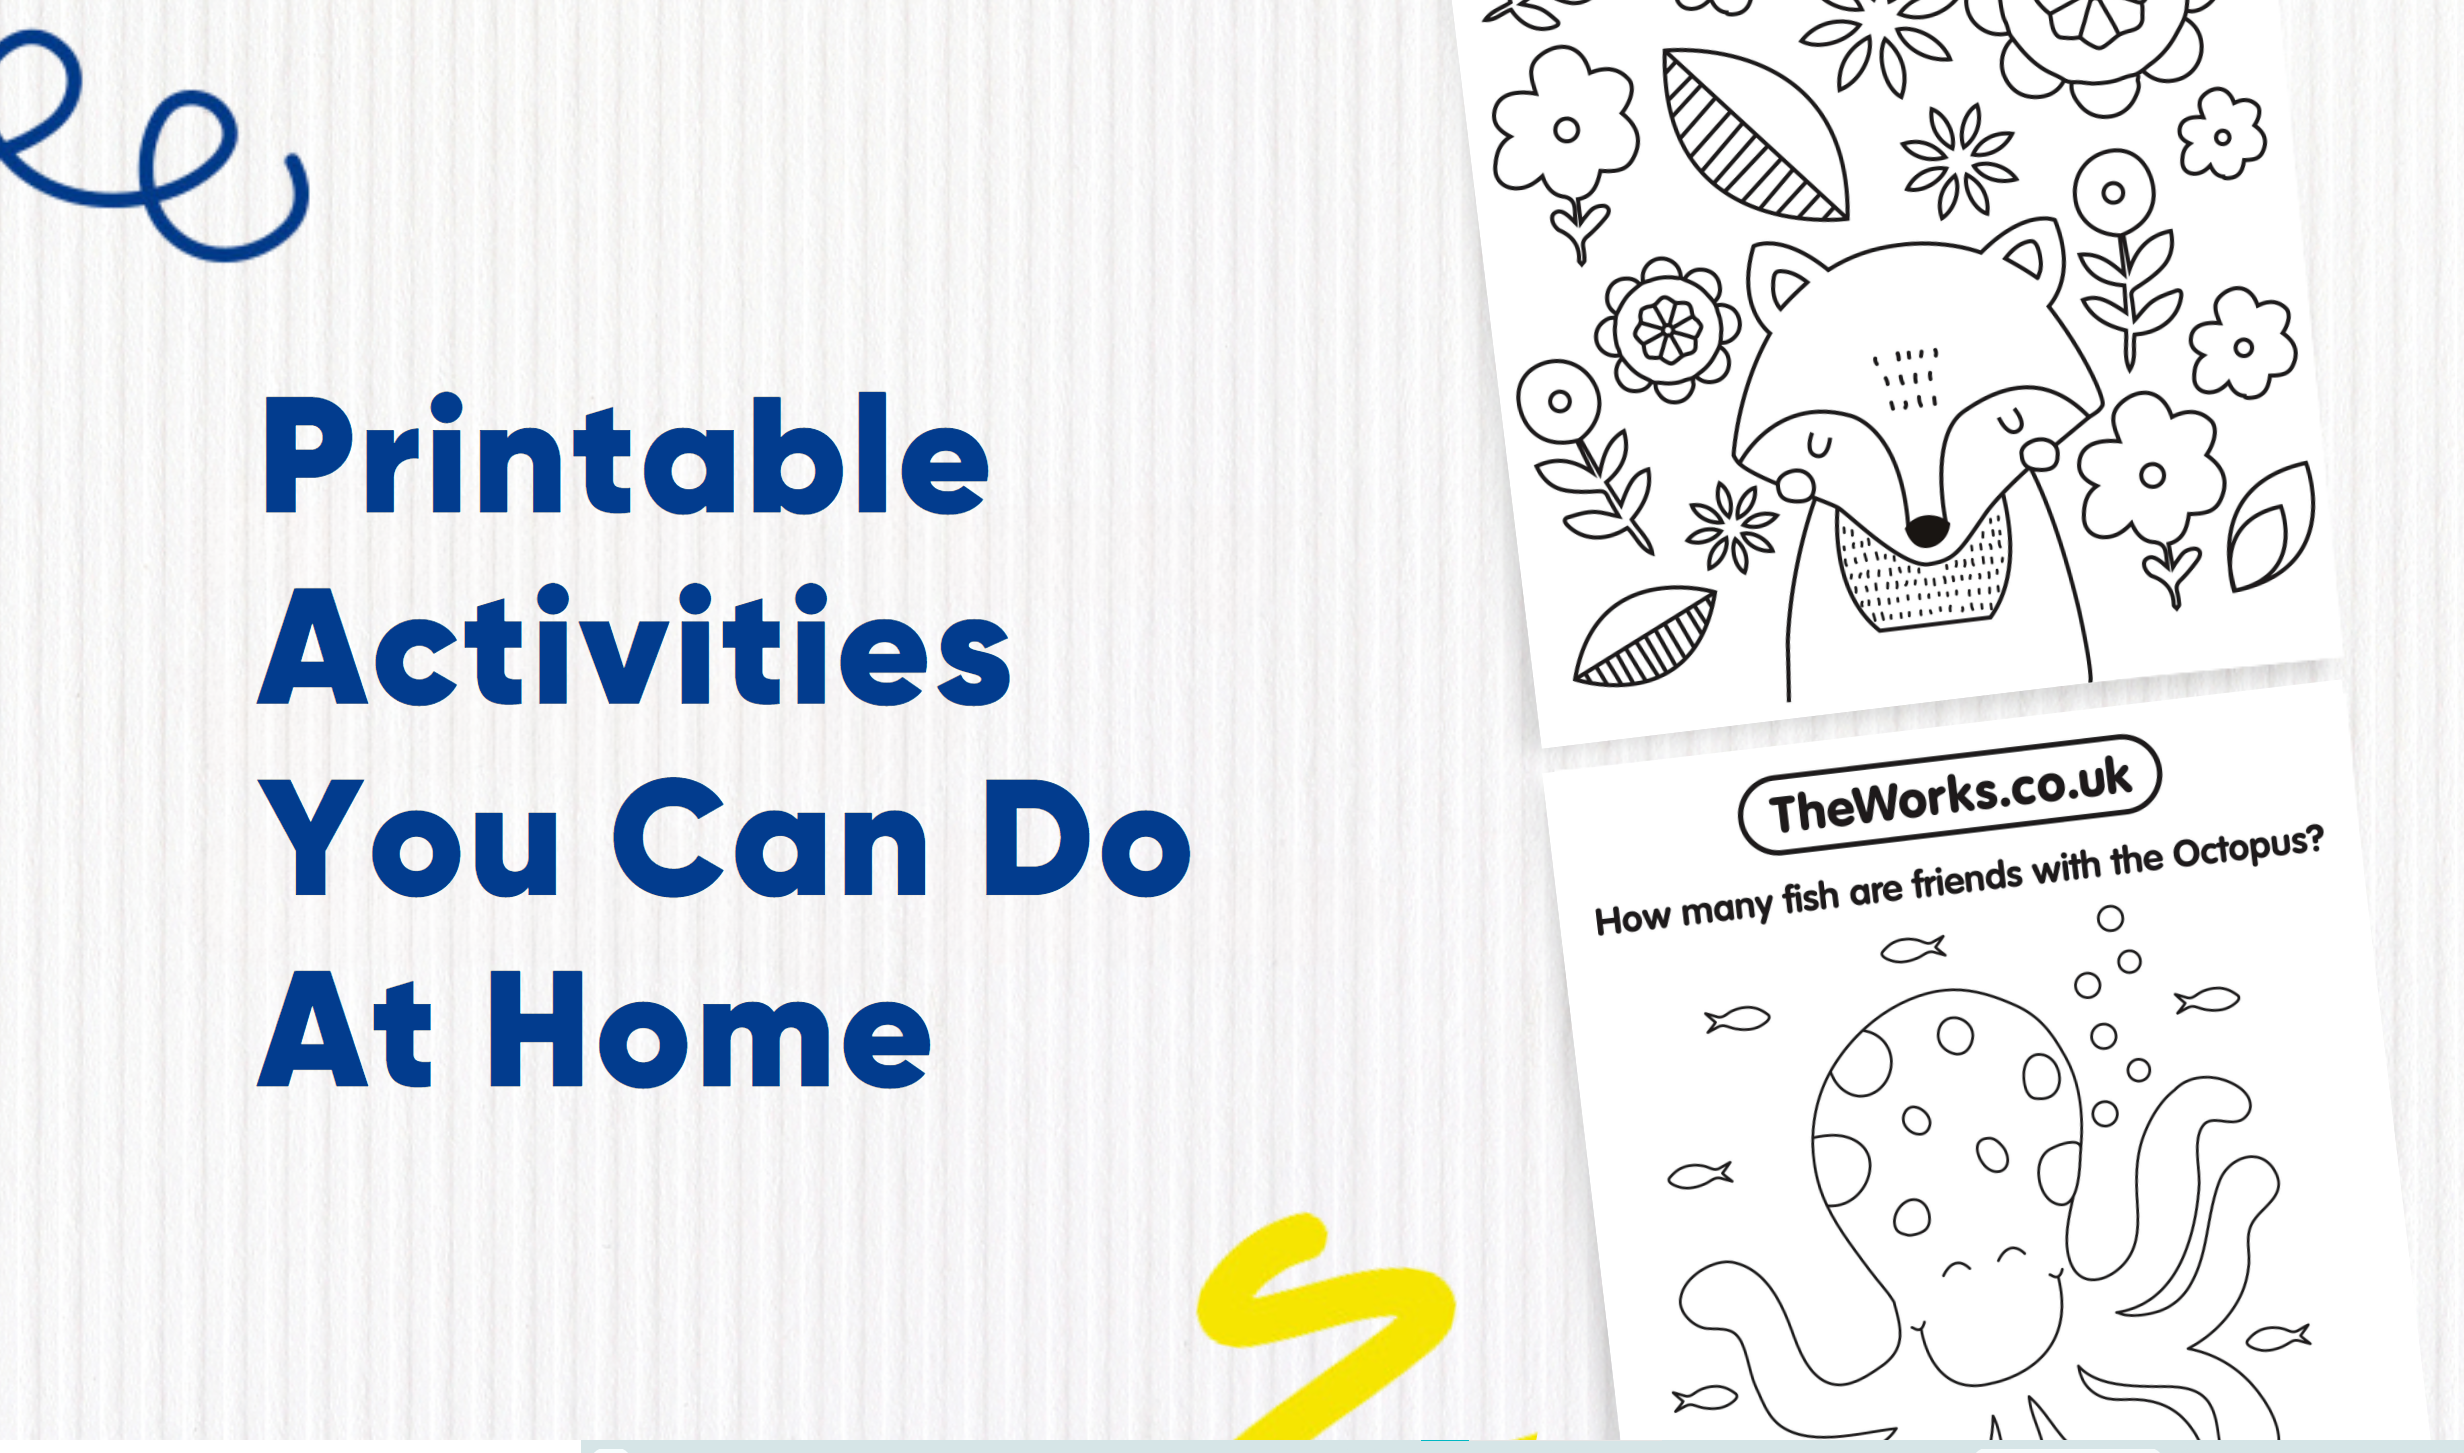
Printable Activities You Can Do At Home
In this blog you’ll find printable activities to keep you and the kids entertained while you’re at home.
Make Your Own Easter Bonnets With Little Button Diaries
We’ve teamed up with Laura and Tia from Little button Diaries to make these amazing Easter bonnets.
Make Your Own Personalised Clay Gift Tag
we’ve got you covered for valentine's day with this super easy personalised clay tag. which will add a personal touch to any gift the moment they receive it.
Make Your Own Festive Wooden Village In 4 Simple Steps
To us, Christmas means craft and any keen crafter will tell you that it’s never start too early to start your Christmas crafting.
Make Your Own Toy Story 4 Forky
If you’ve seen Toy Story 4 then this little guy needs no introduction, of course it’s Forky. And if you’re anything like us then you’ll be desperate to get your hands on one, but, if you want to stay authentic you’ll really be wanting to make your own.
Embossing masterclass with Crafter’s Companion
Hey there paper craft fans, did you know we’ve joined forces with Crafter’s Companion?
Make Your Own Mother’s Day Paper Craft Card
What says thank you more than taking the time to make her a card? You know she misses you coming home from school with your latest paper creations for the fridge
Decoupage for Absolute Beginners
We've compiled top tips on decoupage for absolute beginners so if you have questions, we have answers.
The Best ‘Art Attacks’ We Wish We Had Made
Put on your overalls and get stuck in as we remind you of the best Art Attacks we all wish we had made!
Fairy Doors – Trends and Inspiration for 2017
If you’re good at drawing you can imagine what might be on the other side of your fairy door…
Disney Craft You Can Do Yourself
We know that you love Disney almost as much as we do. Perhaps more? And we also know a lot of you are sooo into crafts! So what better than Disney crafts that you can do today, with minimal products to buy.
10 Easy Scrapbooking Layouts For Beginners
Although it’s not modern, scrapbooking is a traditional way to capture your memories, and a scrapbook doesn’t need to have an iOS update, and it won’t get lost in the Cloud either. With that in mind, we’ve pulled together some easy Scrapbooking ideas to get you started. We have a collection of scrapbook layouts in the below list that are perfect for cataloguing those special moments.
How To Make Cardboard Tube Monsters
Create spooky fun with toilet roll monsters! Perfect for kids of any age.
Easy Pumpkin Suncatcher Craft You Can Do At Home
Follow this guide to make your own pumpkin suncatcher craft for fun with your kids.
Easy Halloween Ghost Tassel Garland Craft
Get into the Halloween spirit with these diy ghost tassel garlands!
Easy Hanging Clay Handprint Decorations
Get your kids into the spooky spirit with this easy Halloween craft, perfect for little hands and endless creativity!
Easy Pipe Cleaner Spiders
Have some Halloween fun with our pipe cleaner spider craft! A fun, seasonal craft for kids of all ages.






.png)


.png)


.png)
.png)


.png)


-1.jpg)
.png)


