Craft Ideas for Summer Fun
Tissue Jellyfish
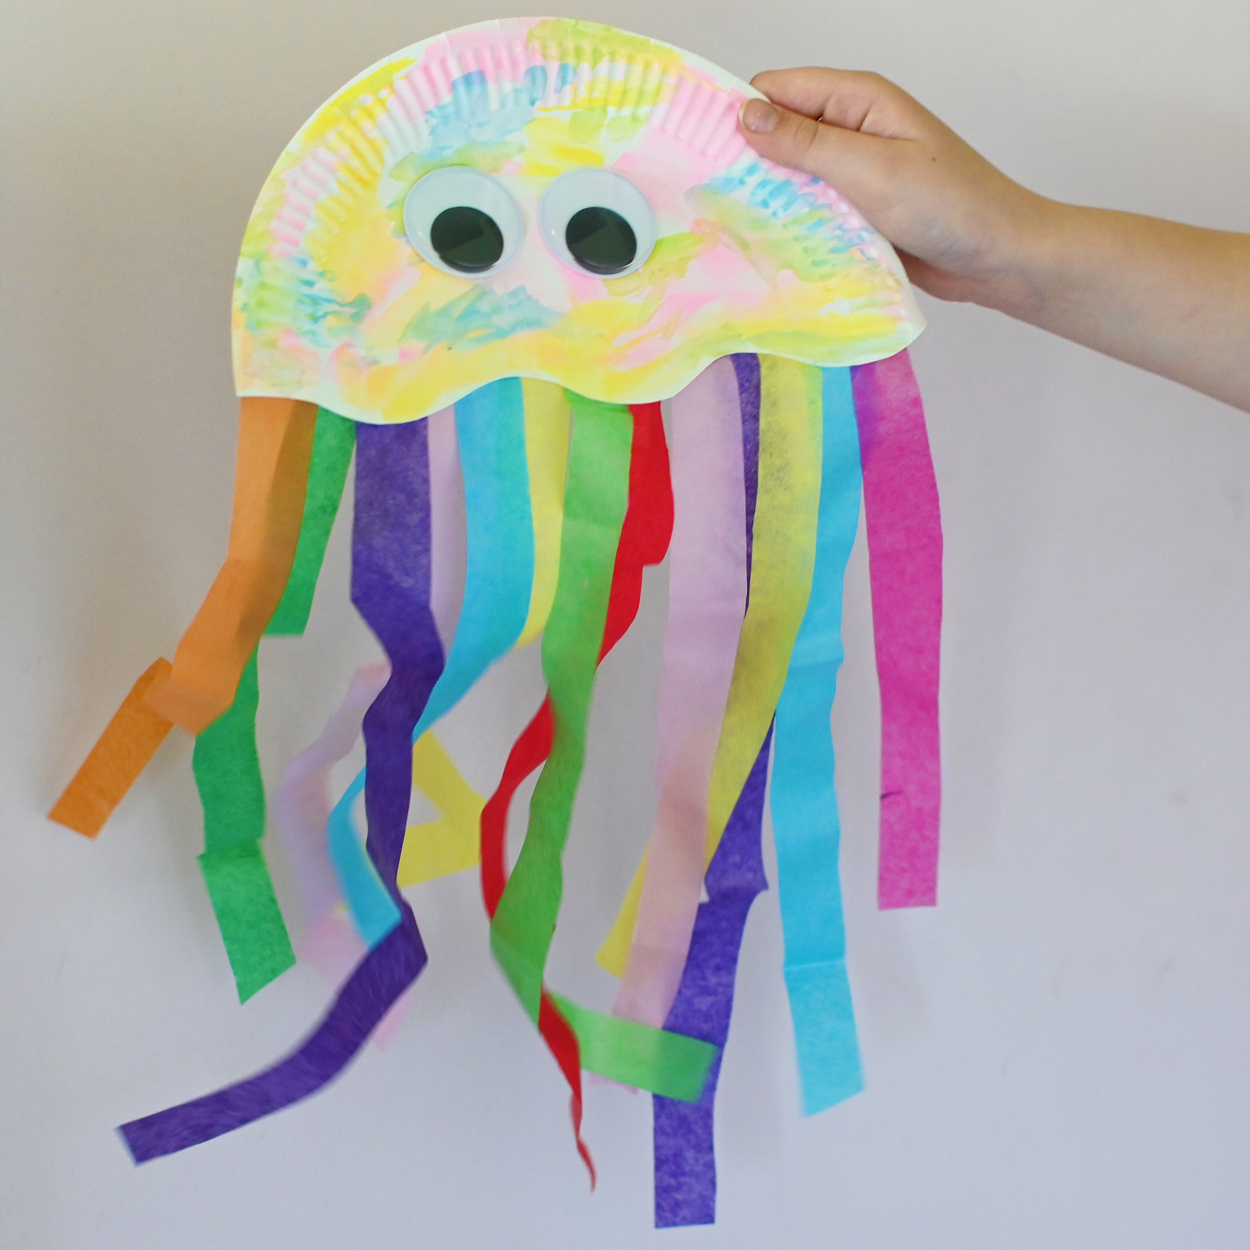
These tissue jellyfish are so fun, colourful and easy to make using materials you’ve already got in your craft supplies. The lovely tentacles jiggle when you wiggle the body and offer a fun sensory experience for kids. This craft can easily be adapted for younger or older children who can add further embellishment to the body of the design.
You will need:
- Tissue paper
- Googly eyes
- Glue
- Scissors
- Paint
Step 1
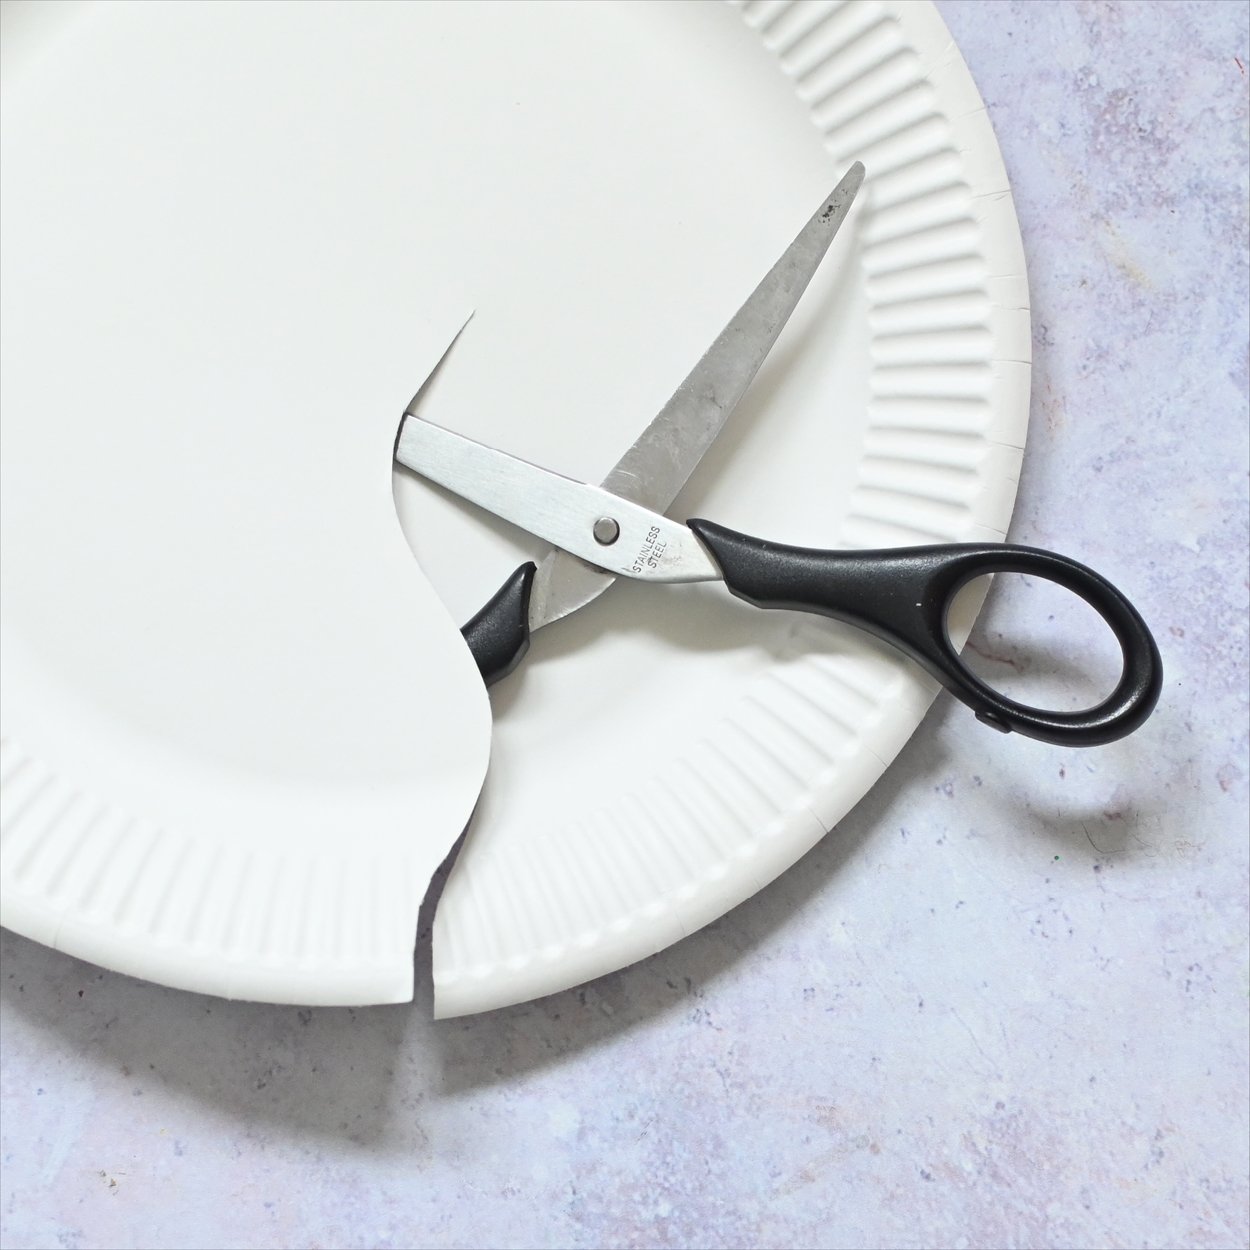
Grab a paper plate and cut a wavy line down the middle.
Step 2
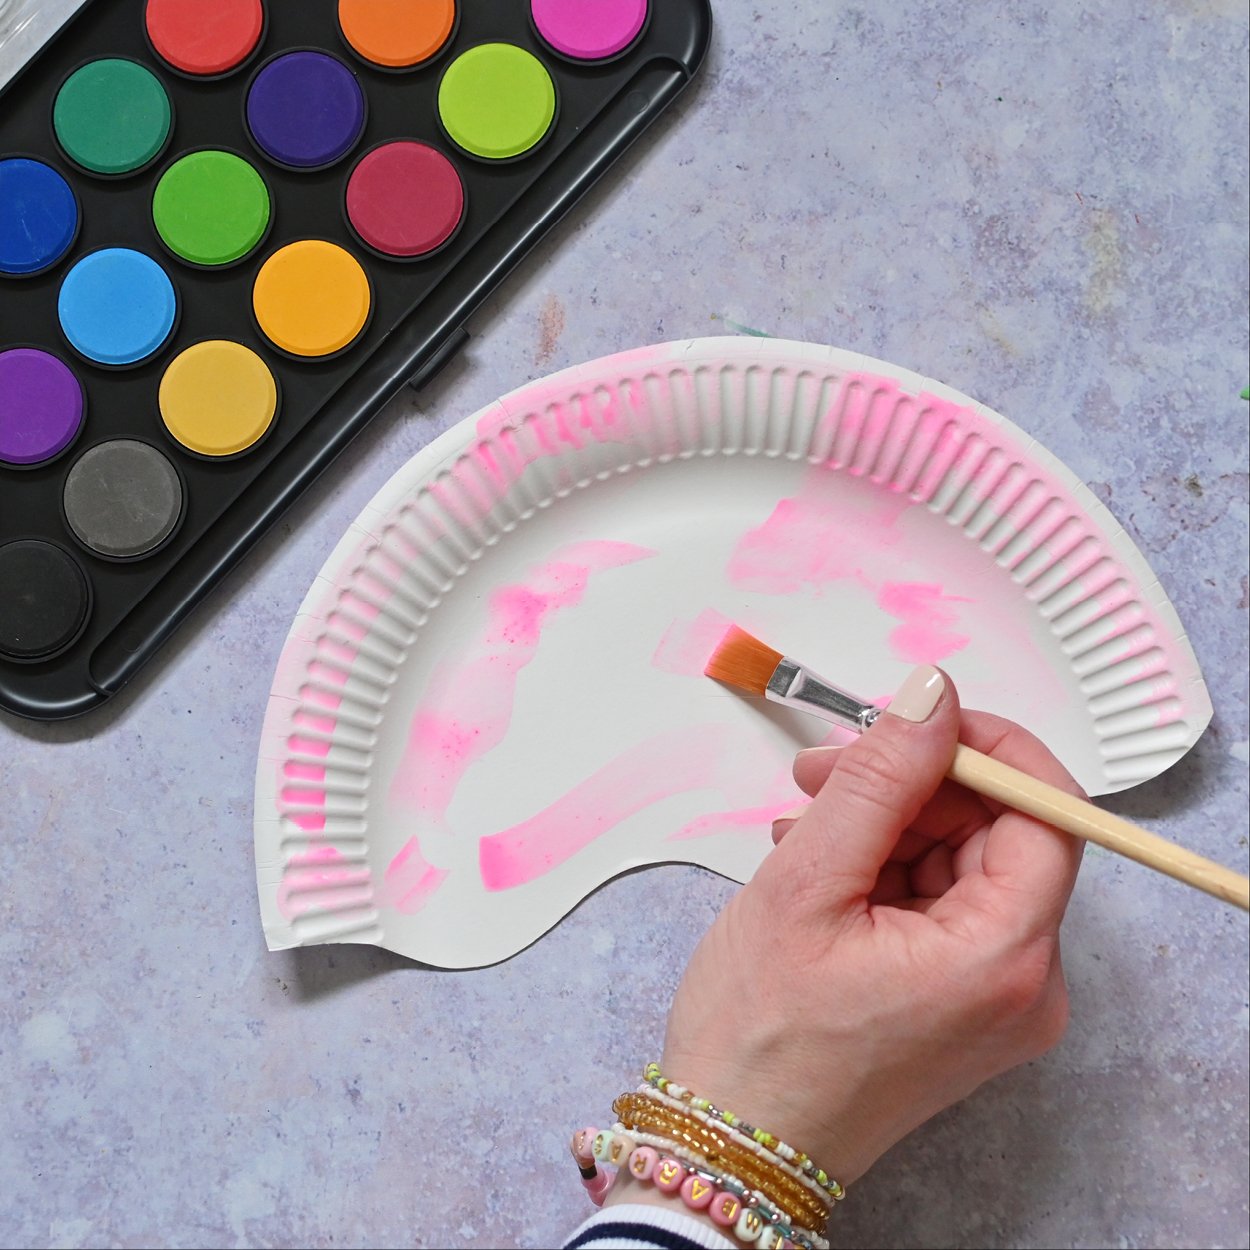
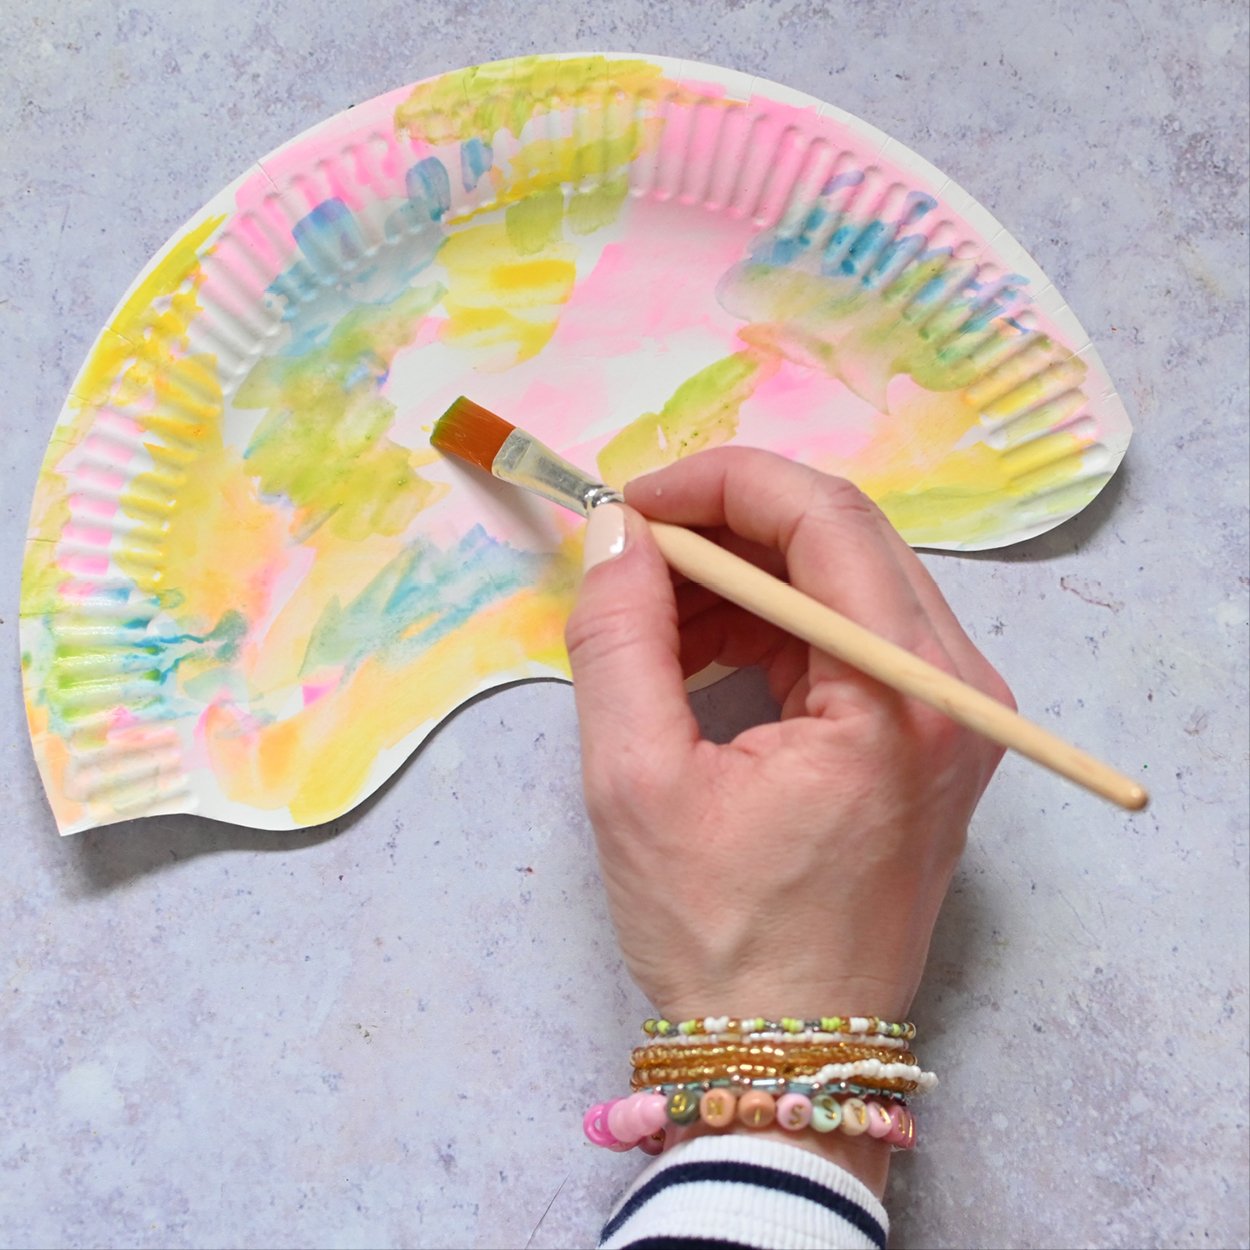
Using watercolour paints, paint the surface of the paper plate using as many colours as you wish; paint a pattern, make it ombre, or swirl the colours together! Leave it to dry.
Step 3
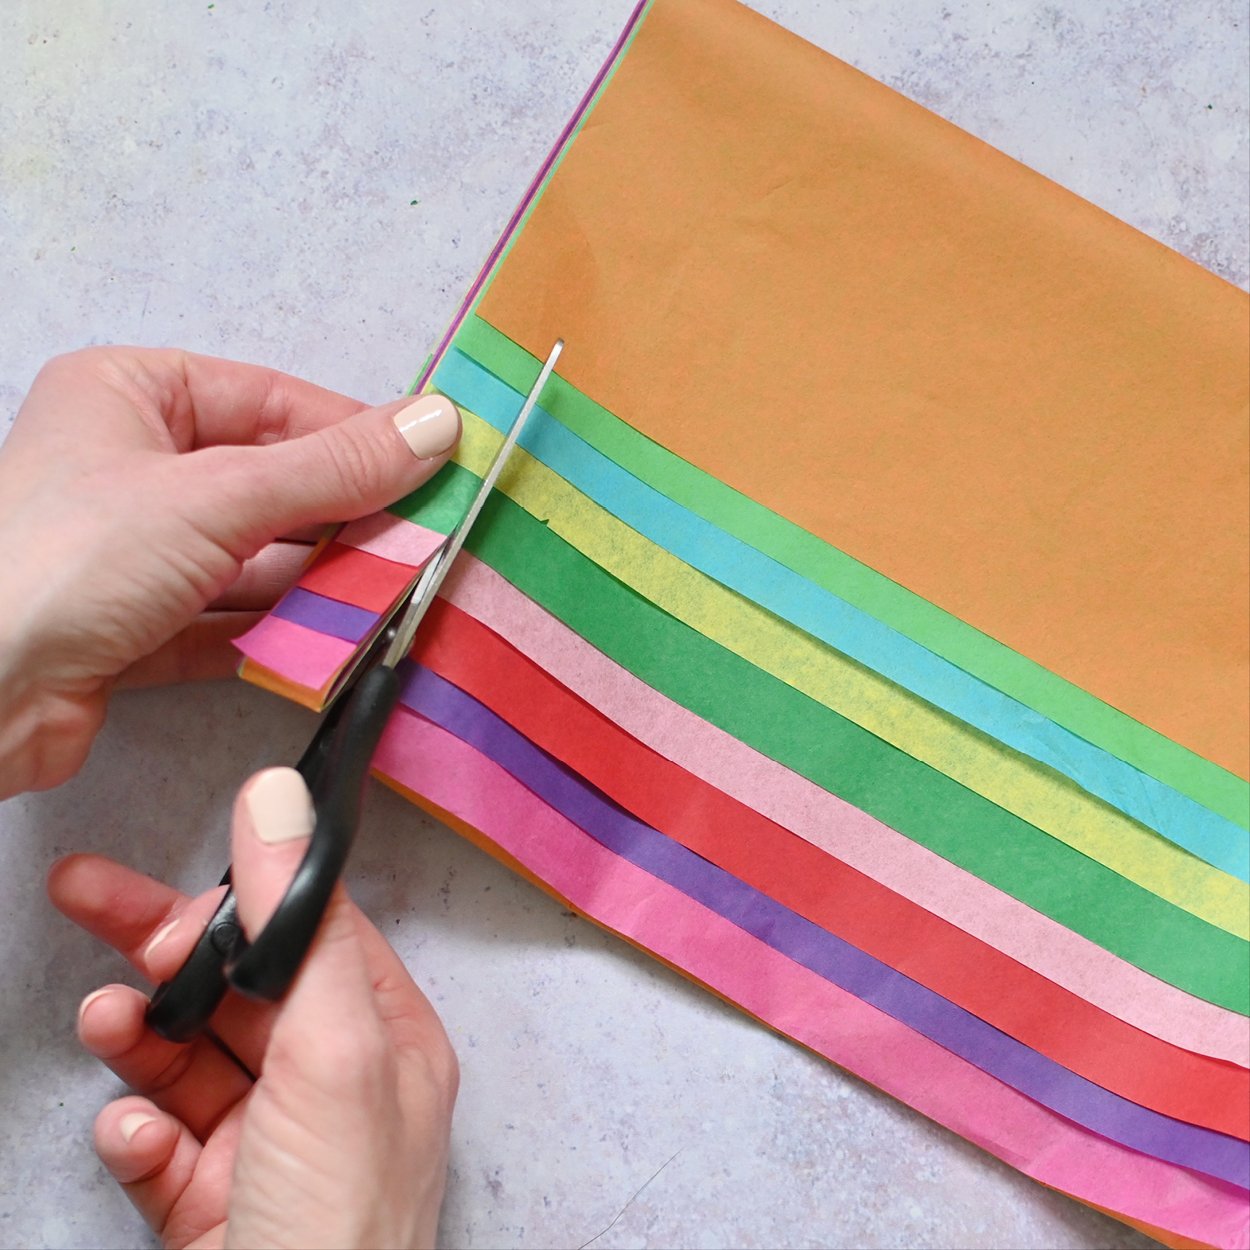
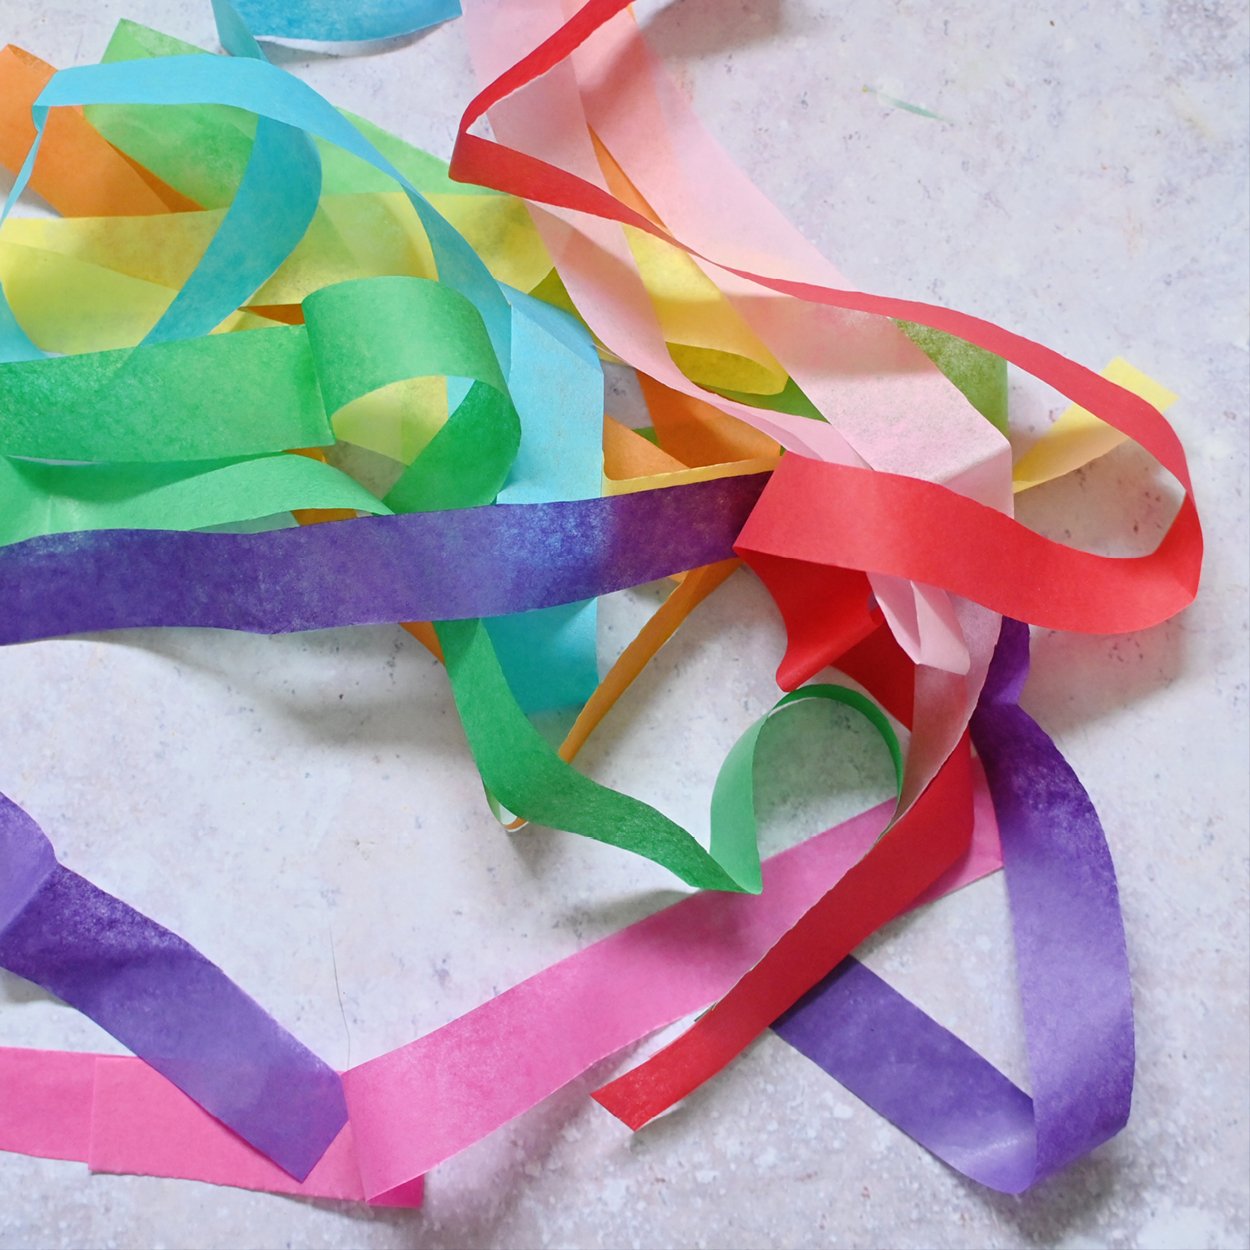
Cut some strips of tissue paper roughly 2cm wide.
Tip: Cutting the tissue layered up (see image) makes it easier to cut and creates strips quickly.
Step 4
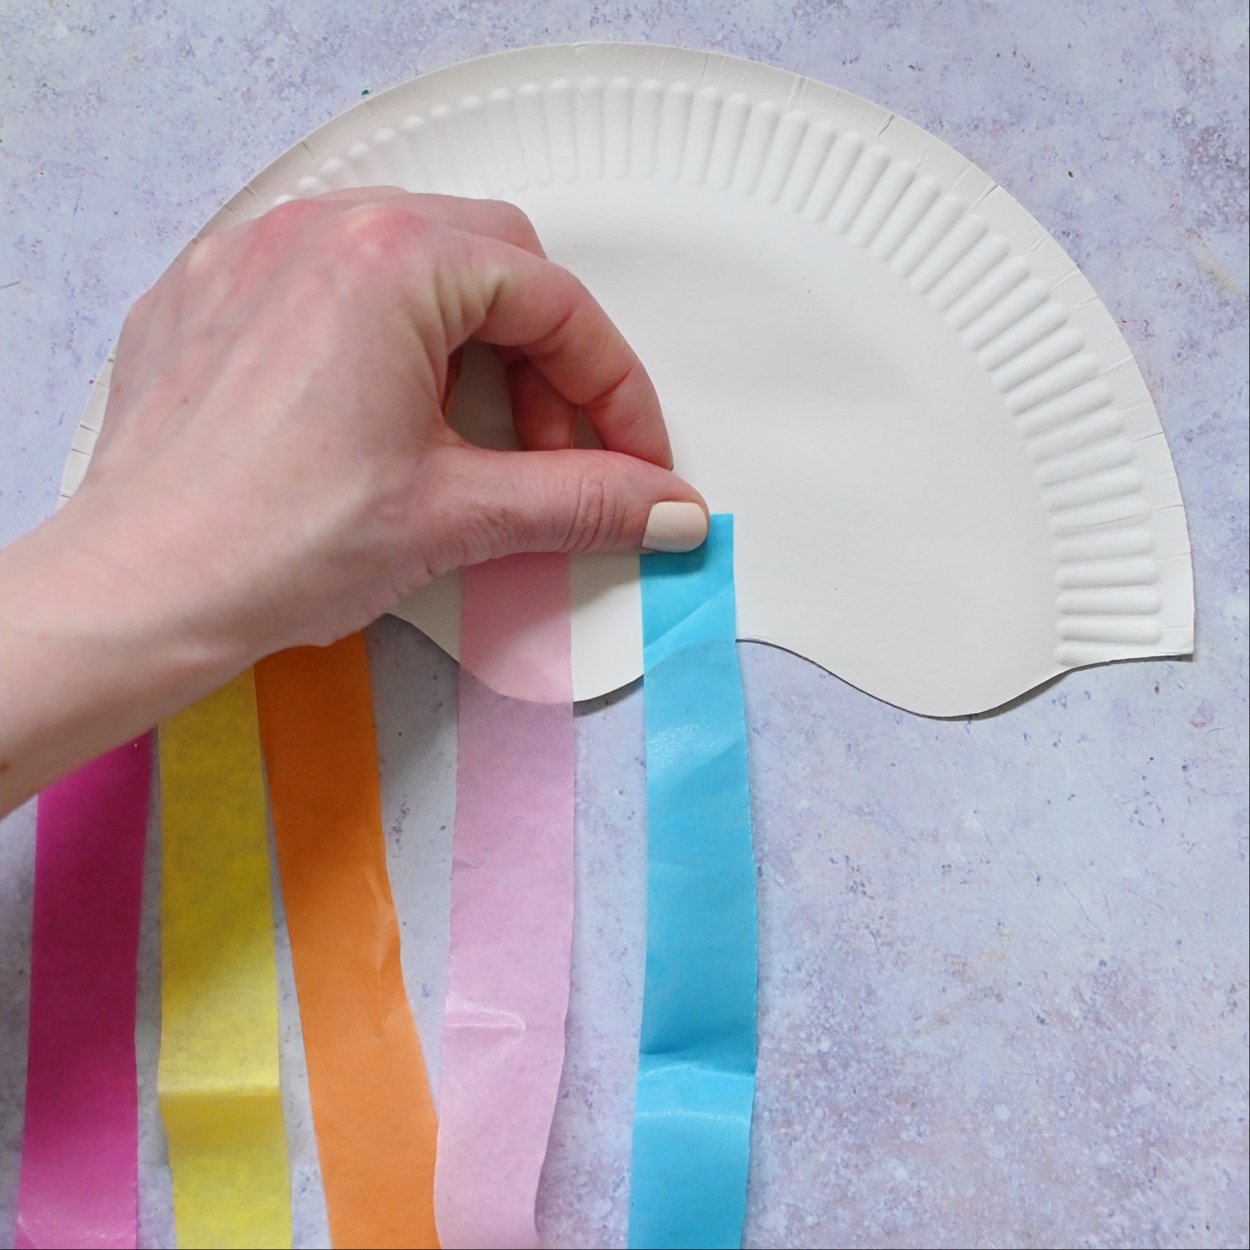
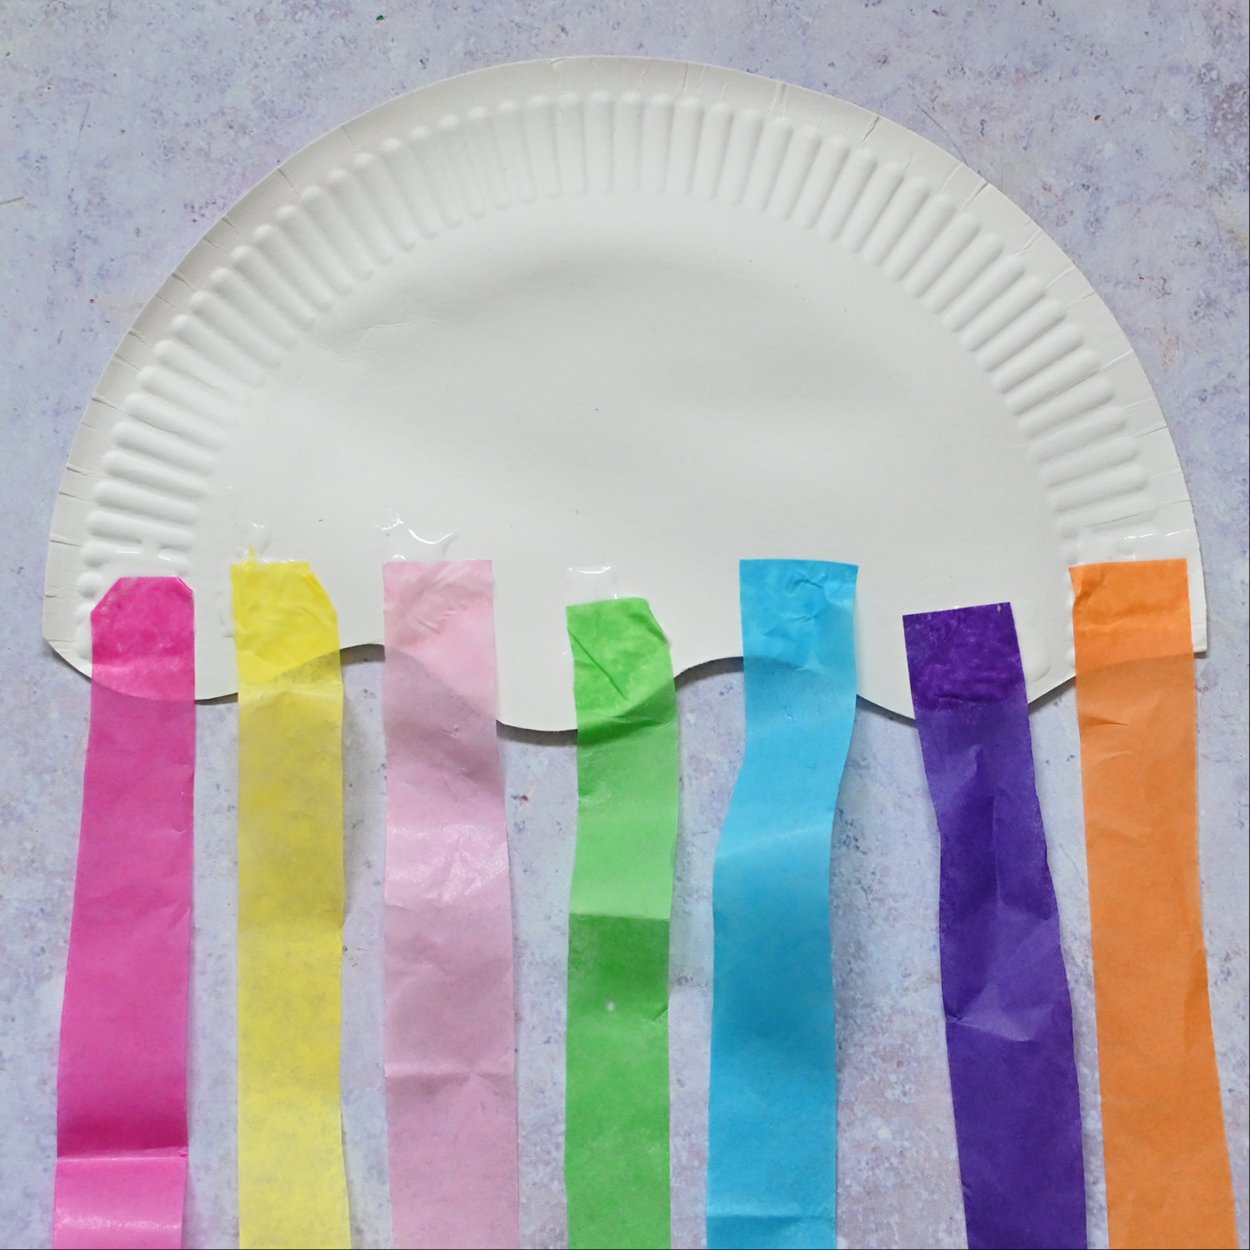
Apply some glue to the top of the tissue strips and stick to the back of the paper plate along the wavy edge to make tentacles.
Step 5
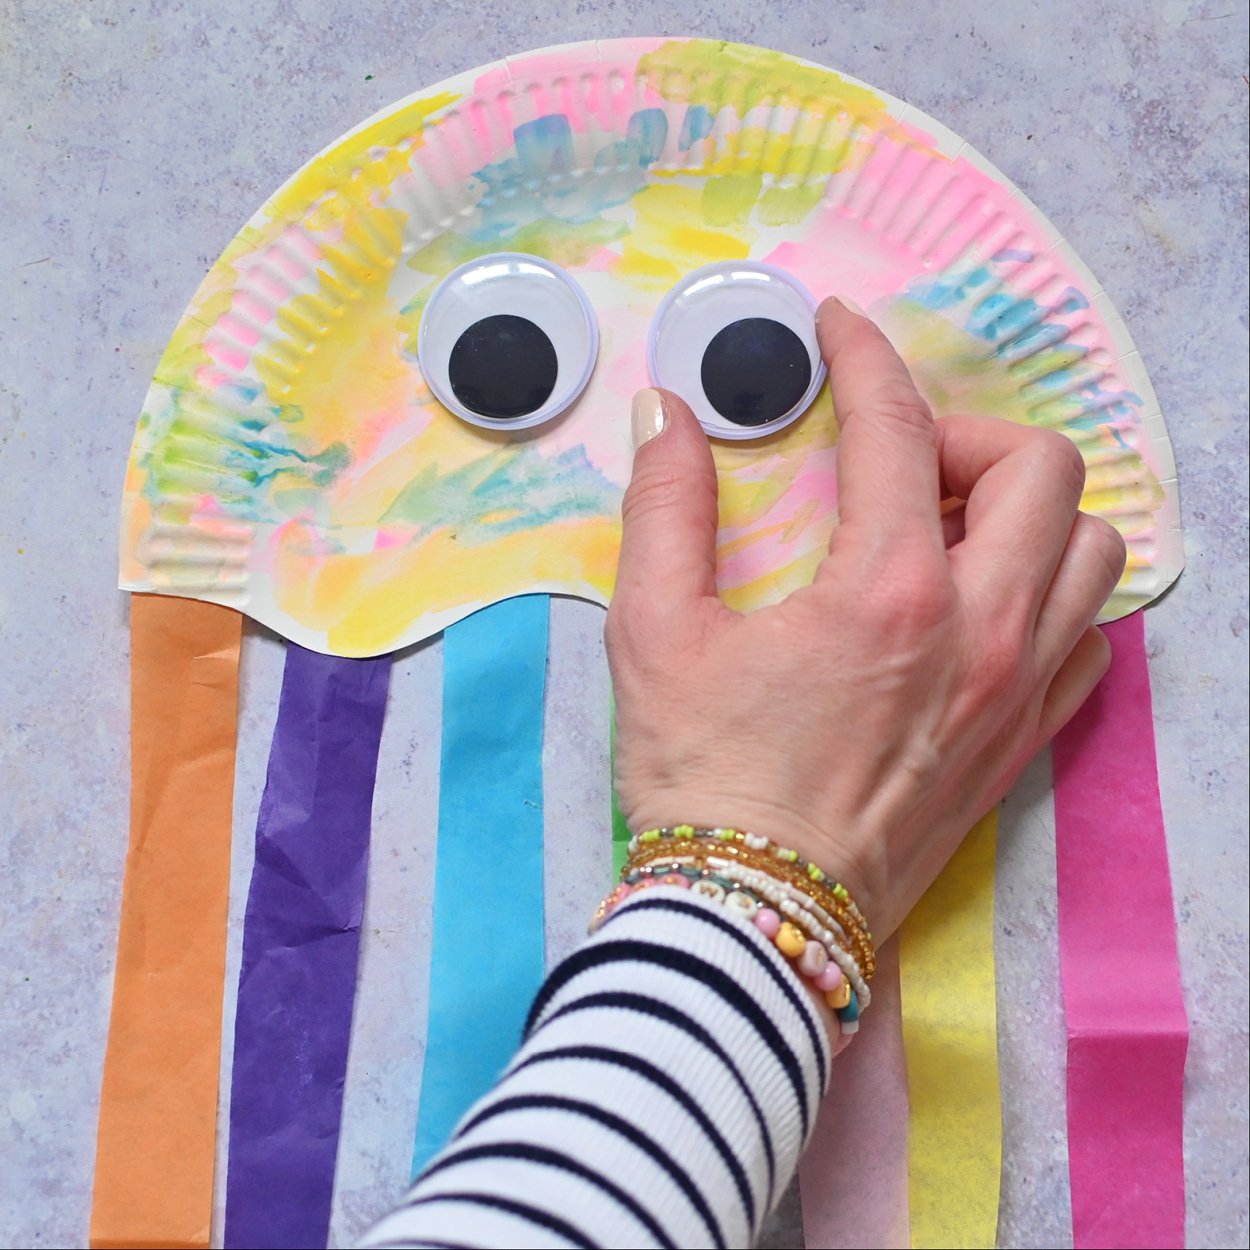
Glue on some wiggly eyes to finish!
Tip: If you want to hang your jellyfish, you can punch a hole at the top and thread some string through to make a little loop to display in your child’s room.
Mosaic Butterfly Tissue Paper Suncatchers
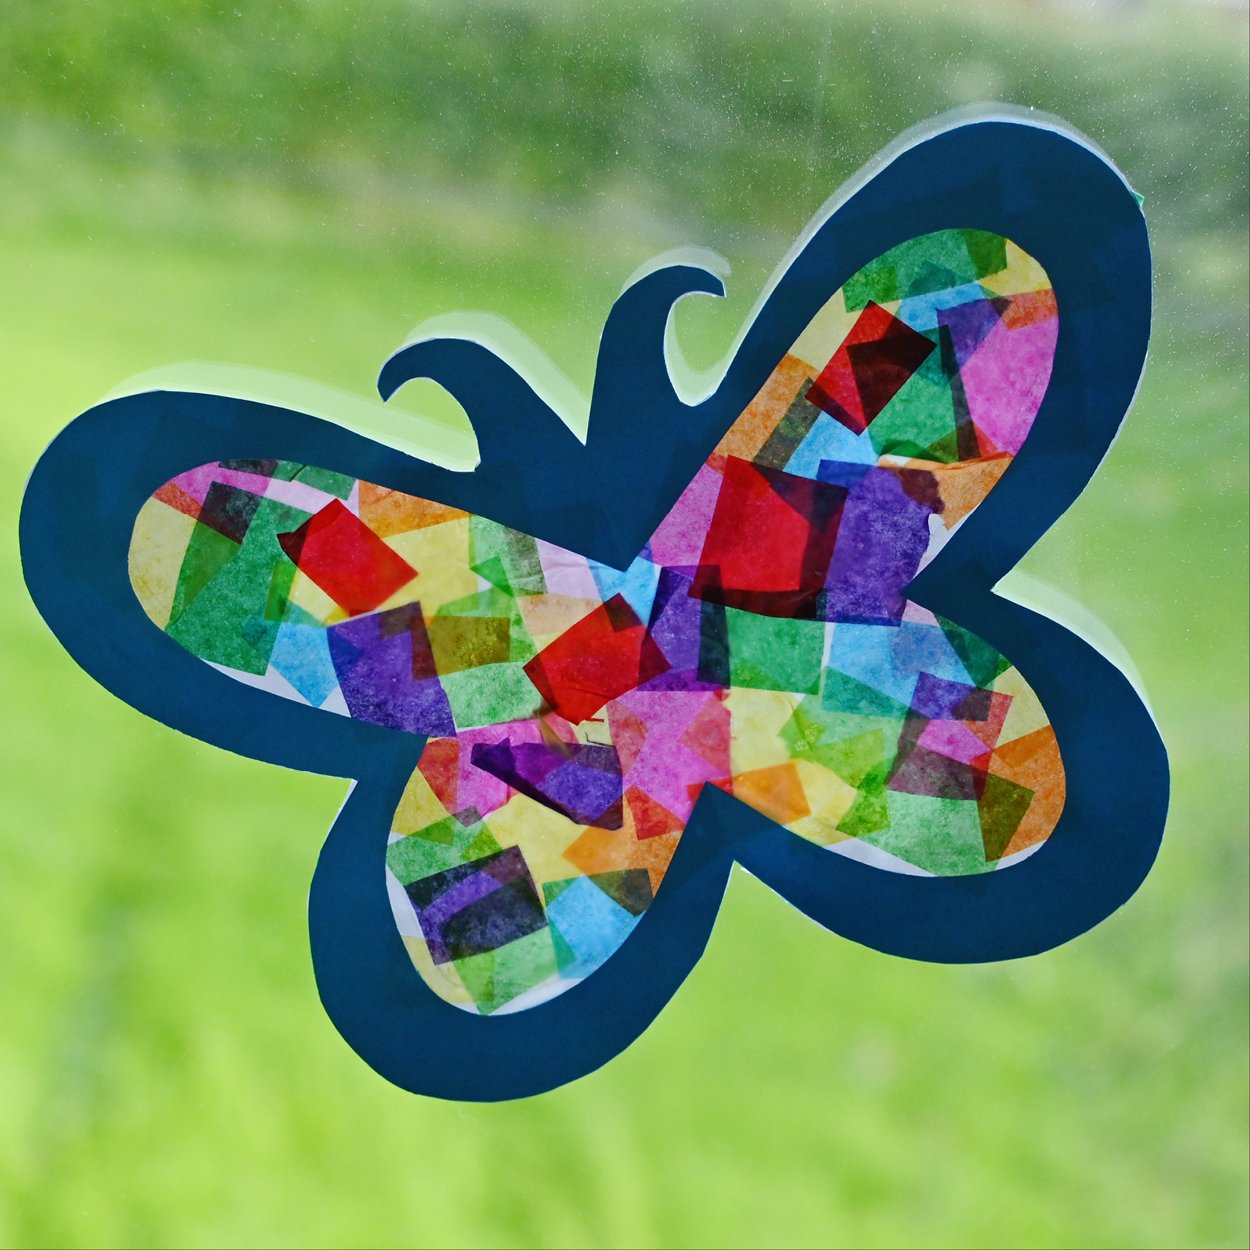
Your kids will love making these pretty suncatchers, just as much as you’ll love looking at them. They’re so simple to make but incredibly effective when they catch the light. This is a great project for little ones and once you know how to make them, you can try different shapes and sizes. We’ve drawn a simple butterfly freehand here, but you can download and use a butterfly template if it's easier.
You will need:
- Coloured tissue paper
- Coloured card
- Paper
- PVA glue
- Scissors
- A pencil
Step 1
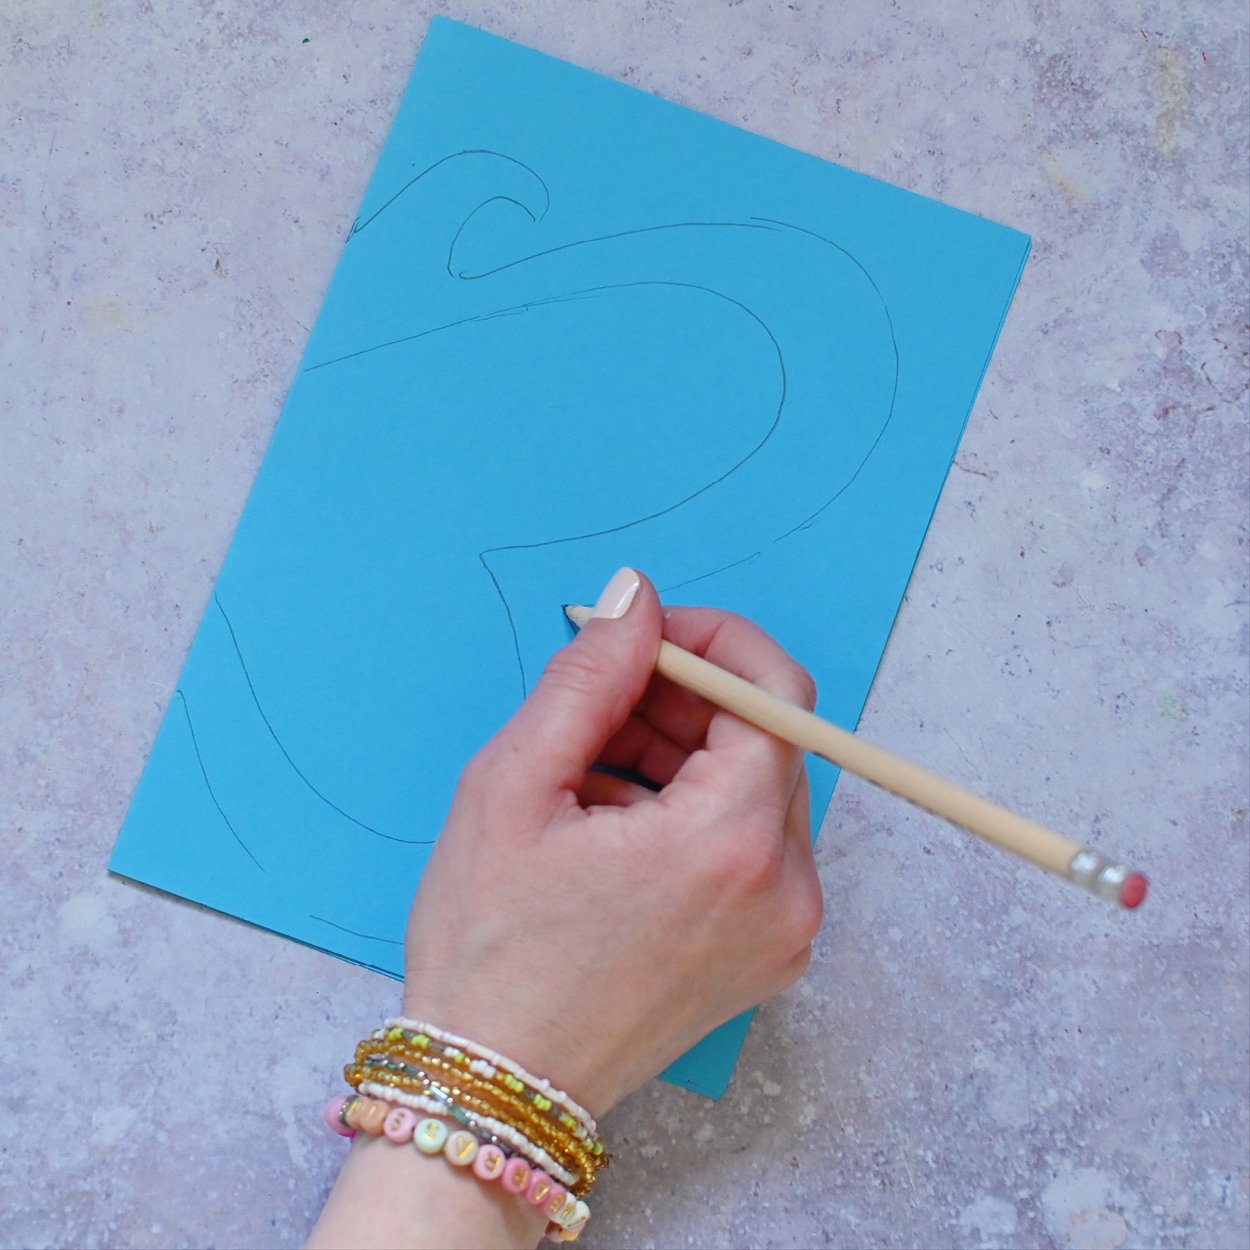
Fold a piece of A4 coloured card in half and draw half a butterfly. (Skip this step if you are tracing a template).
Step 2
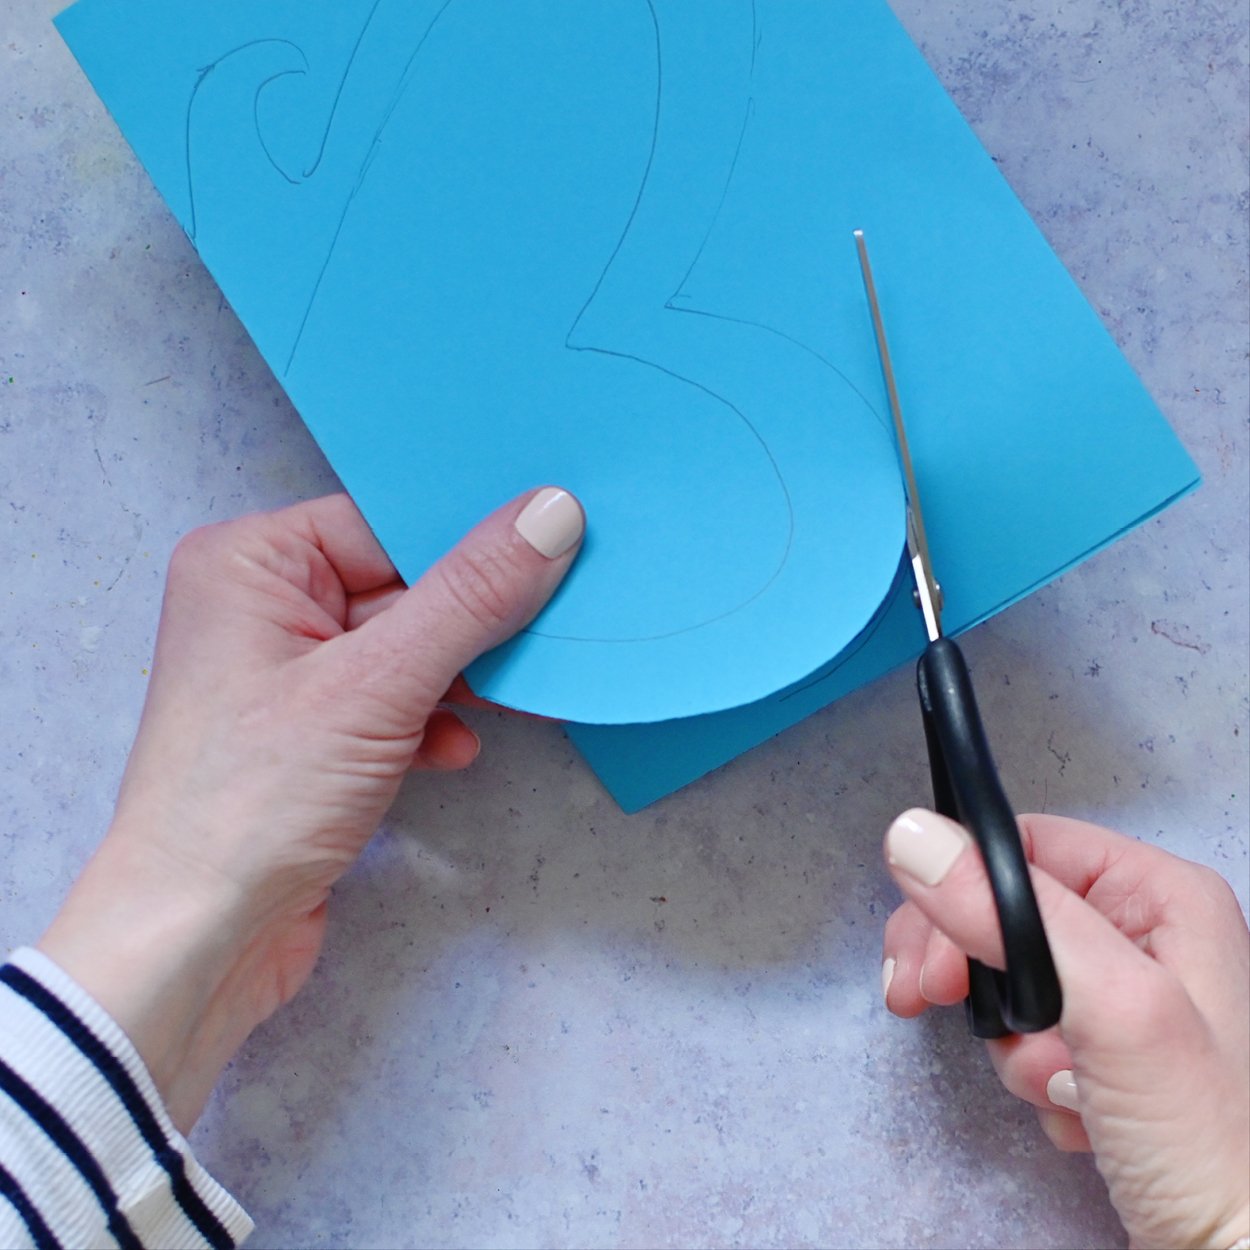
Carefully cut out the butterfly shape.
Step 3
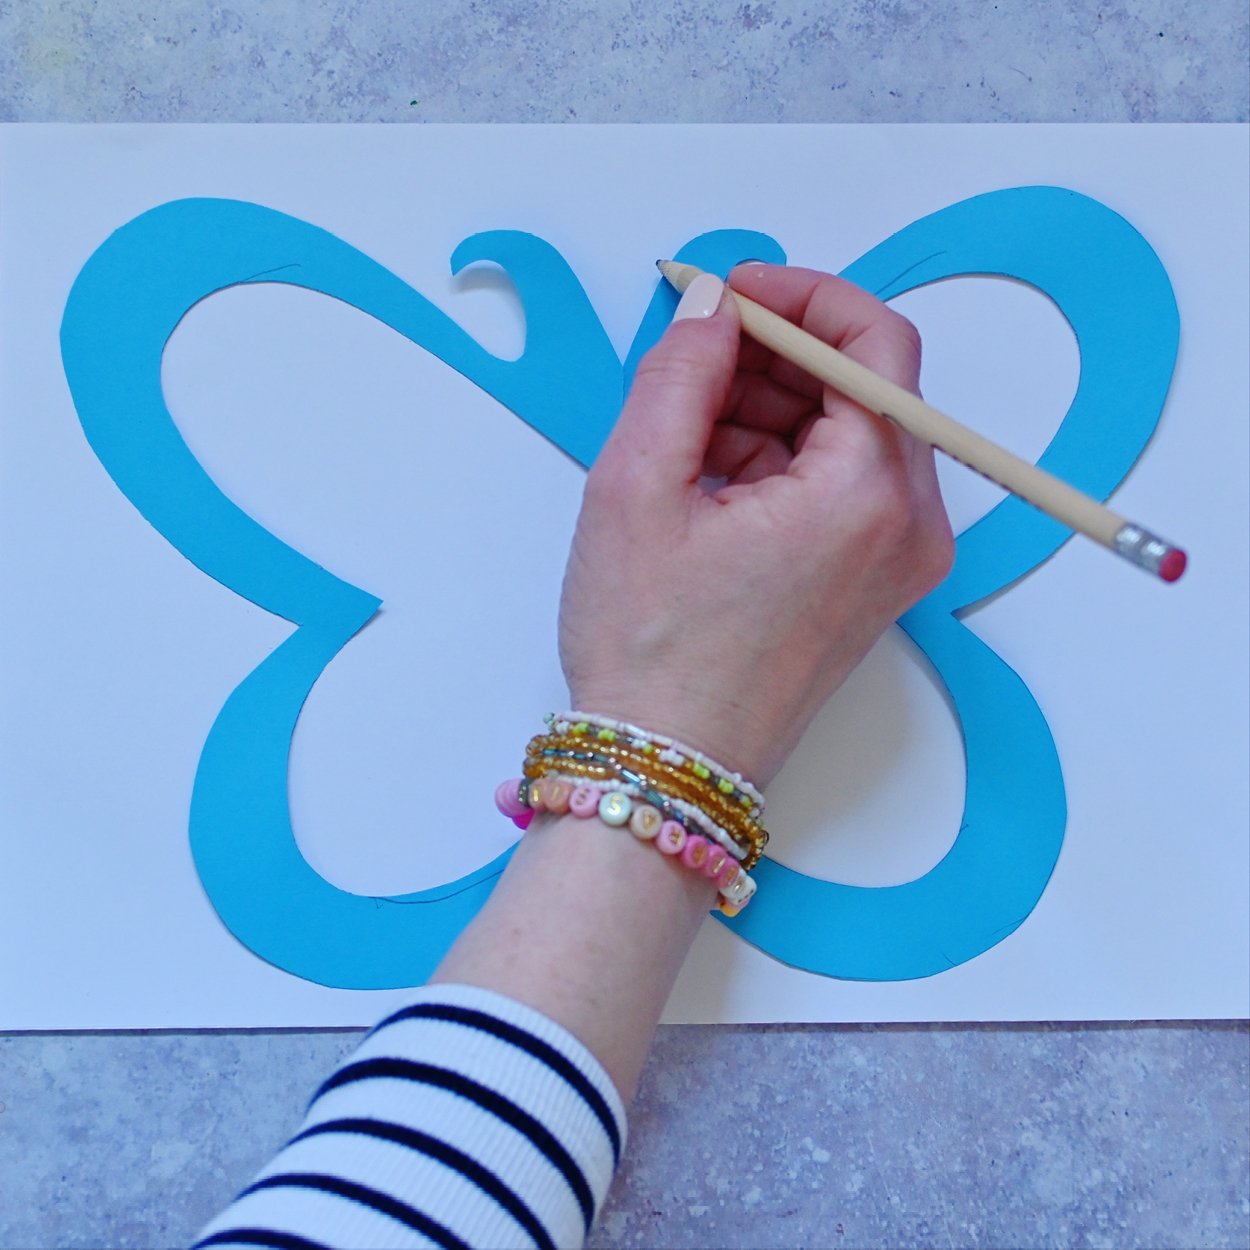
Place the cut out butterfly shape on some white paper. Trace around it using a pencil.
Step 4

Cut out some rough squares of tissue paper. Remember to cut through a few layers to make it quicker and easier.
Step 5
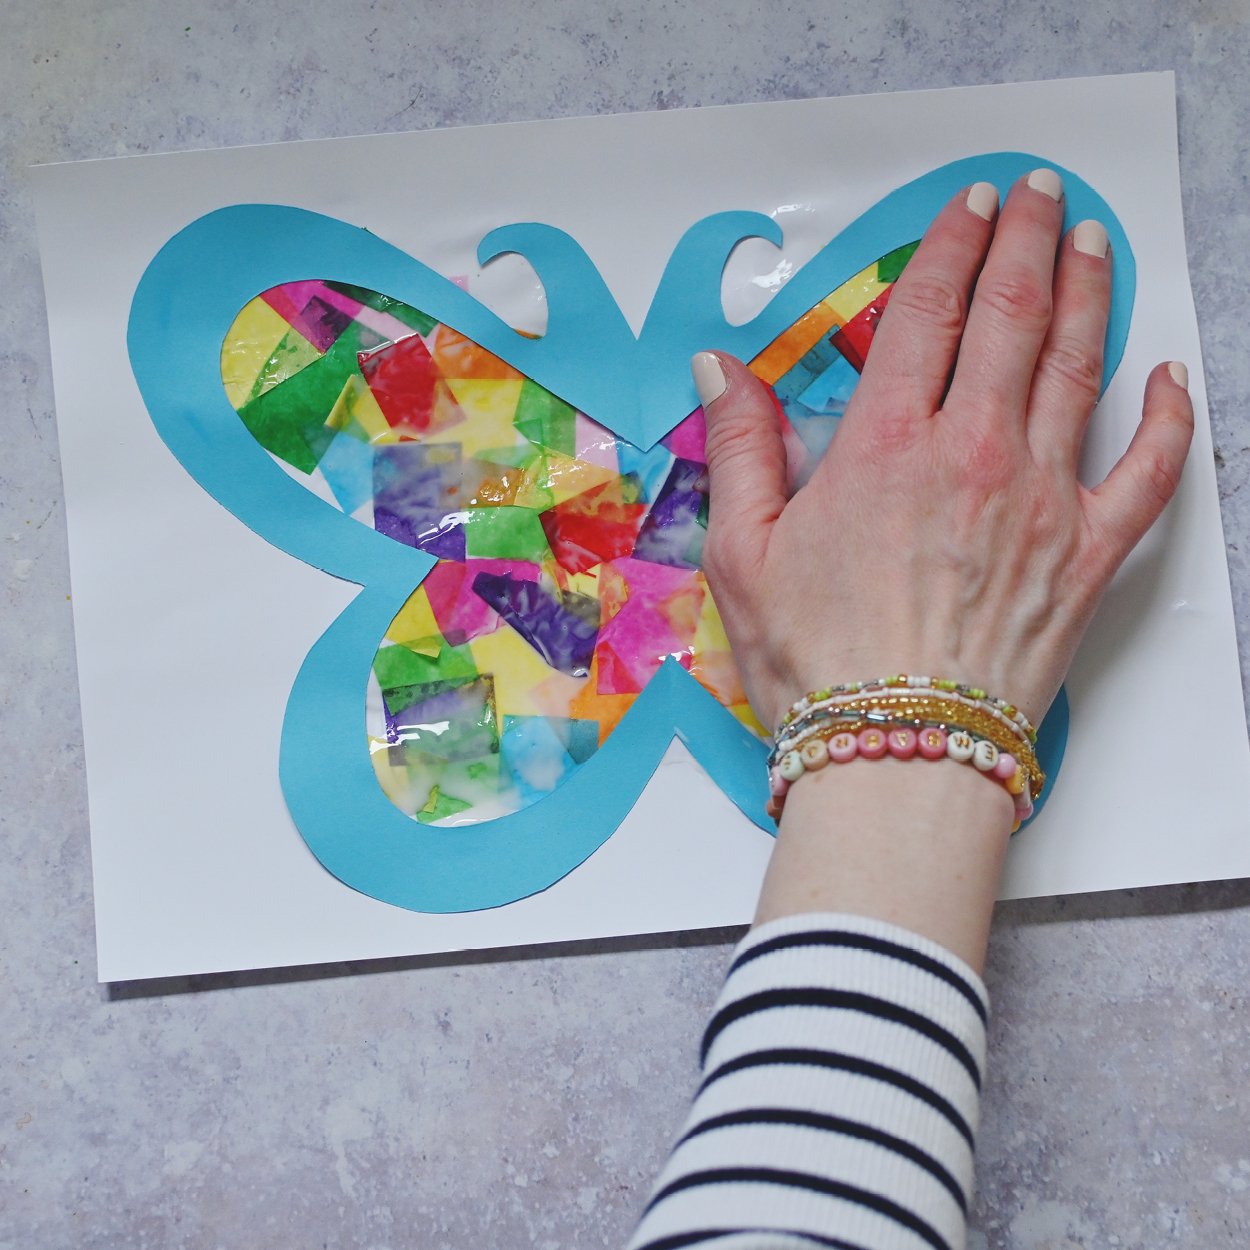
Glue down the squares of tissue paper in the outline of the butterfly using PVA glue, ensuring you layer on top of the tissue to give it a shiny finish. Once you have filled the outline on the white paper, stick the cut out butterfly card on top (see image) and leave to dry.
Step 6
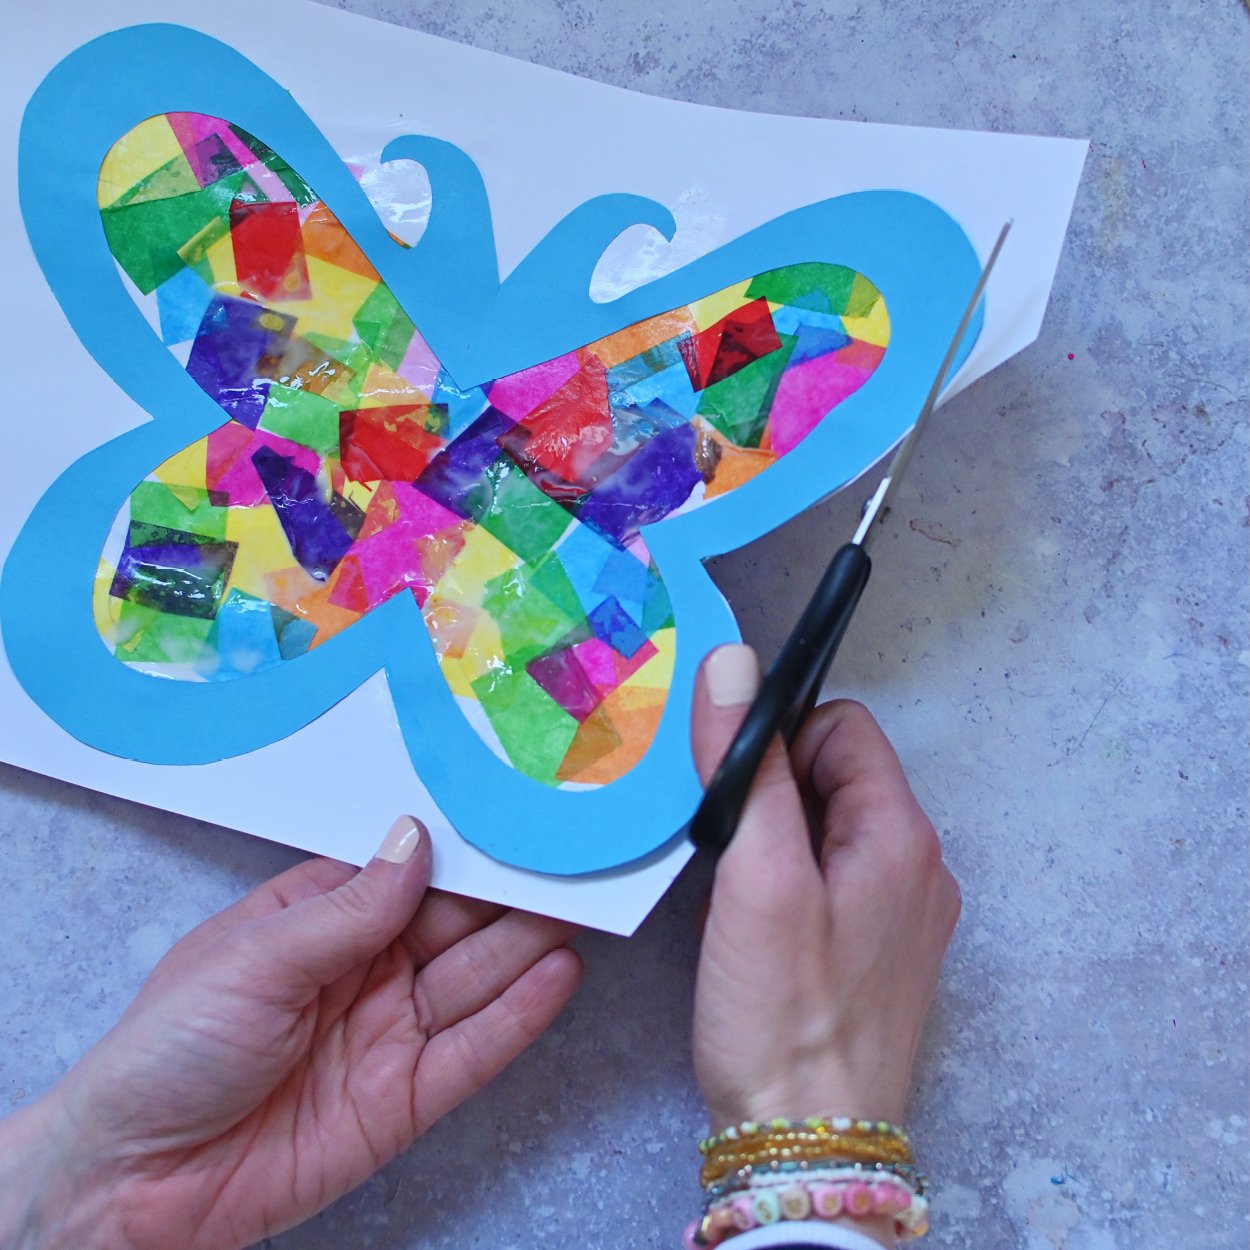
Cut around the edge of the outline to finish!
Tip: Stick onto a window to catch the sun rays.
If your kids just love butterflies and want another fun craft to do, why not try decorating your own butterfly mask?
Up-cycled Ladybird
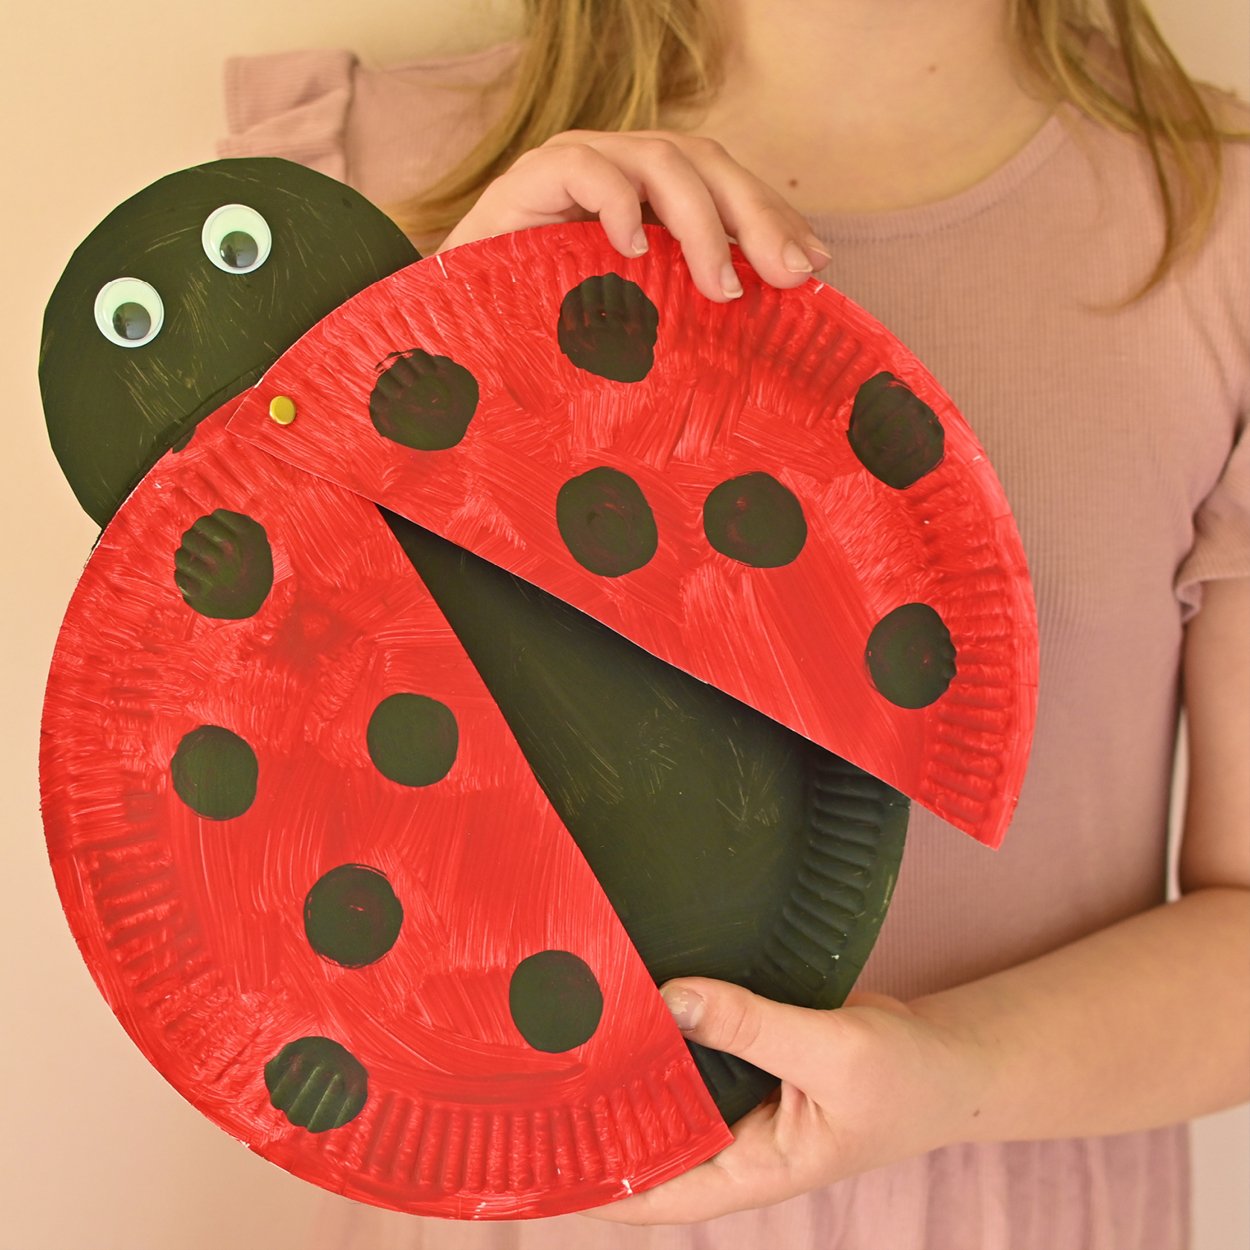
Is there anything sweeter than these giant ladybirds with moveable wings? They're super easy to make and can even be turned into a fun mathematical game with your children by counting and matching the spots. And don't just stop at ladybirds, you can make a whole host of creatures the same way - maybe some shiny green beetles? For now, here's how you can make this classic red and black ladybird as a fun summer craft idea.
You will need:
- 3 paper plates
- Red paint
- Black paint
- Paint brushes
- Glue
- Split pin
- Scissors
Step 1
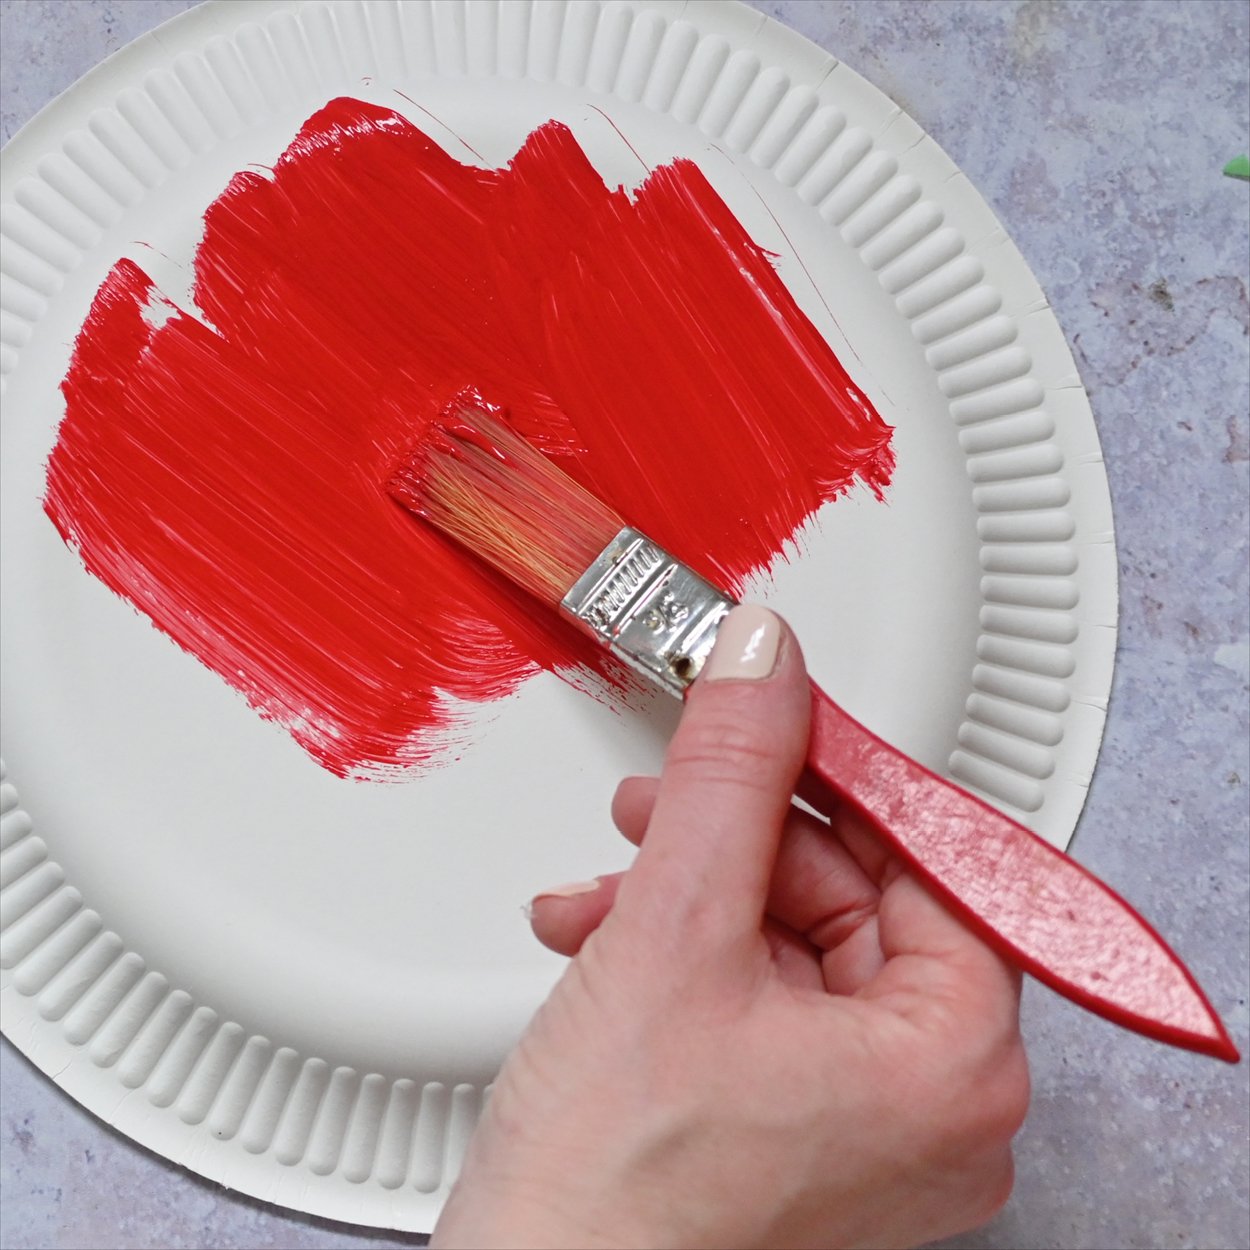
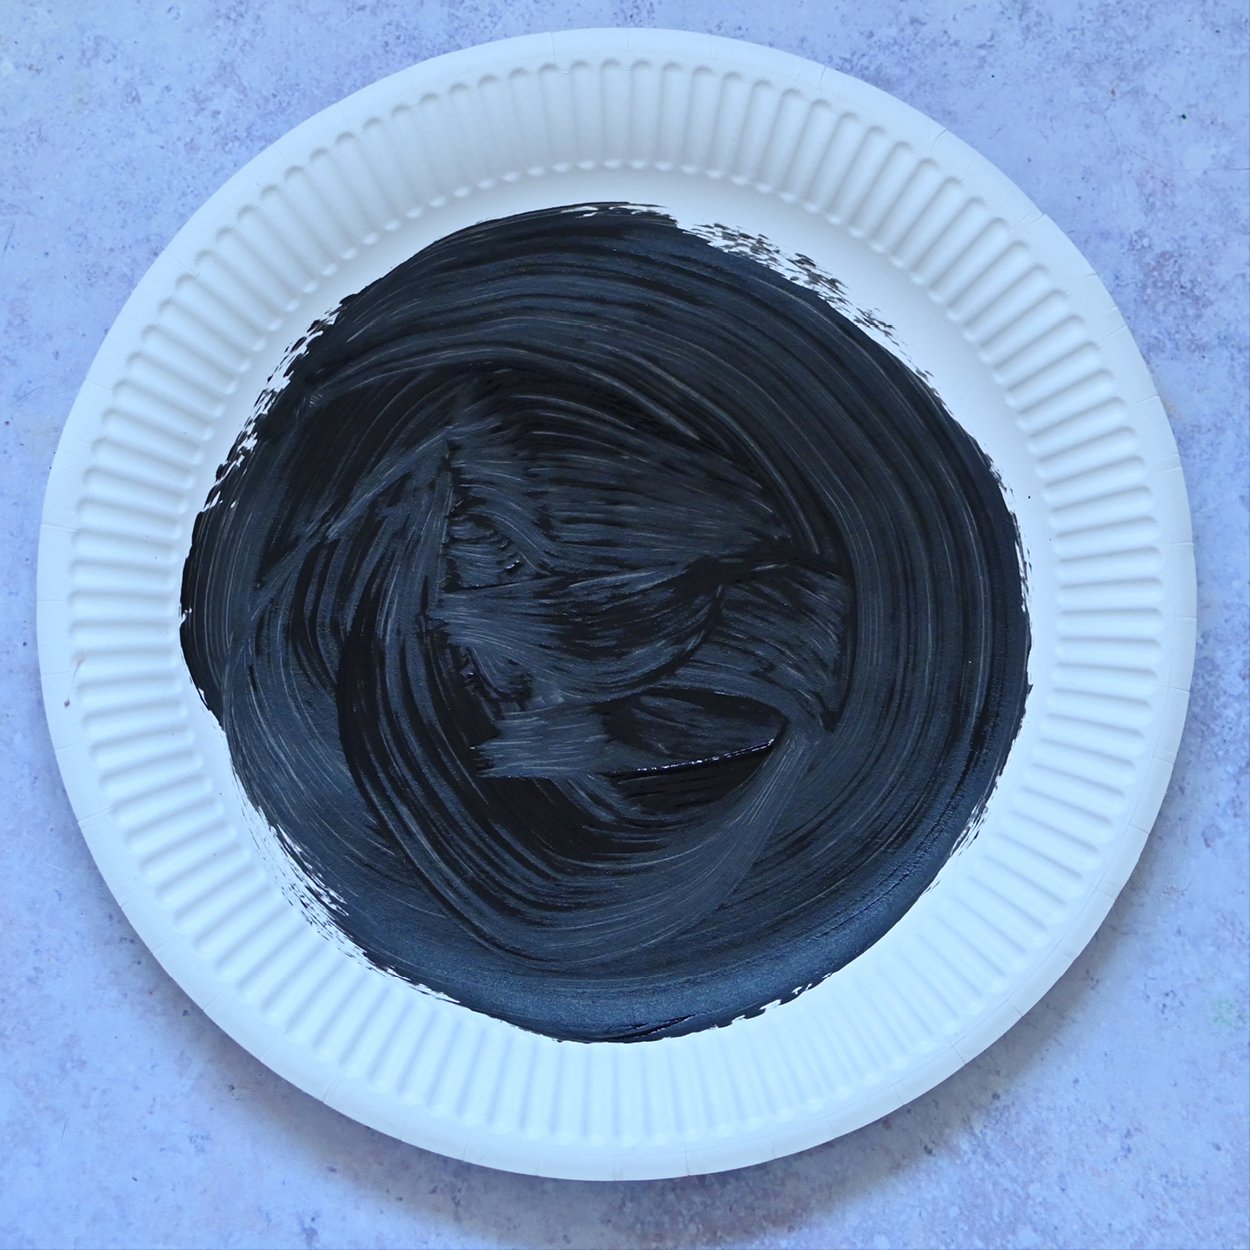
Paint one plate black and one paint red and leave to dry. On the third plate, roughly paint the inner circle black.
Step 2
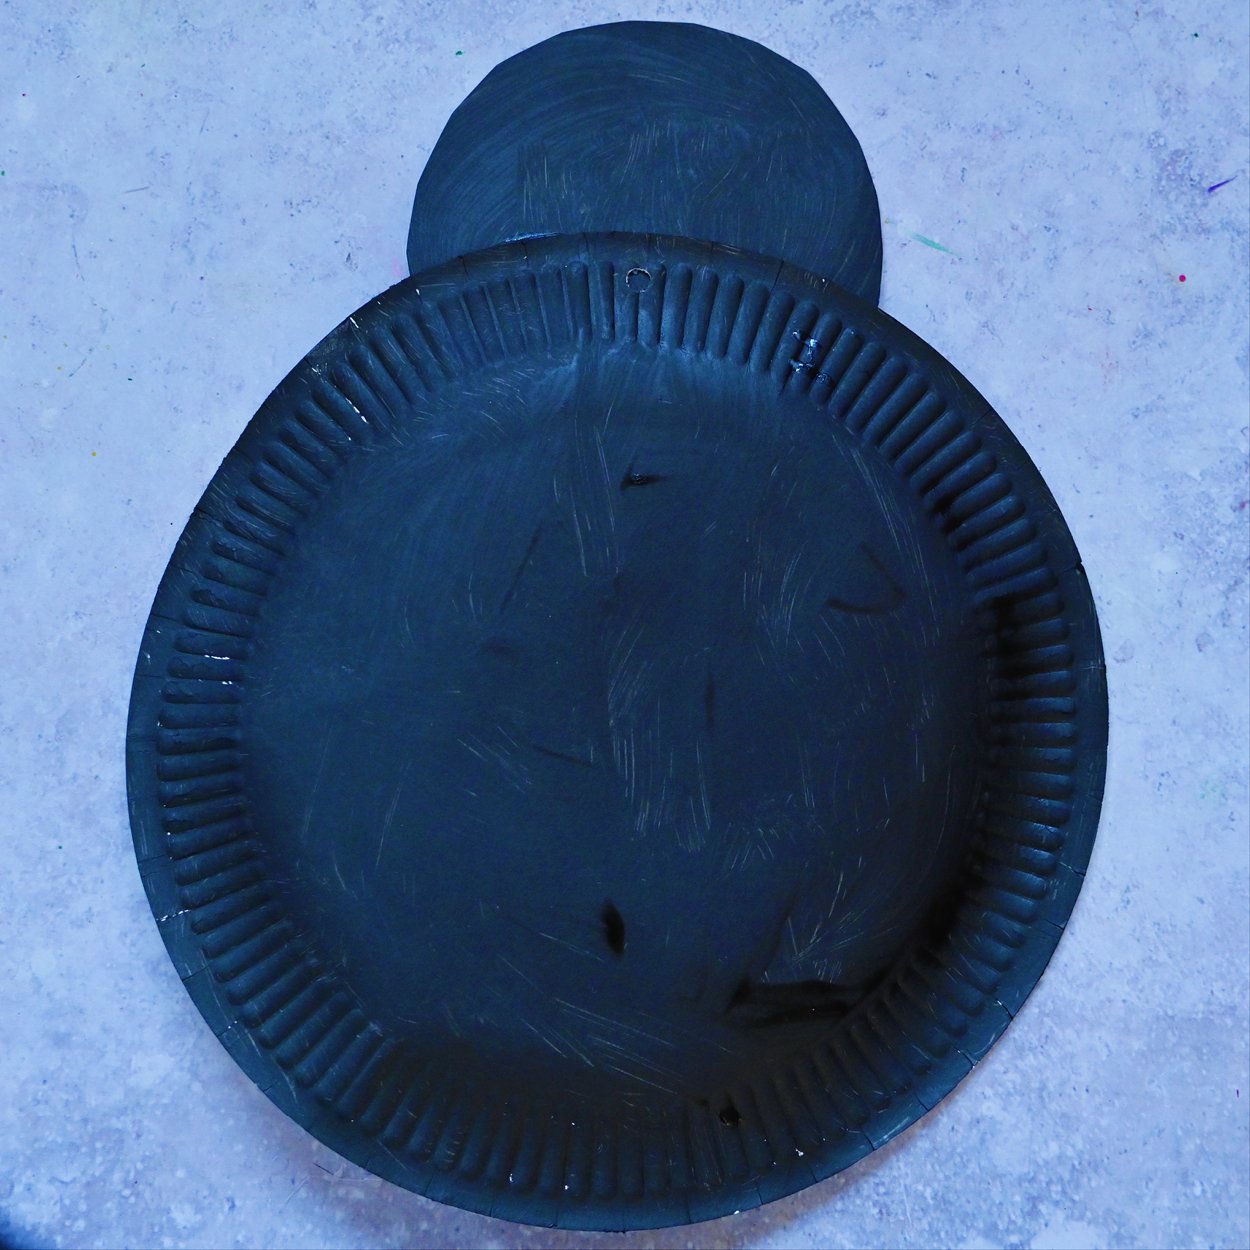
Once dry, cut the inner circle out and glue it to the top of the black plate (behind) to create the ladybird's head.
Step 3
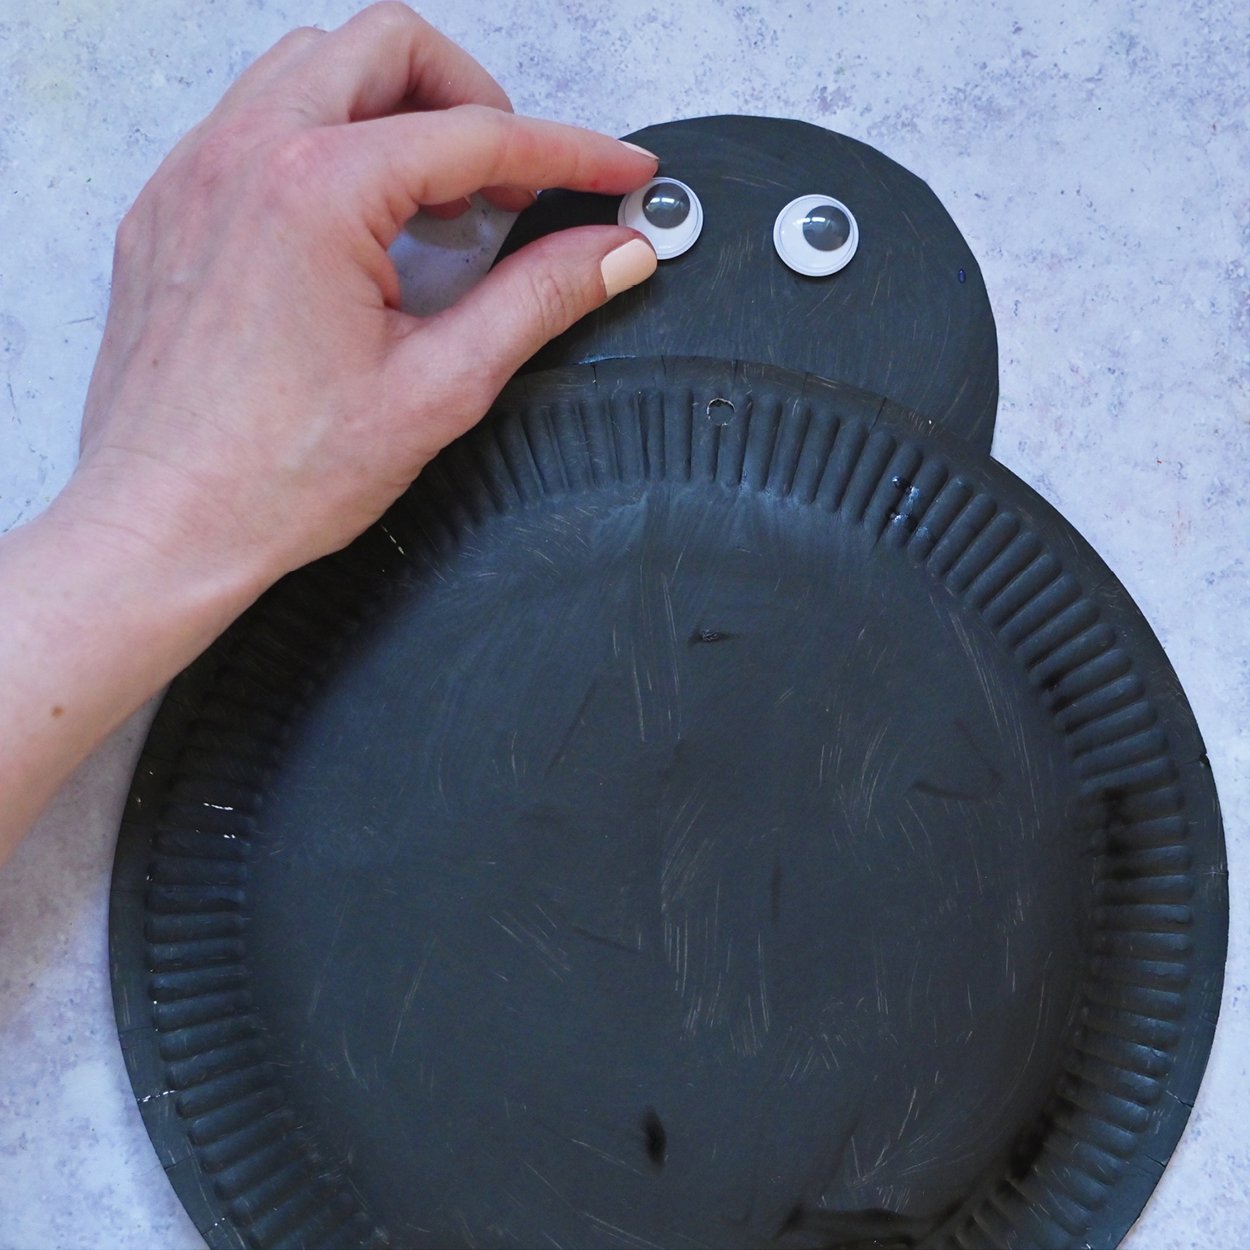
Glue on some wiggly eyes to the small circle.
Step 4
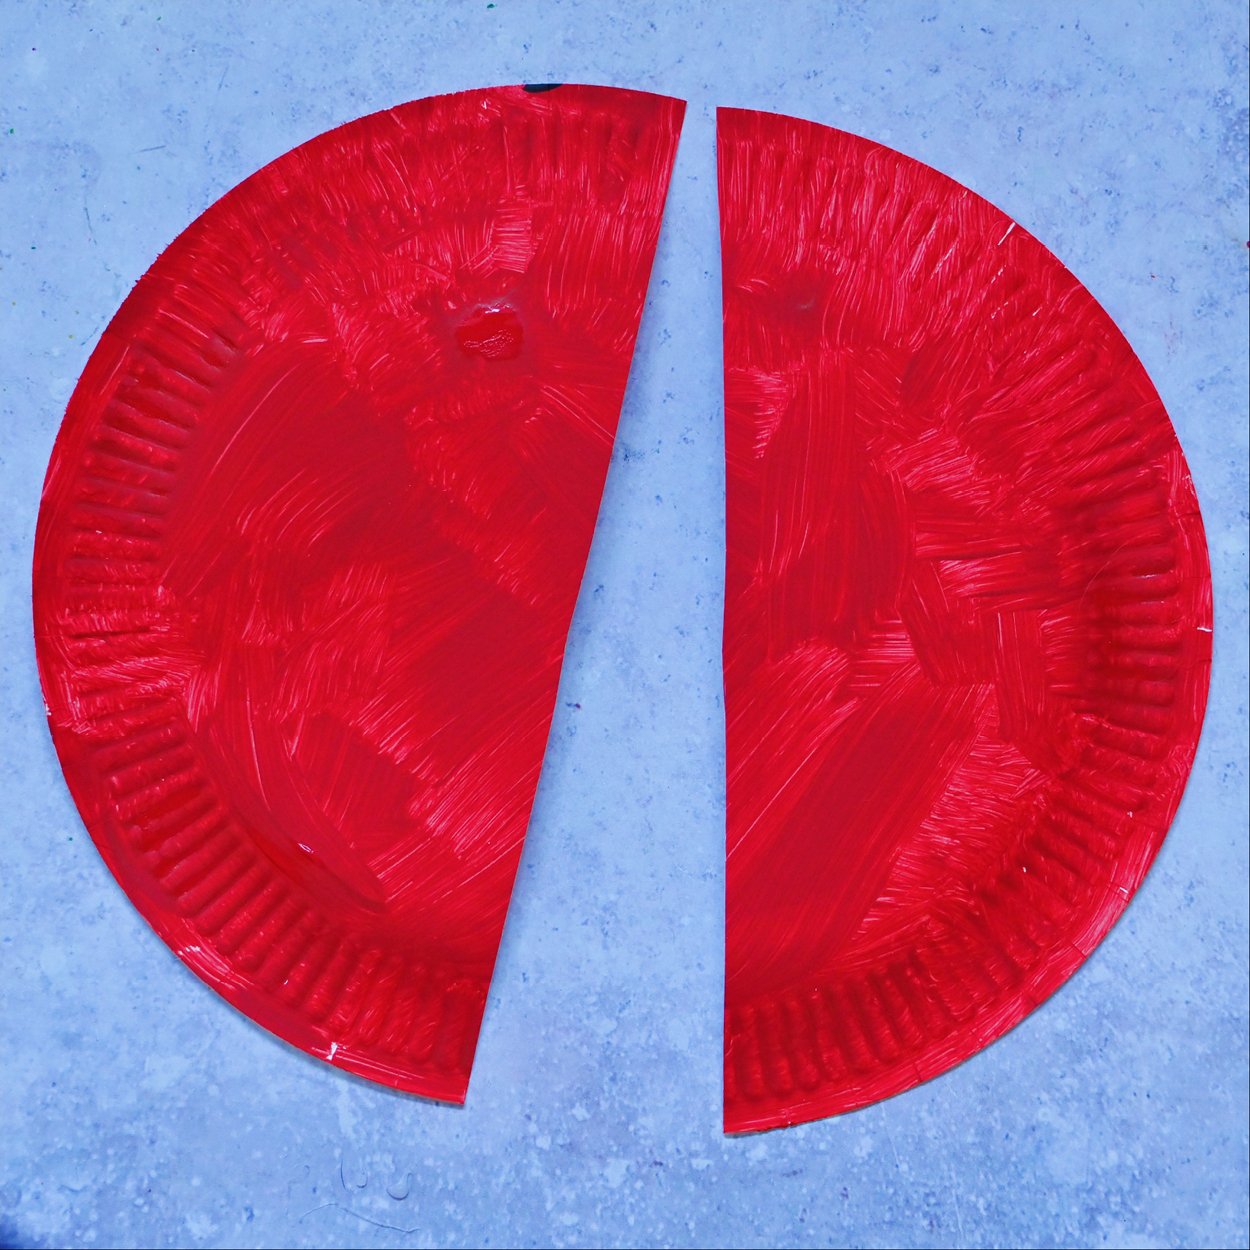
Cut the red plate in half for the wings.
Step 5
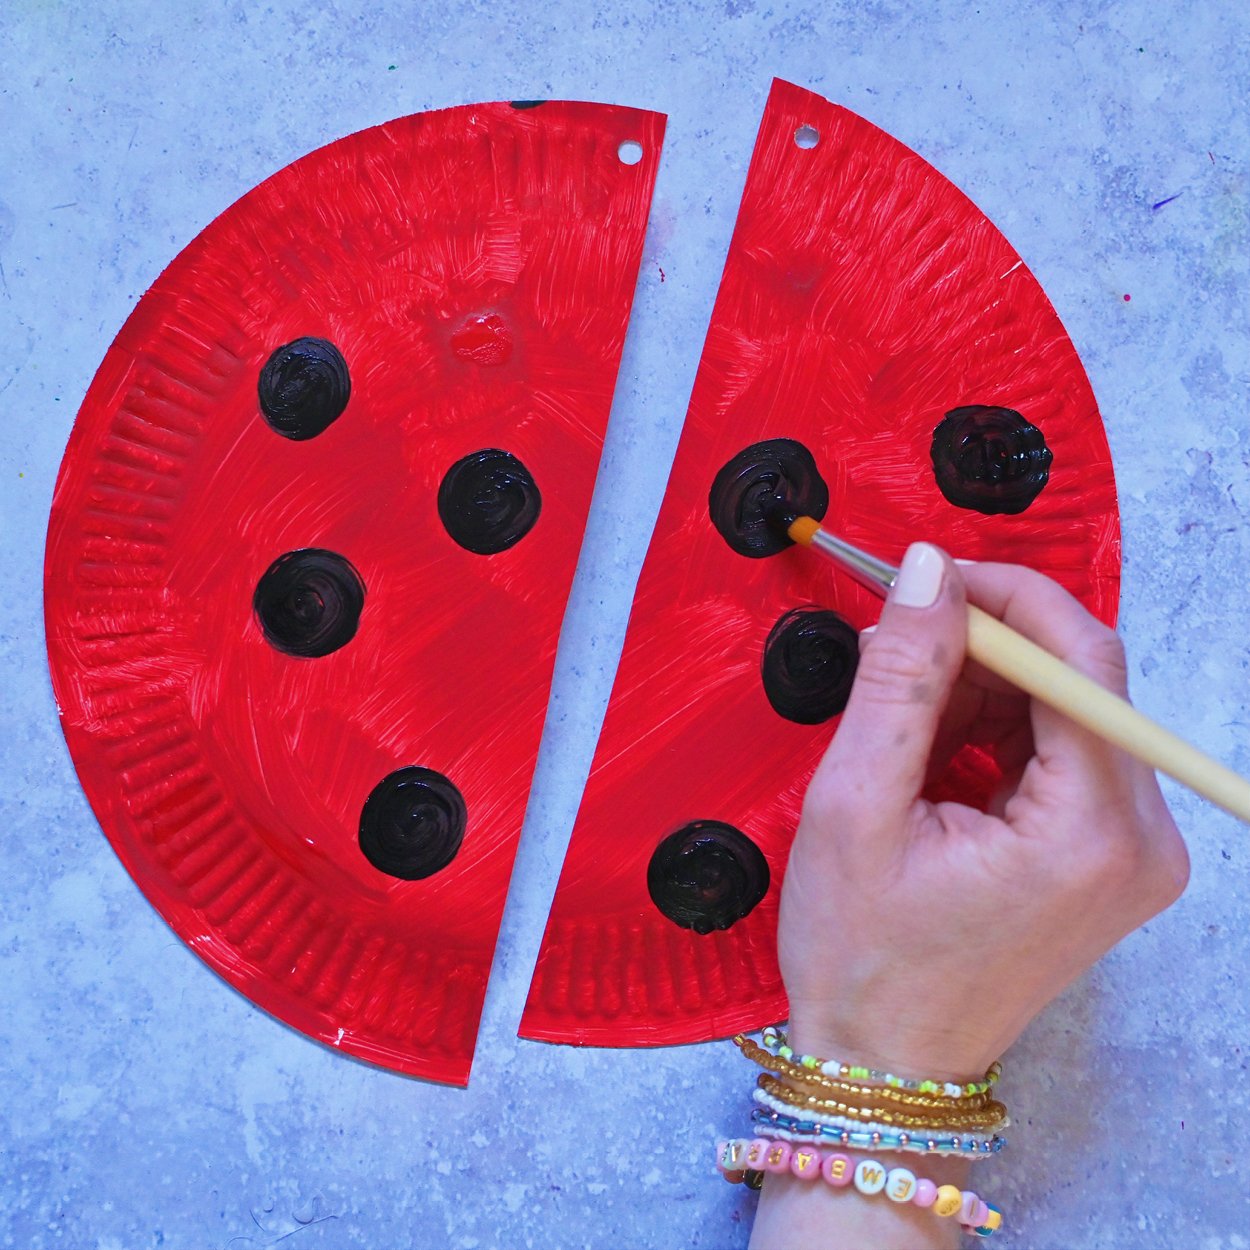
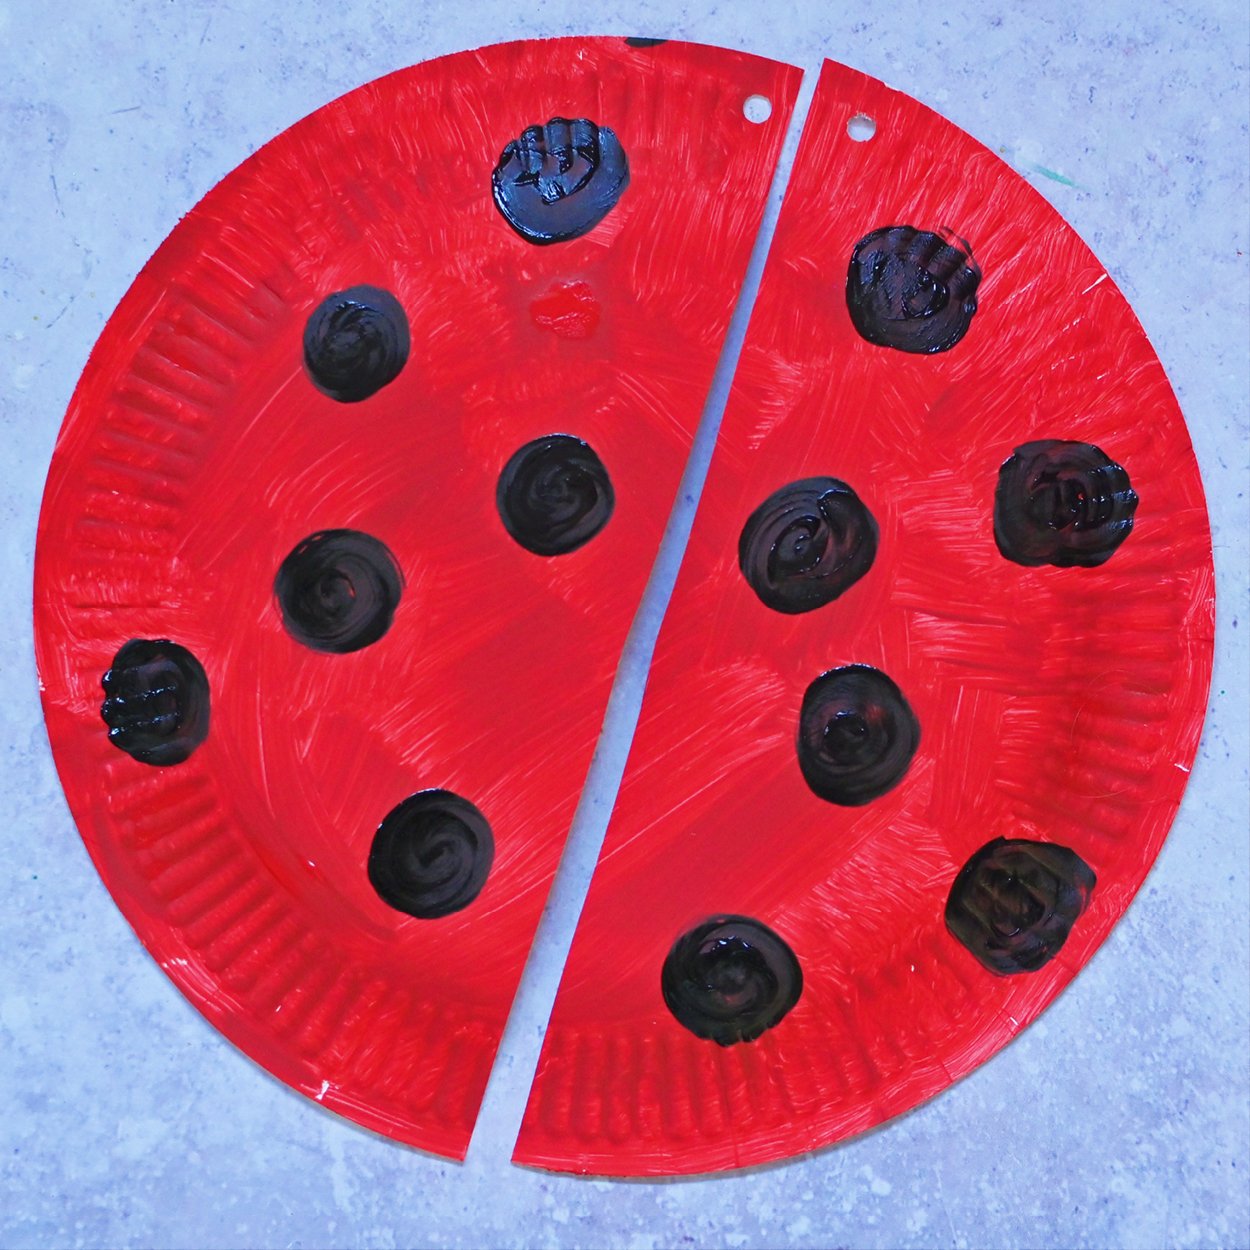
Punch a hole in the top corner of each semicircle and paint equal black spots on each side.
Step 6
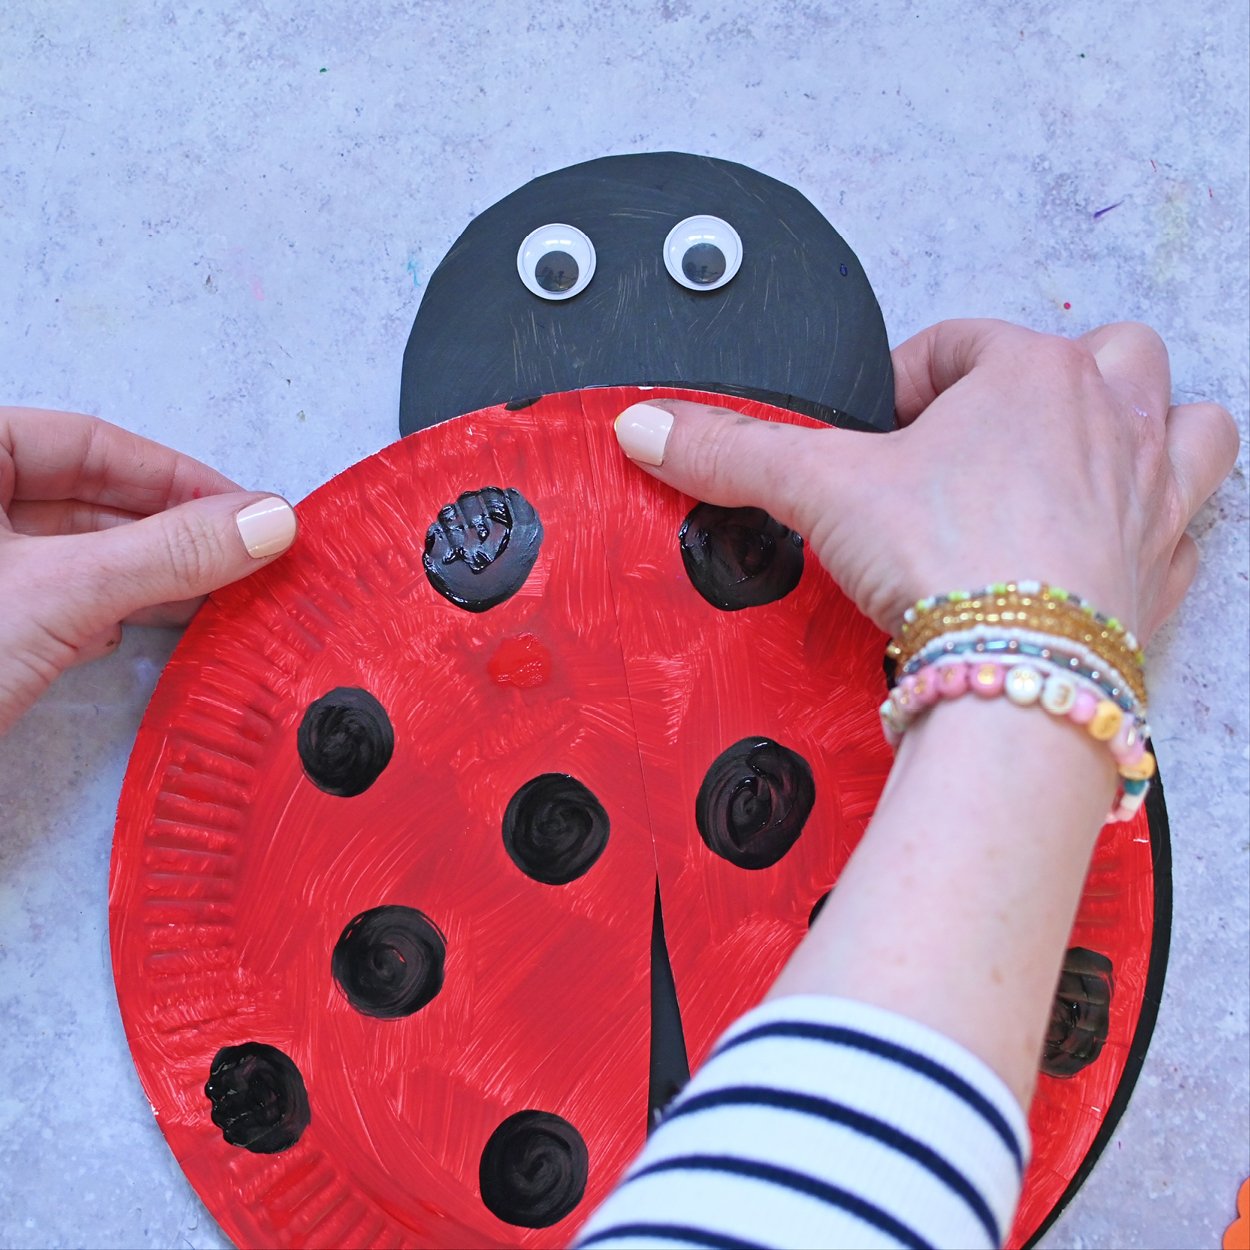
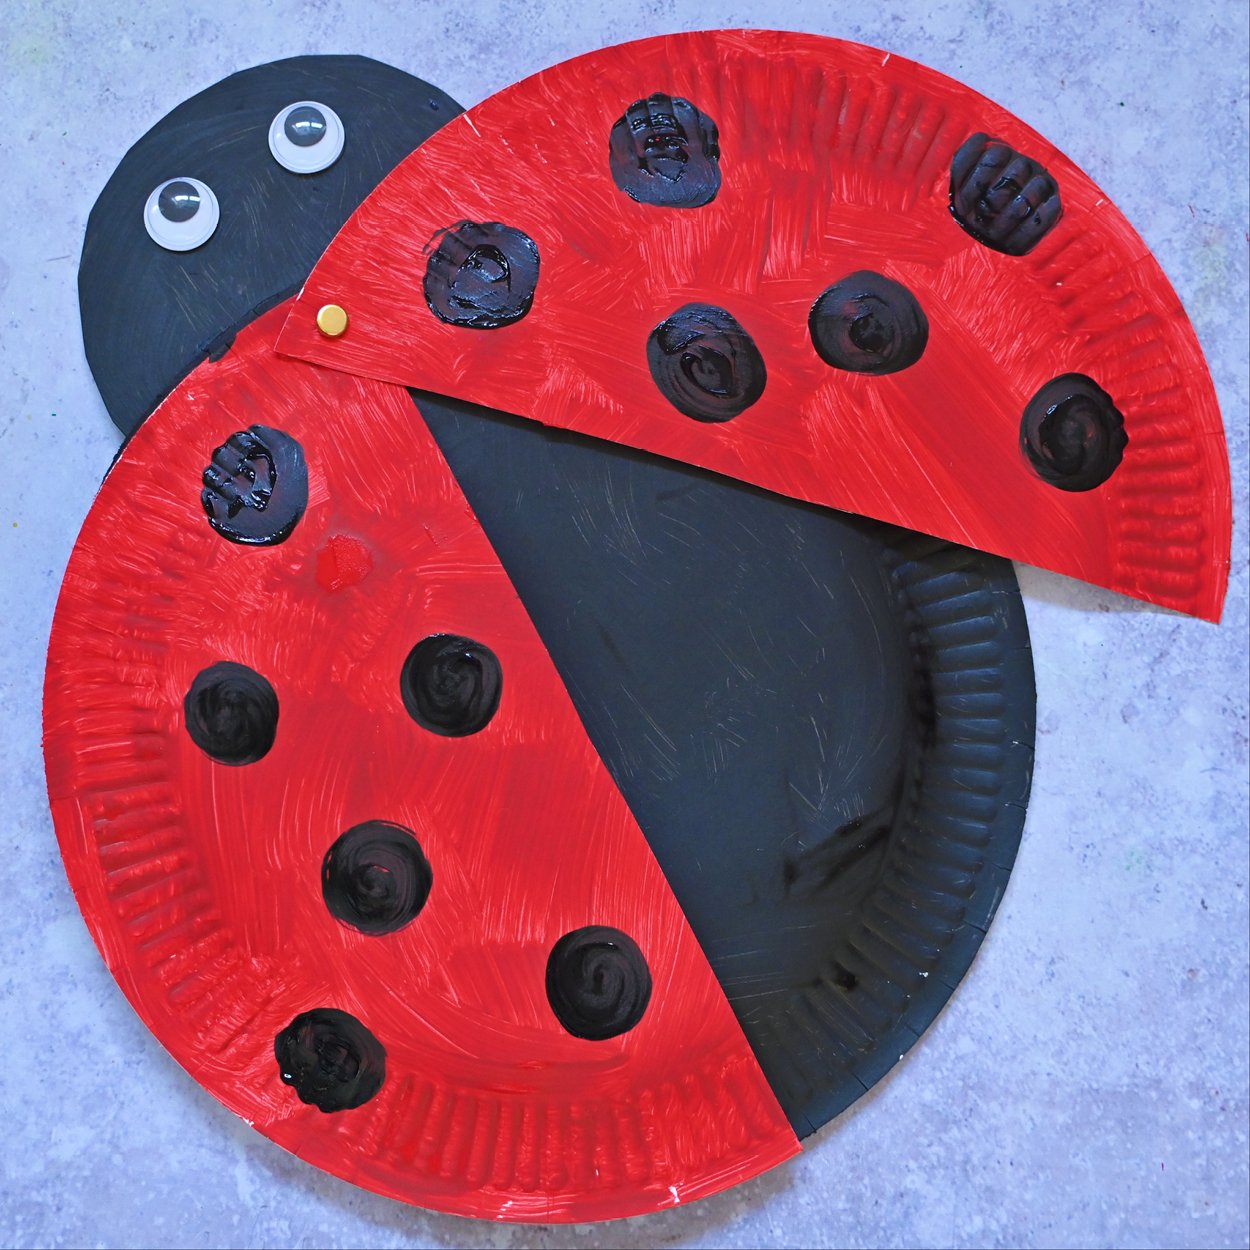
Place the red wings on top of the body, overlapping the holes. Push in a split pin to secure them and flatten the back to finish.
Ice Cream Collage
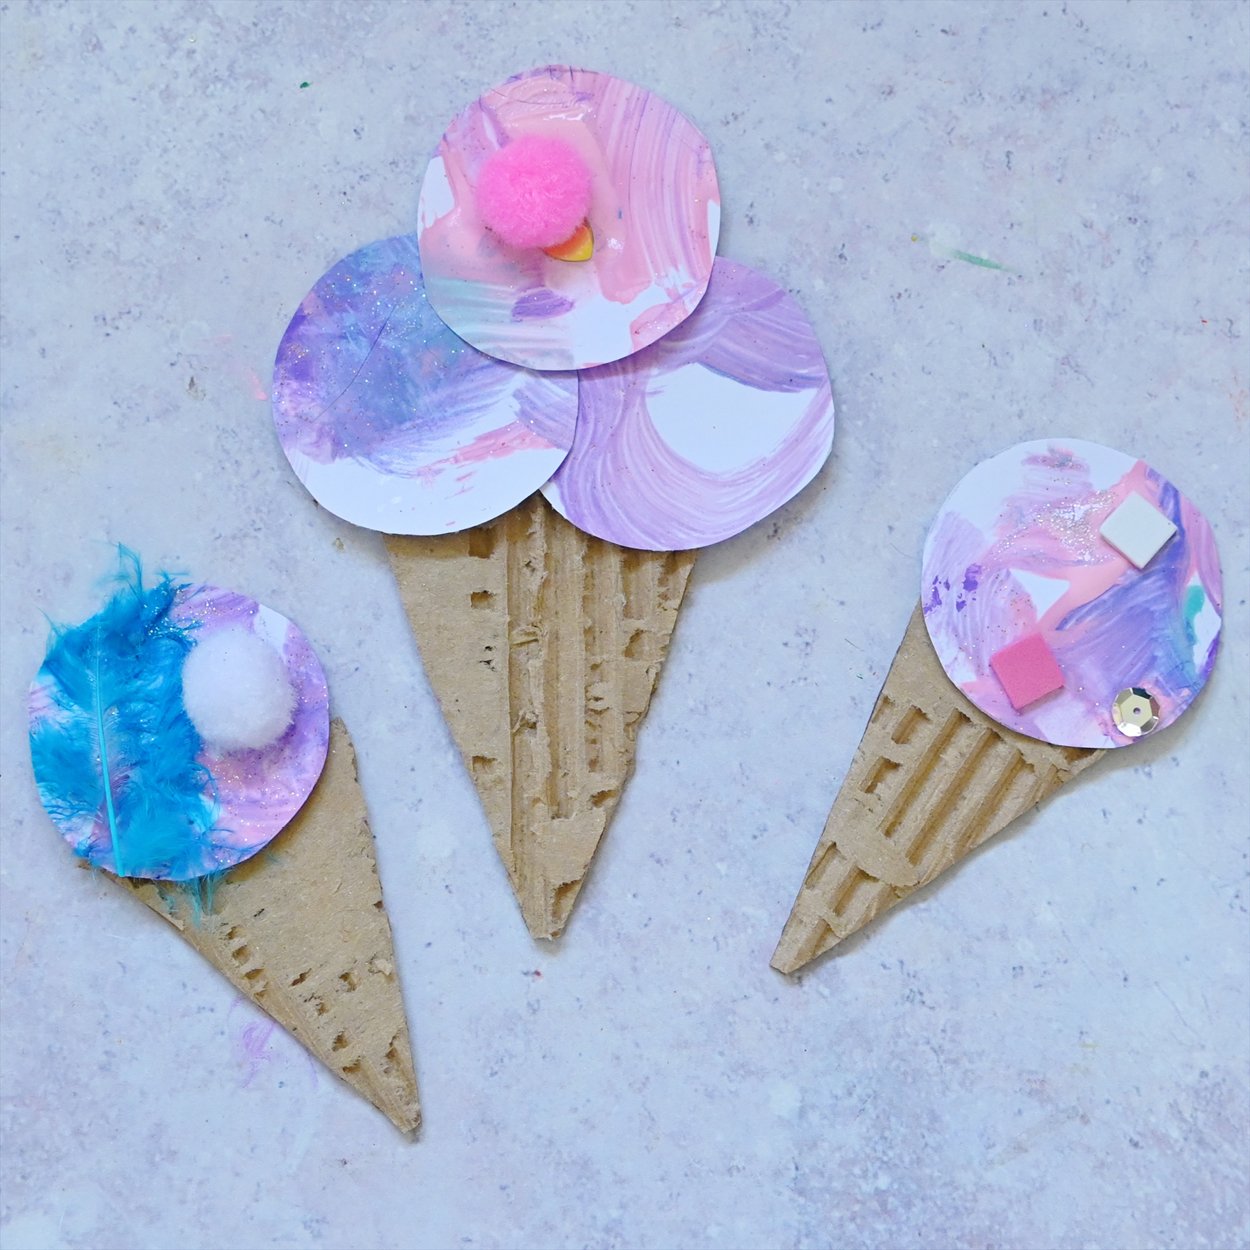
A summer craft that's almost good enough to eat! These ice cream collages are so much fun to make with kids and can lead to so much creativity. Little felt balls from our craft bundle can be used for cherries, foam shapes can be marshmallows, and sequins for sprinkles - the possibilities are endless!
You will need:
- Craft bundle
- Paint
- Paintbrush
- Paper
- Glue
- Cardboard
Step 1
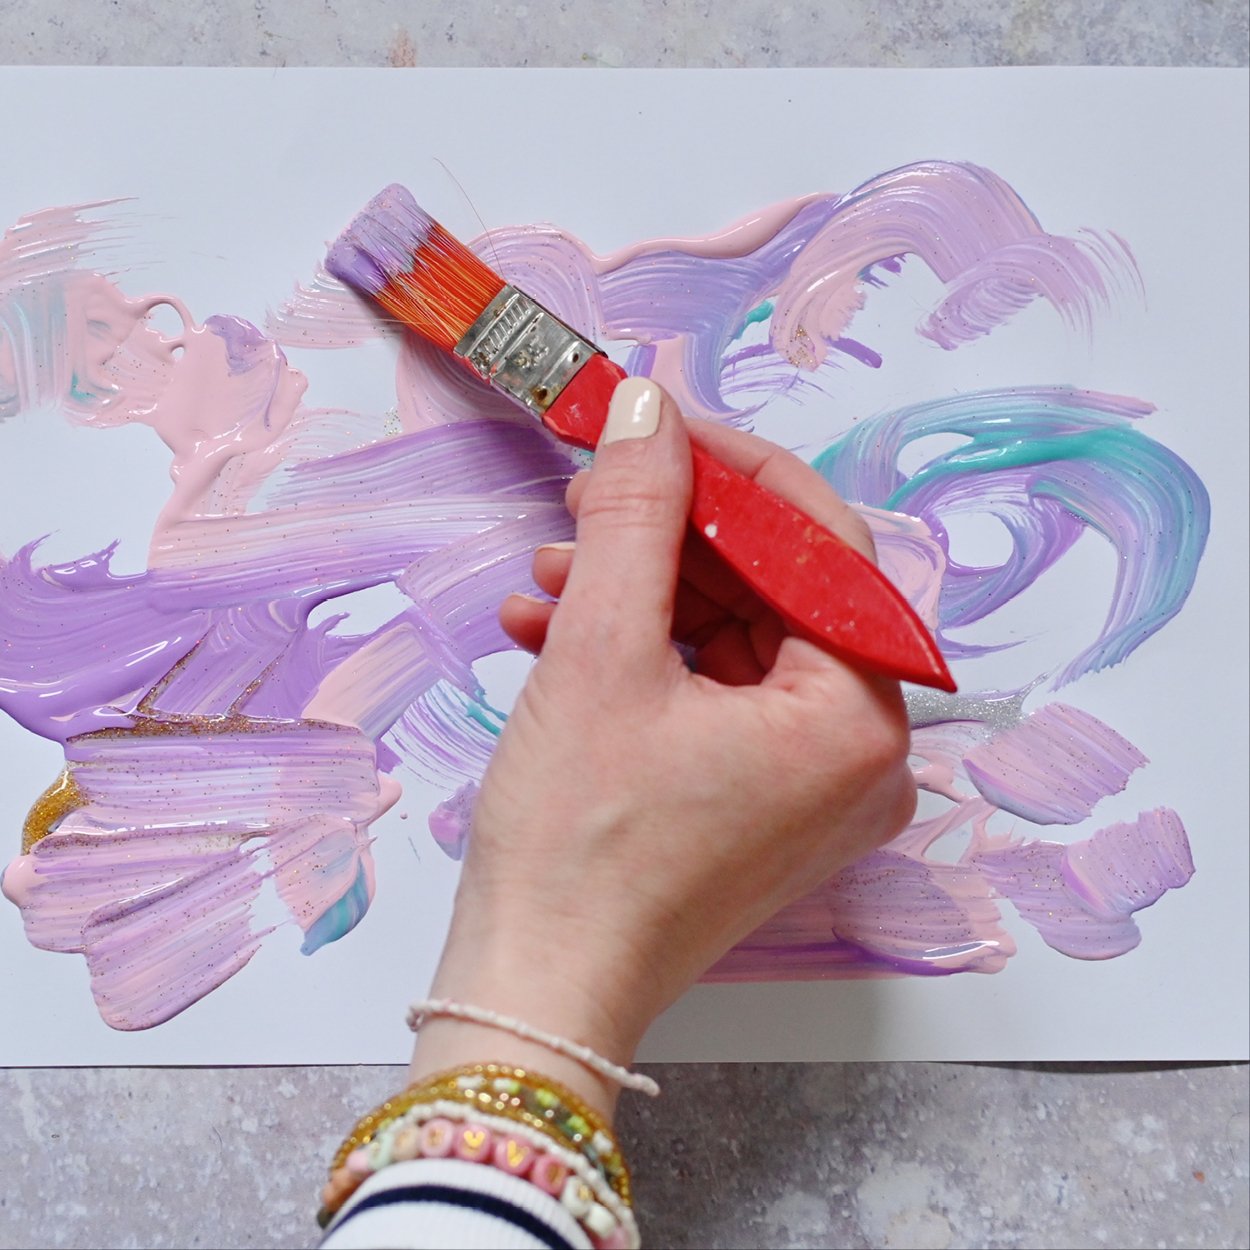
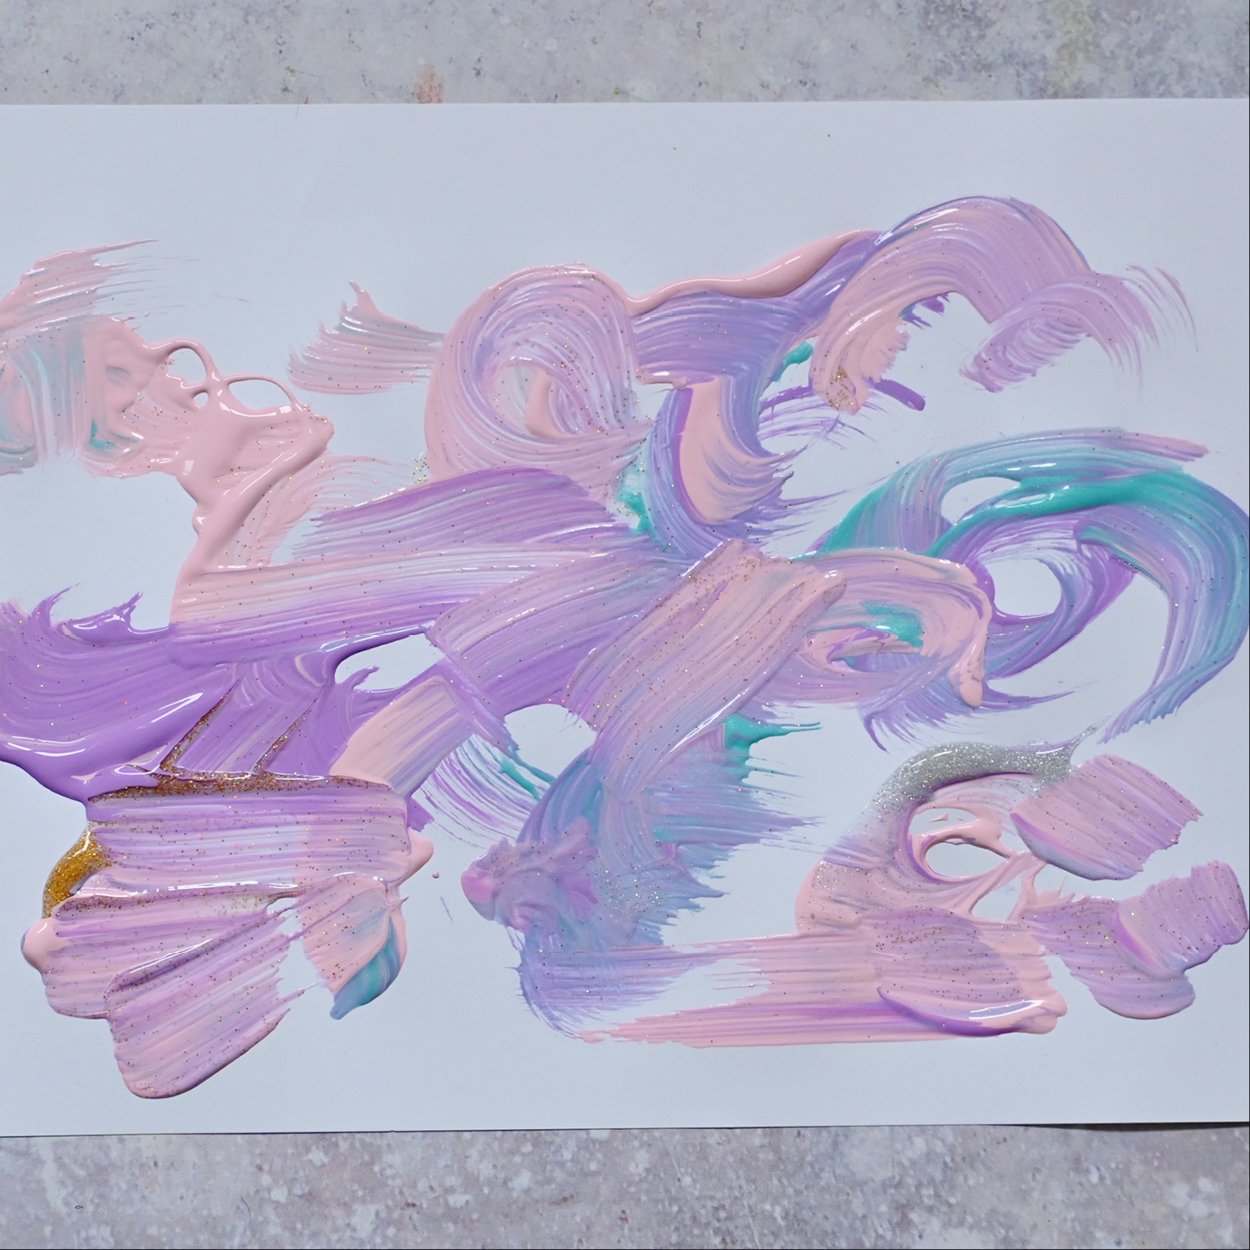
Cover a piece of paper with paint, glitter, and another further decoration of your choice from the craft bundle and leave to dry.
Step 2
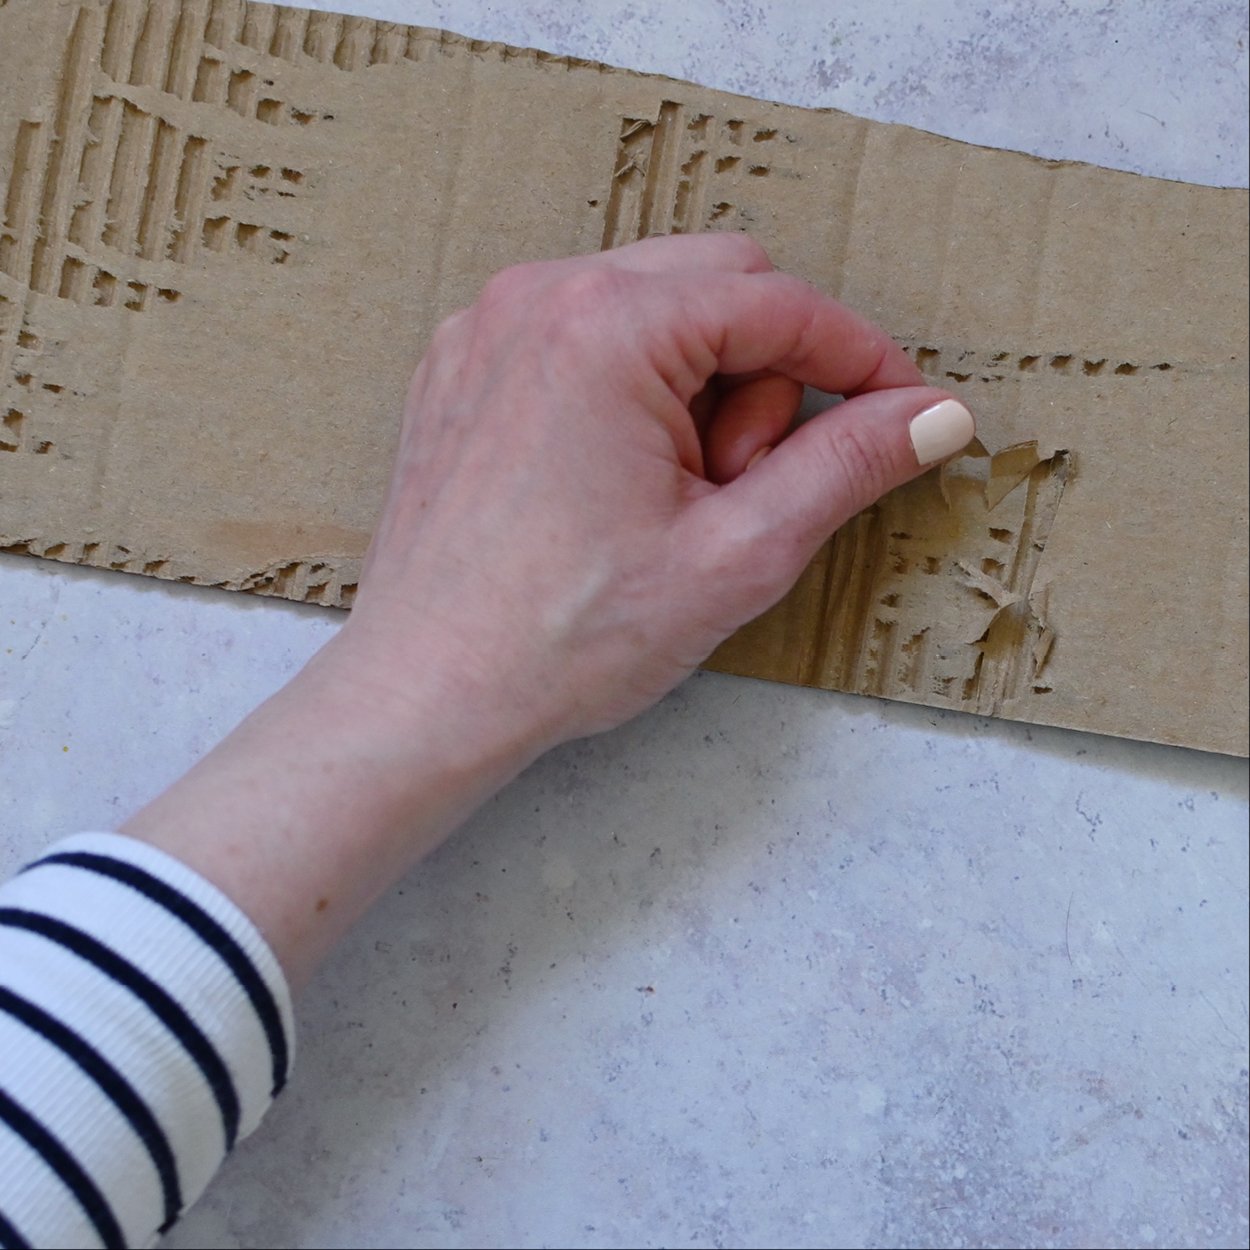
Get some cardboard and peel off some of the top layer to reveal parts of the corrugated layer (see image).
Step 3
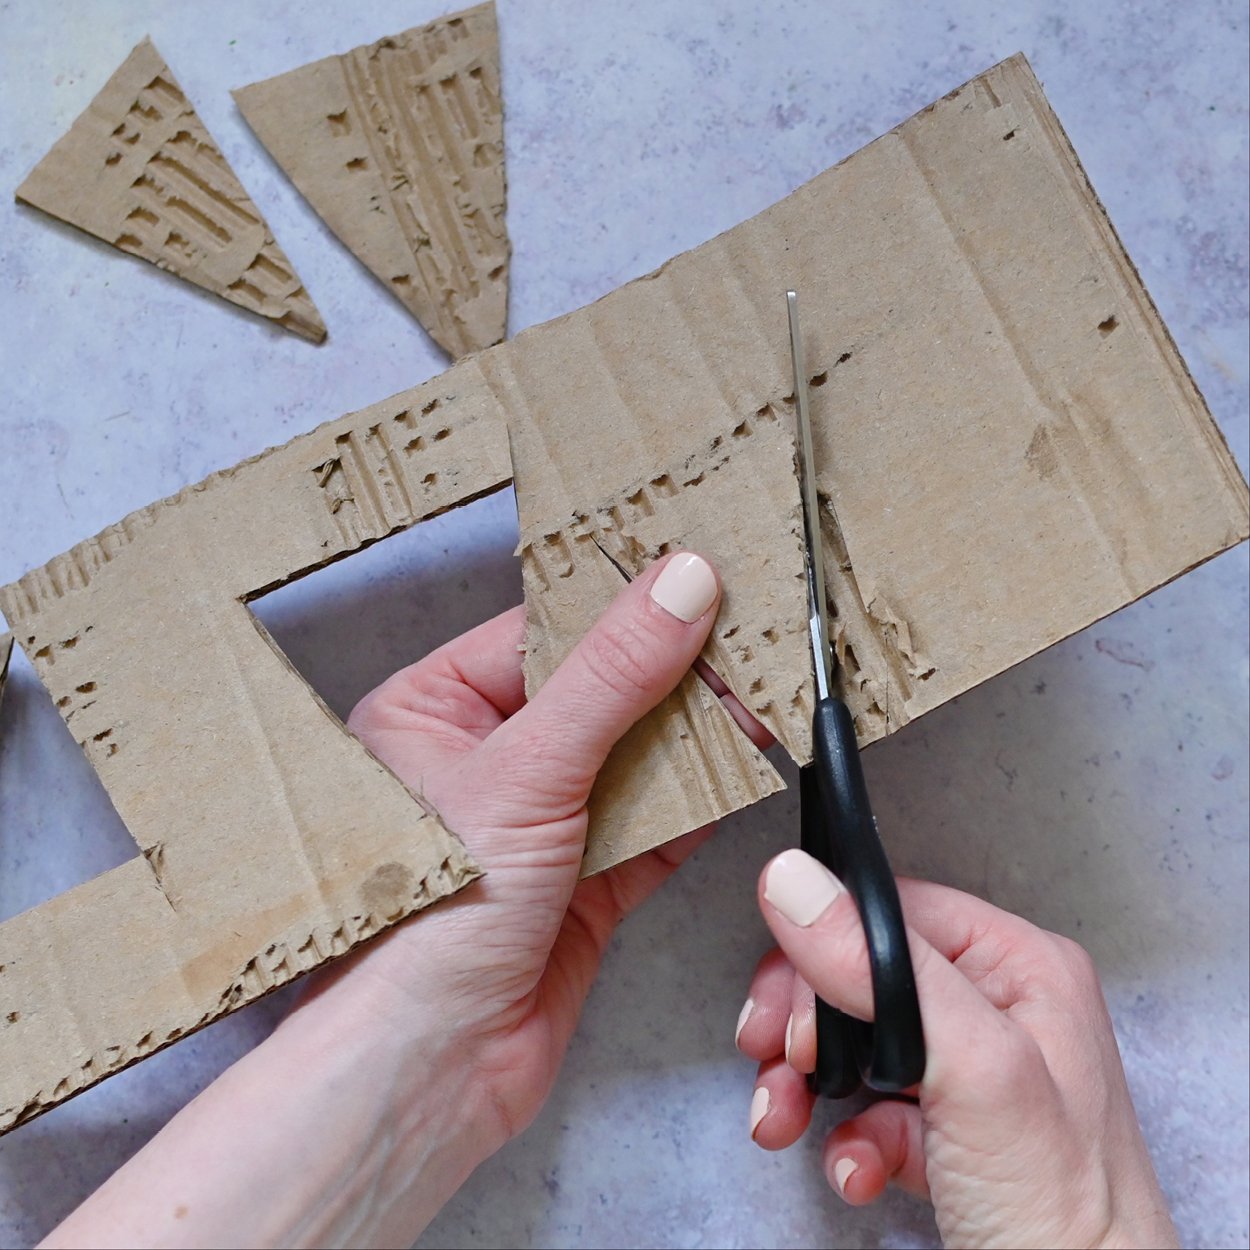
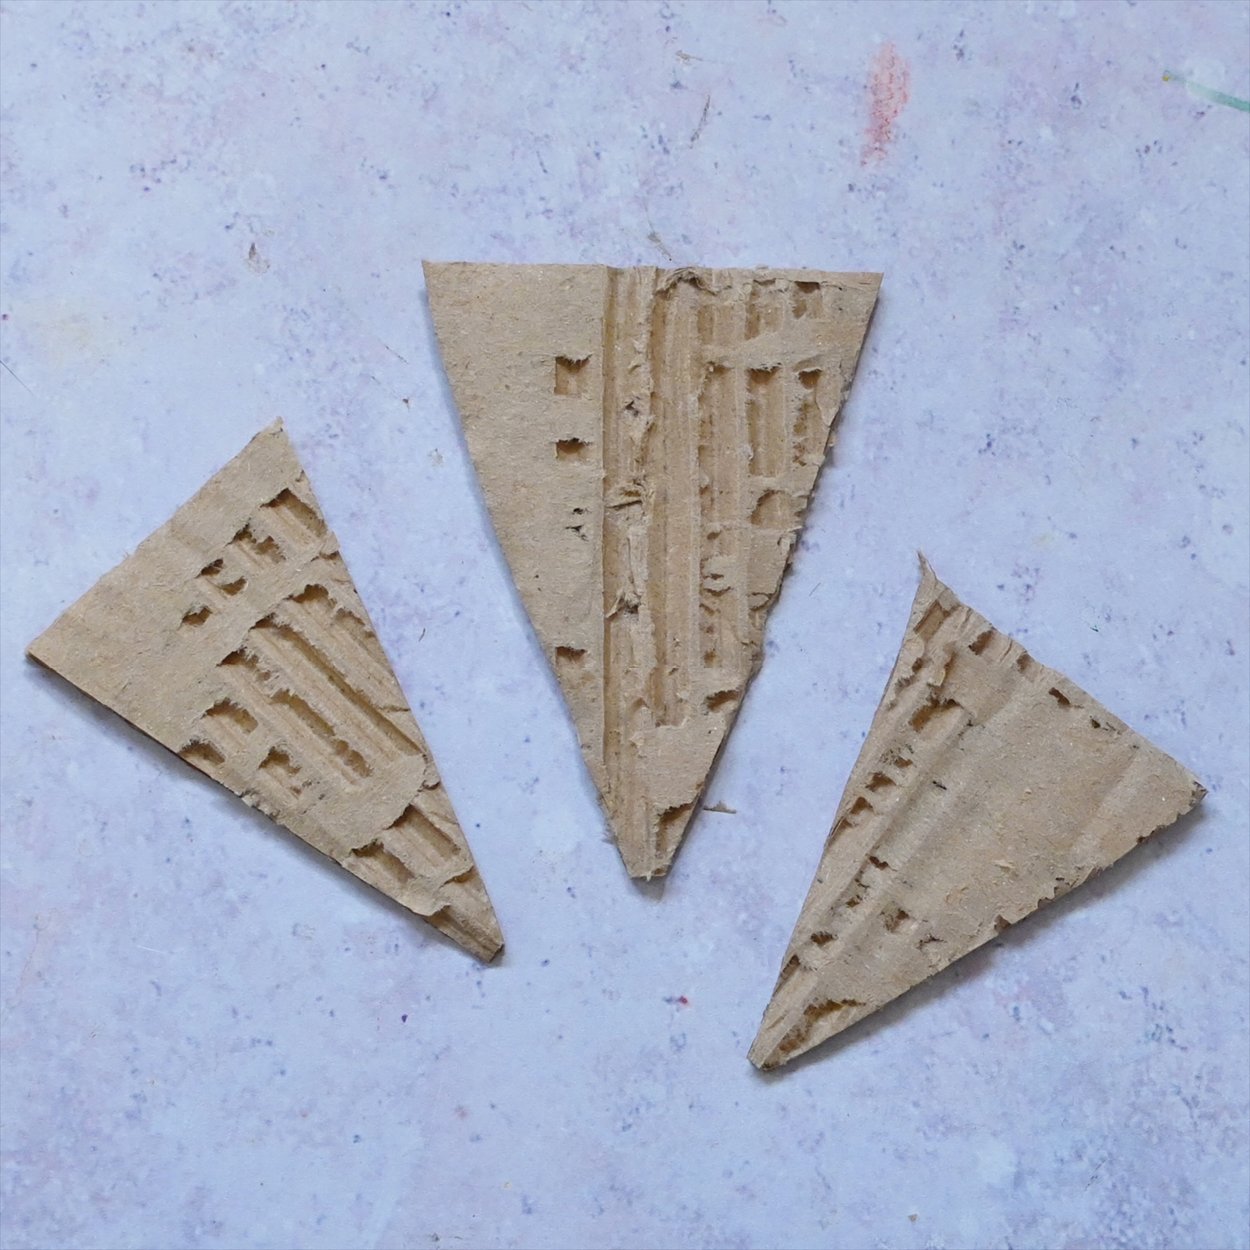
Cut some rough triangle shapes to make cones out of the cardboard.
Step 4
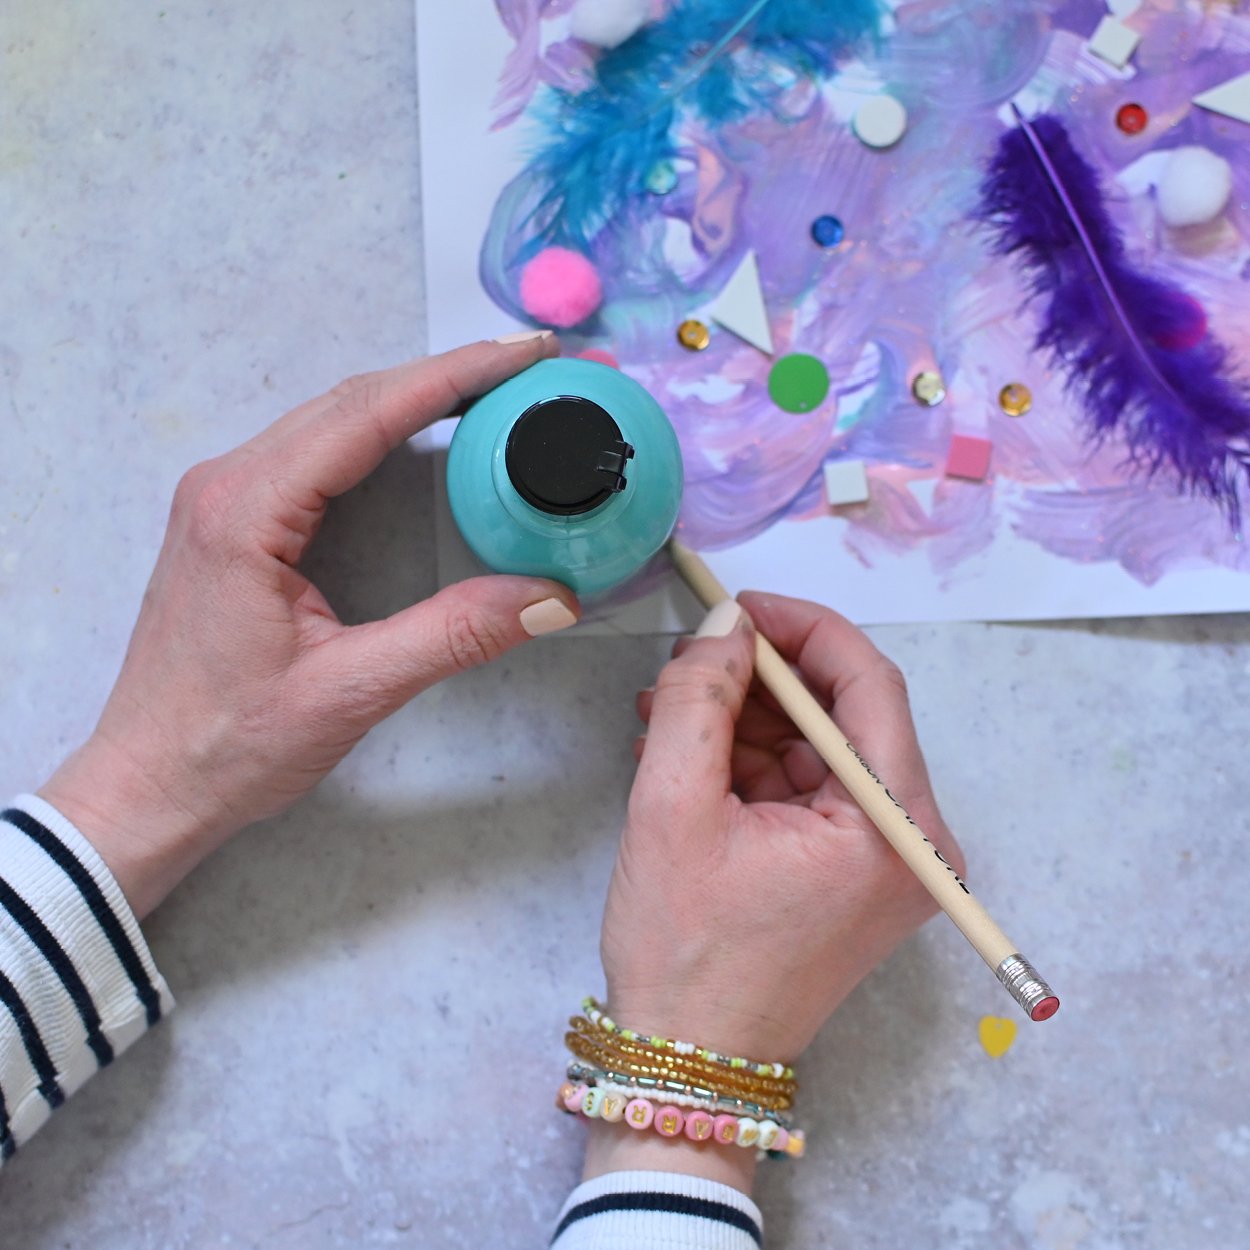
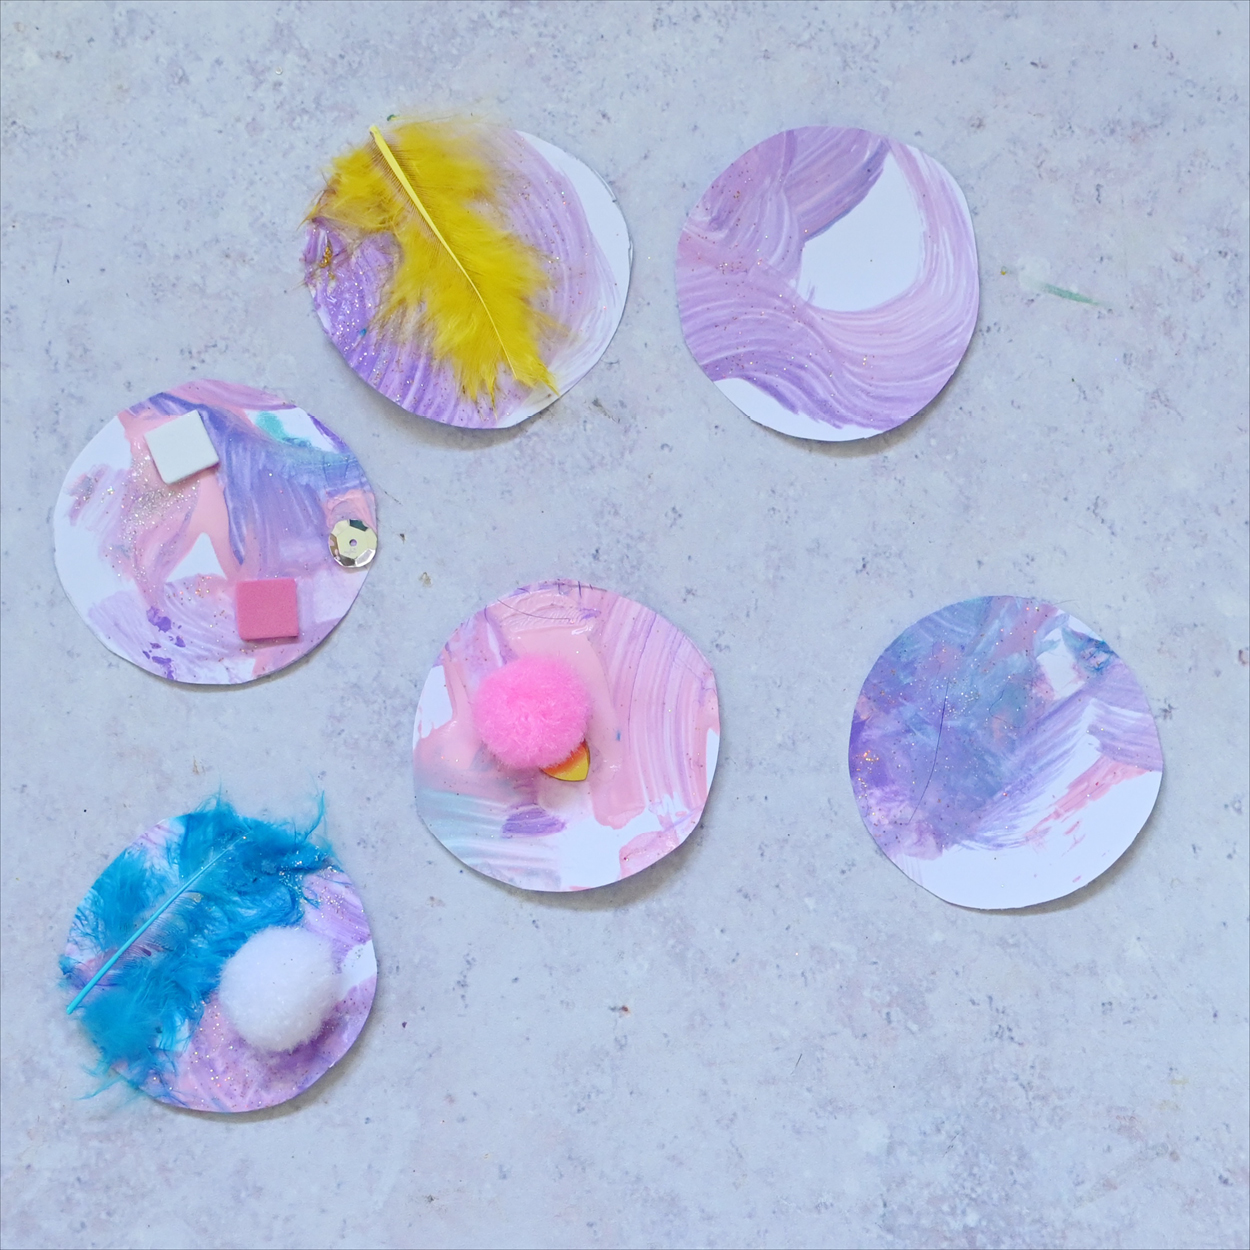
Going back to the decorated paper, draw around something circular, such as the base of a paint bottle, and cut it out to create the scoops of ice cream.
Step 5

Glue your colourful ice cream scopes to the top of the cone. You can mix it up here and create single, double, or even triple scooped ice cream!
Craft Stick Frames
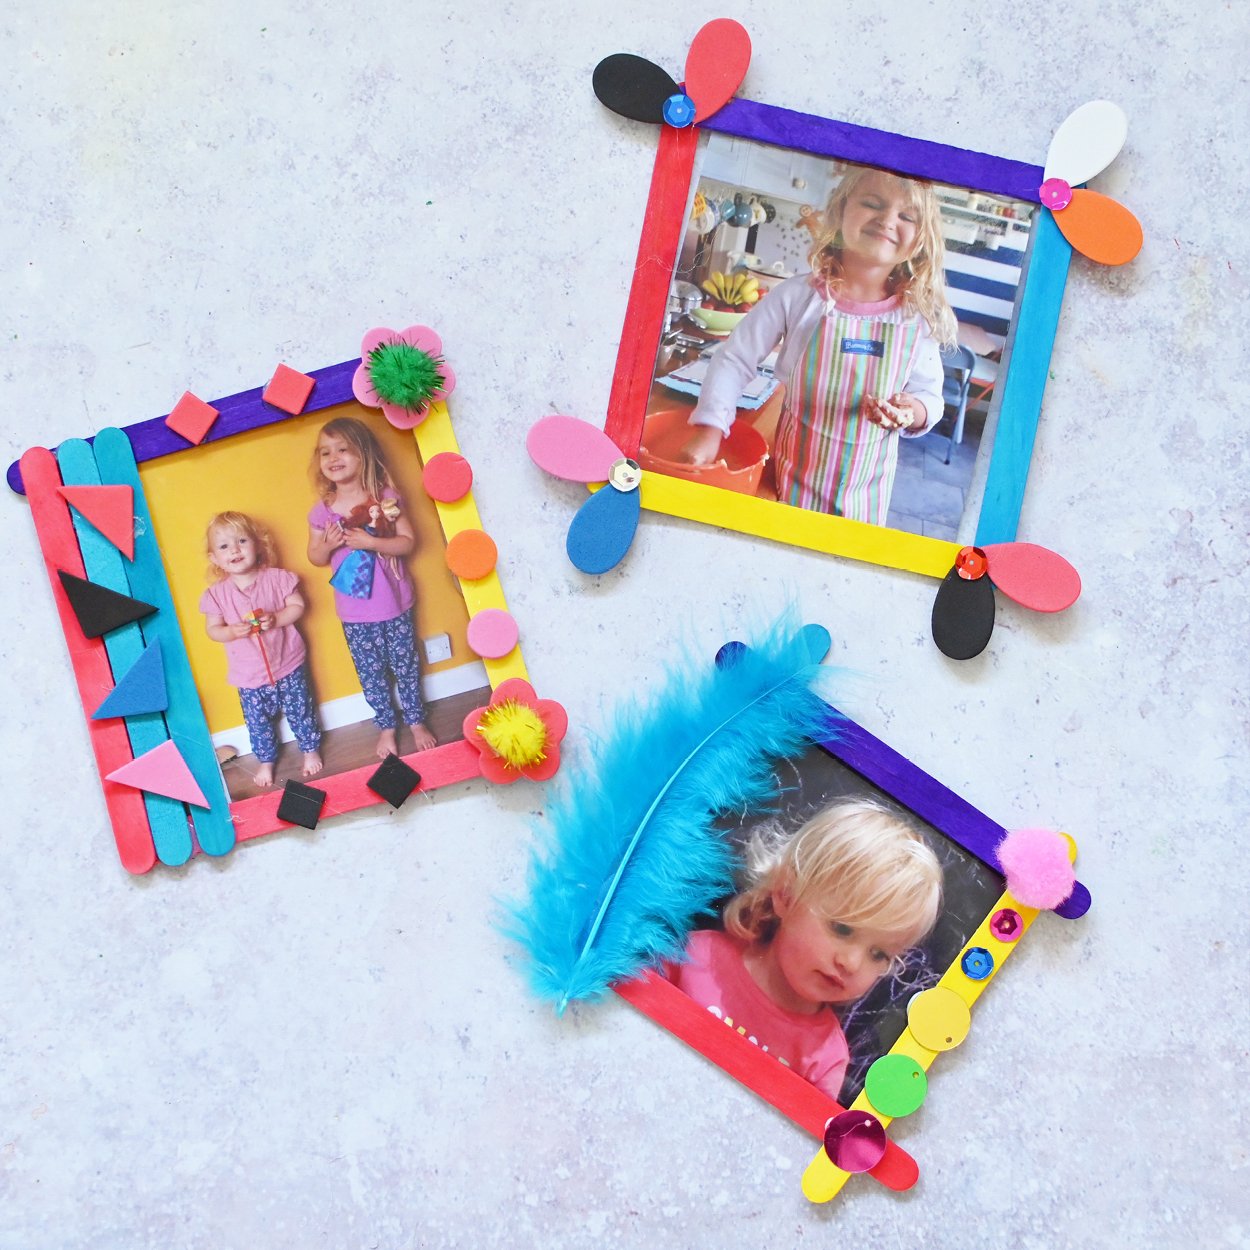
Perfect little keepsakes for children, these craft stick frames are a lovely item for children to make. They could be made to remind them of
their friends or family, or as sweet little gifts to give on special occasions. Thiscraft uses glue dots and PVA glue to stick things on, but you can assist your child using a low heat glue gun.
You will need:
- Craft bundle (with craft sticks)
- Photos
- Glue dots
- PVA glue
- Scissors
Step 1
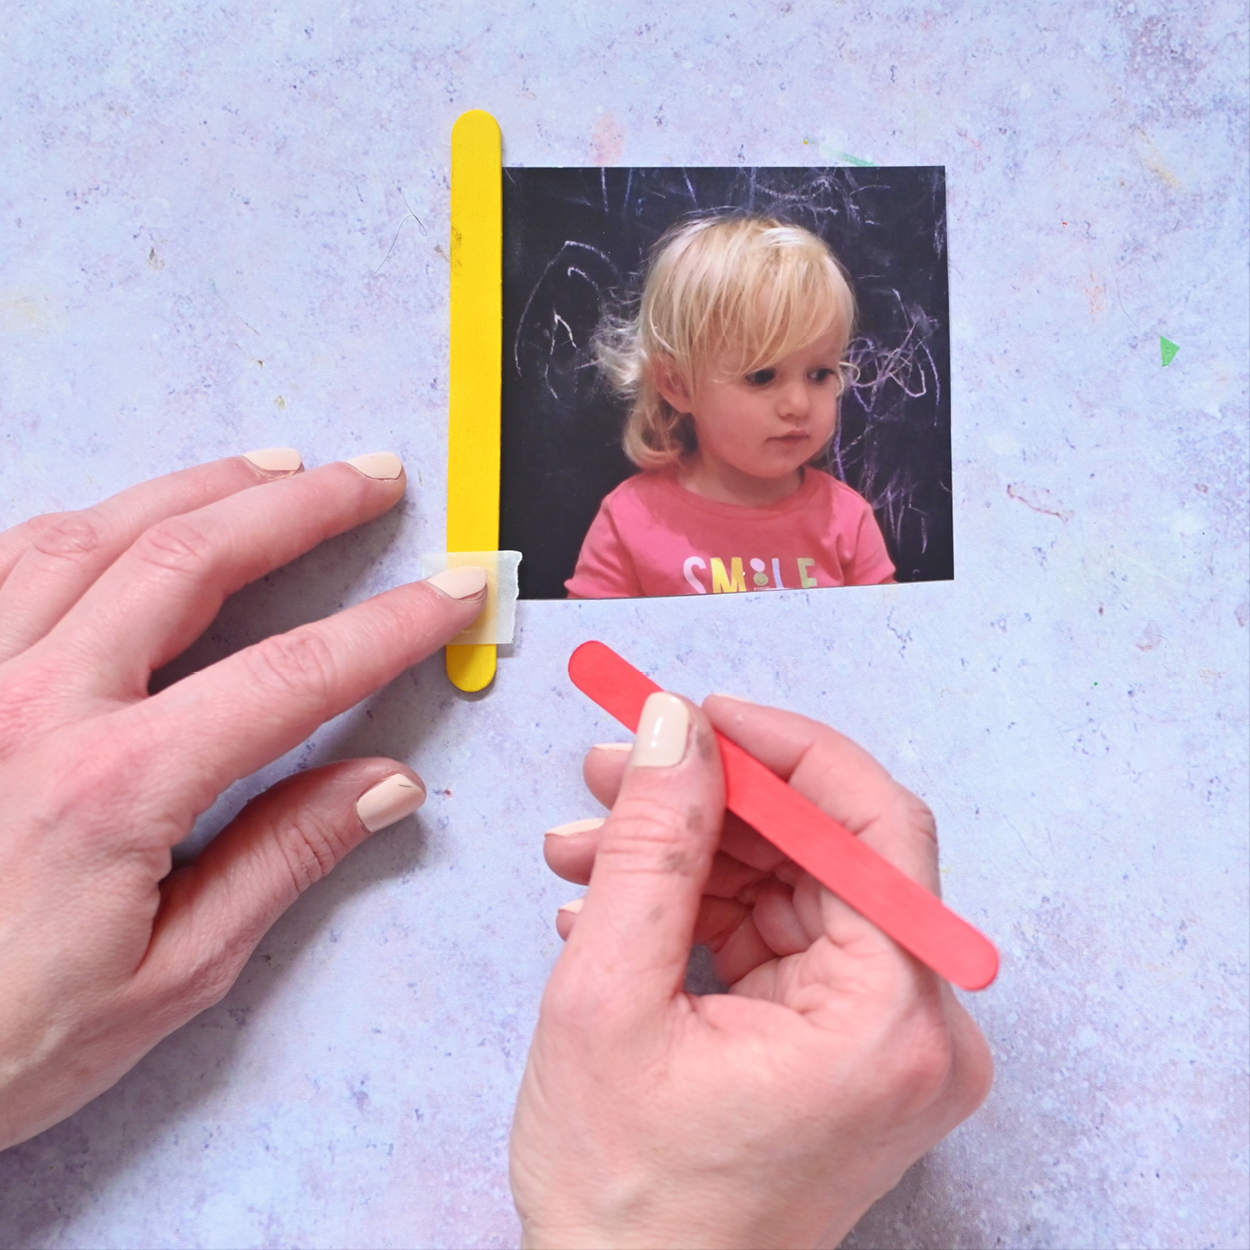
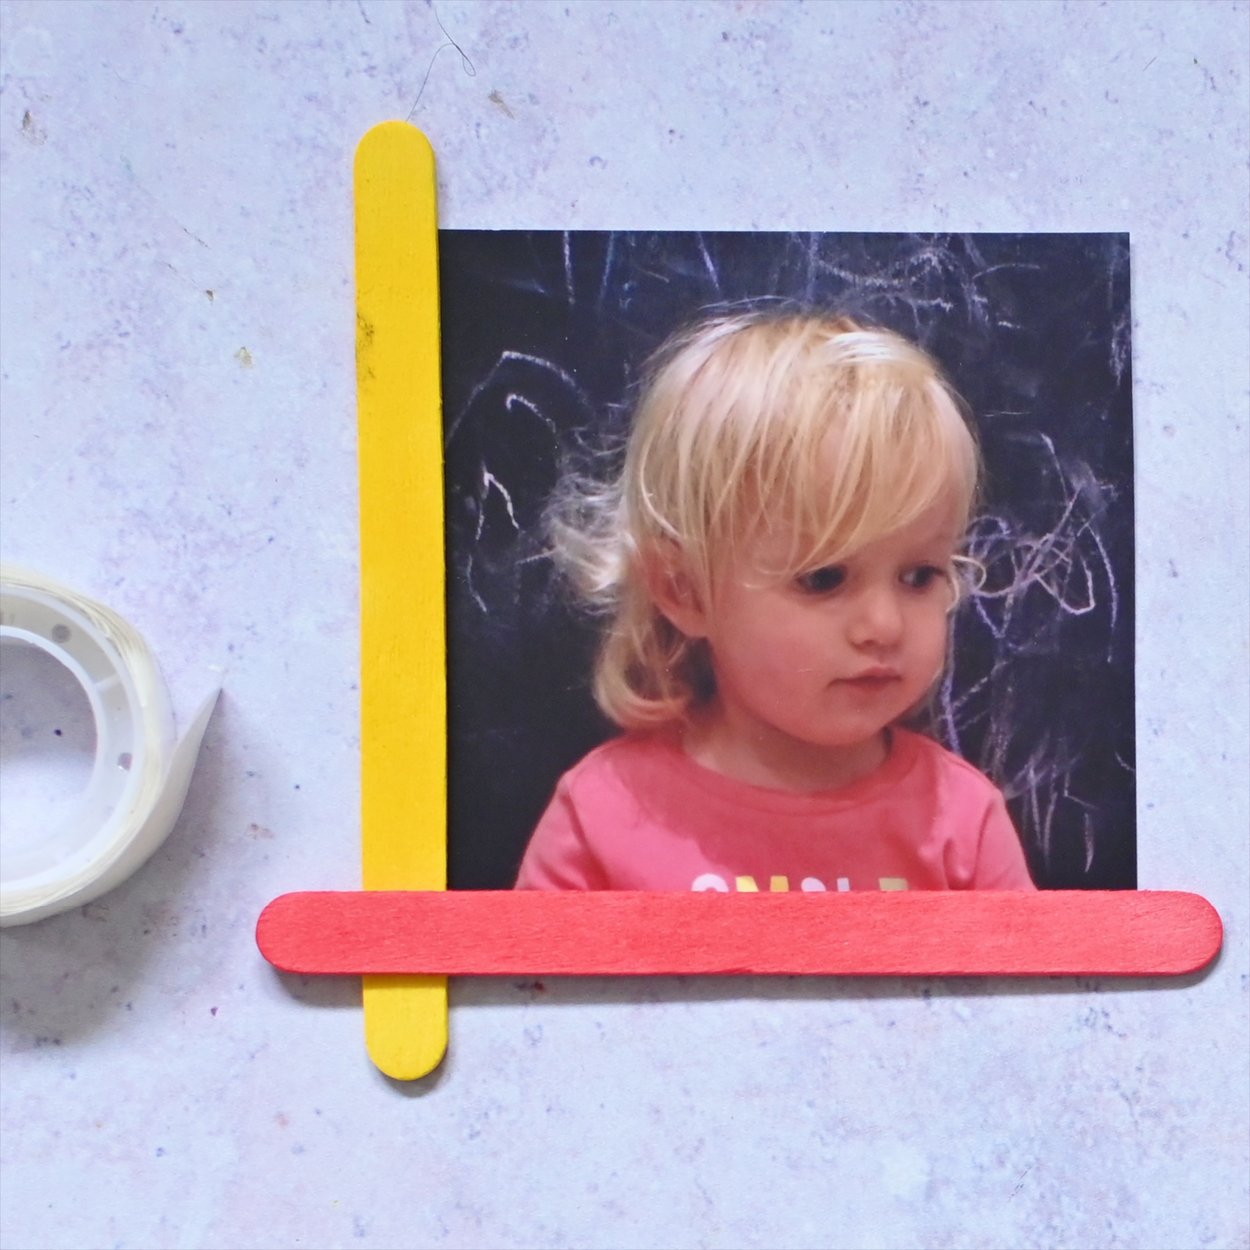
Attach a glue dot to the end of one of the craft sticks and add another on top to create the corner of the frame.
Step 2
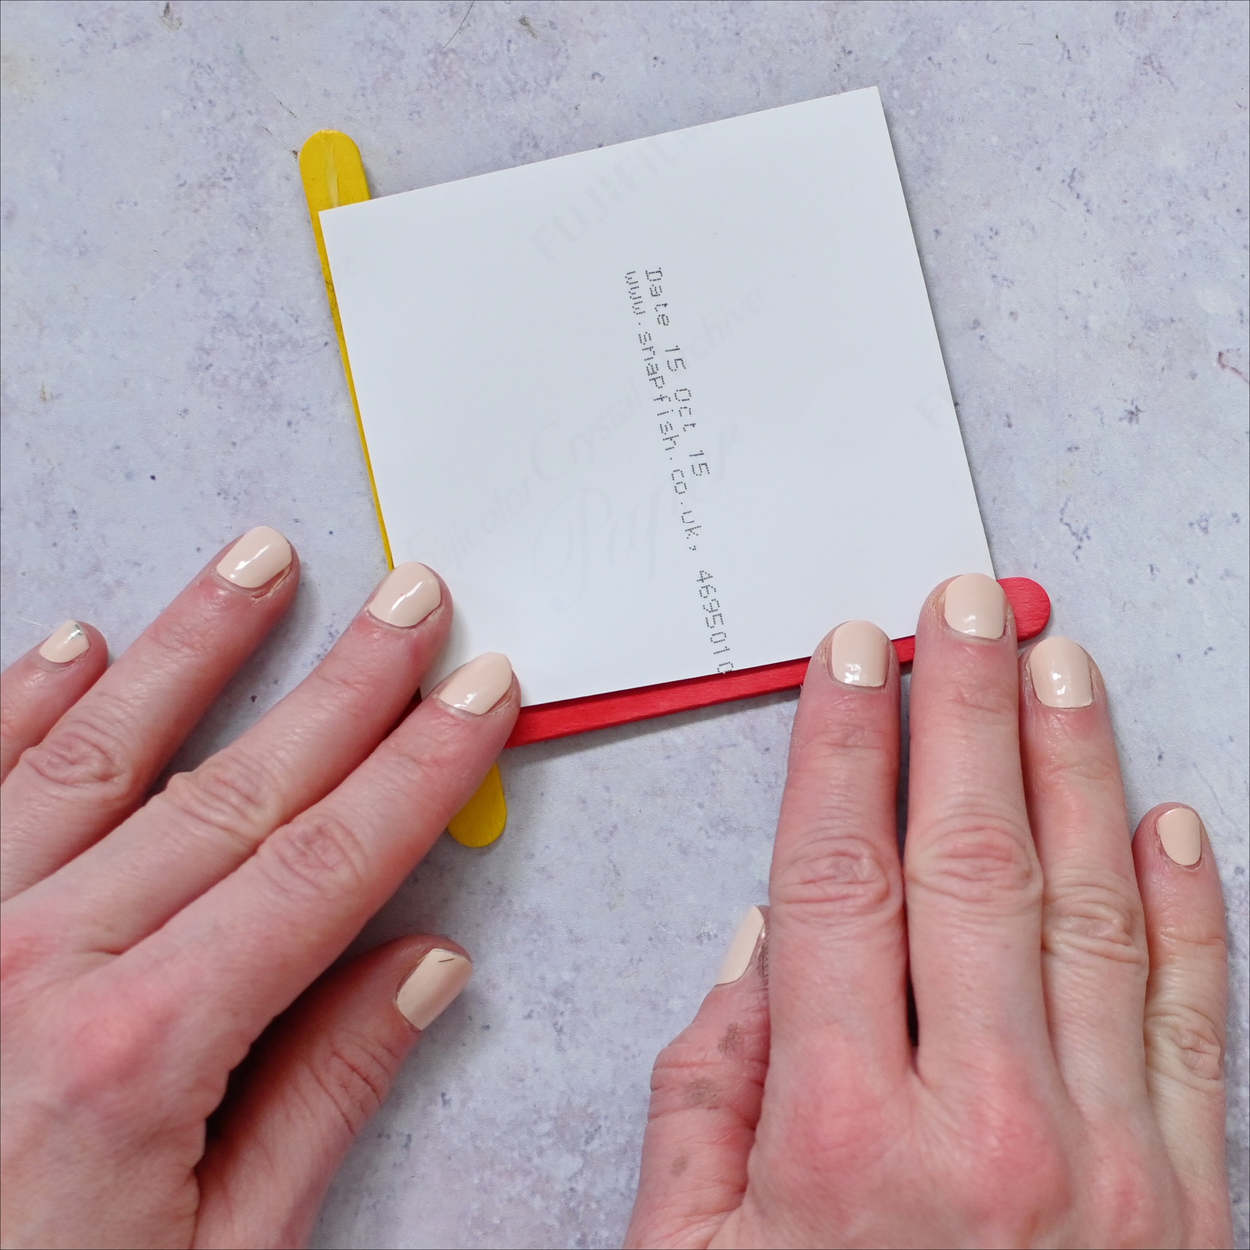
Apply some glue to the back of the craft sticks and press on the photo. Note: This may take a while to dry if using PVA glue.
Step 3
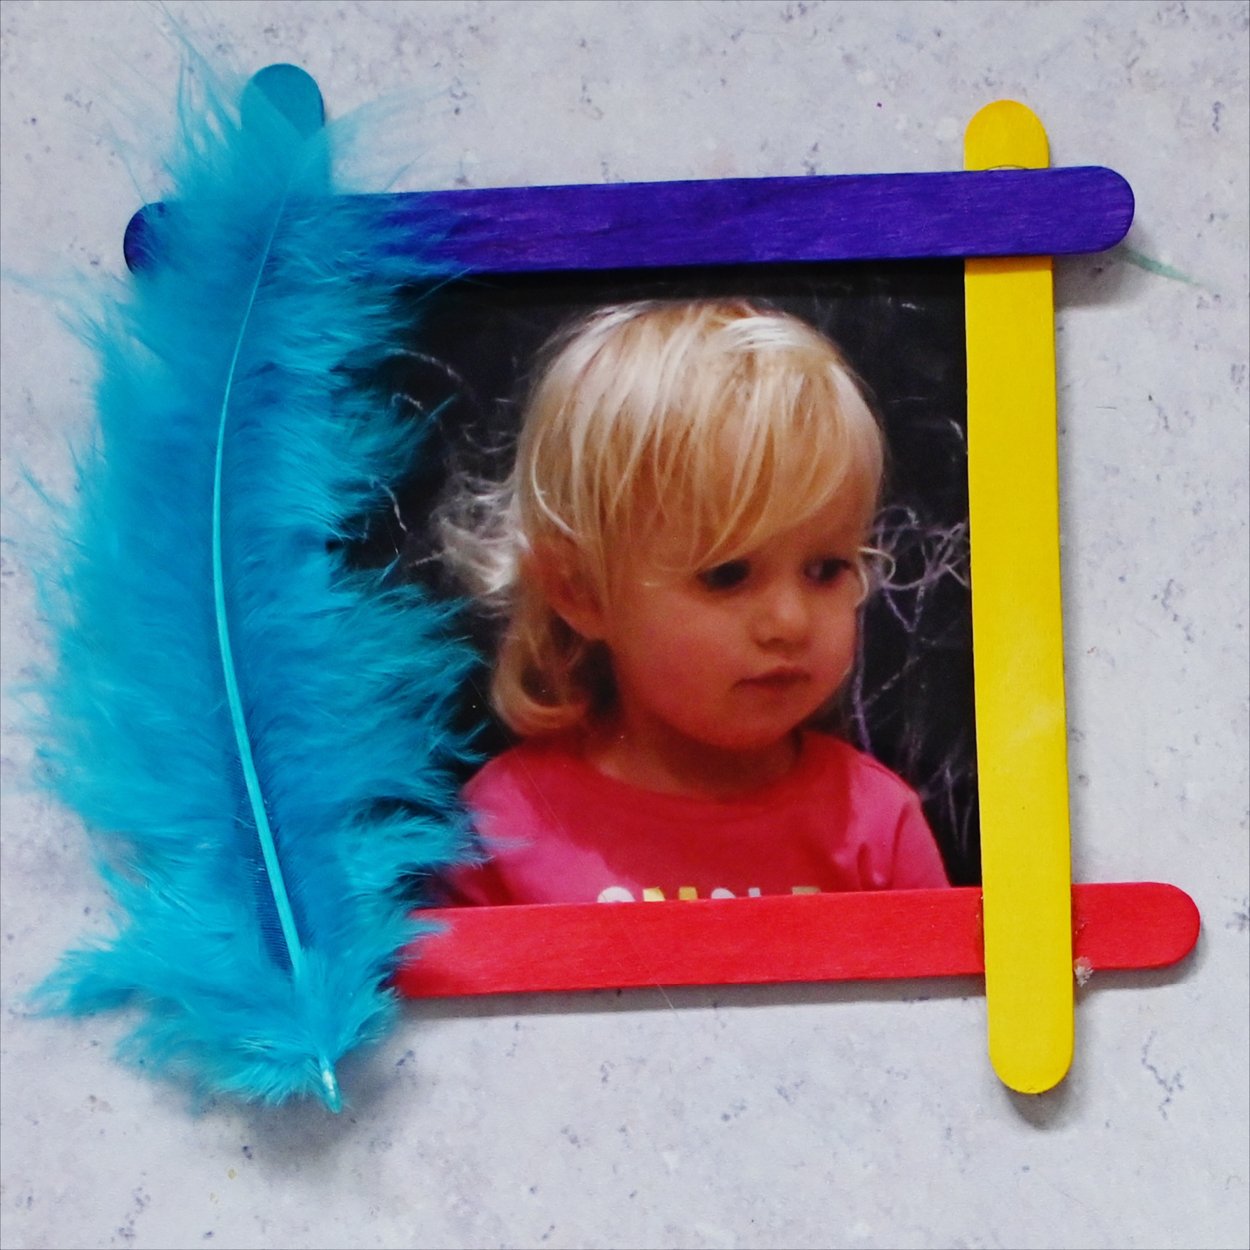
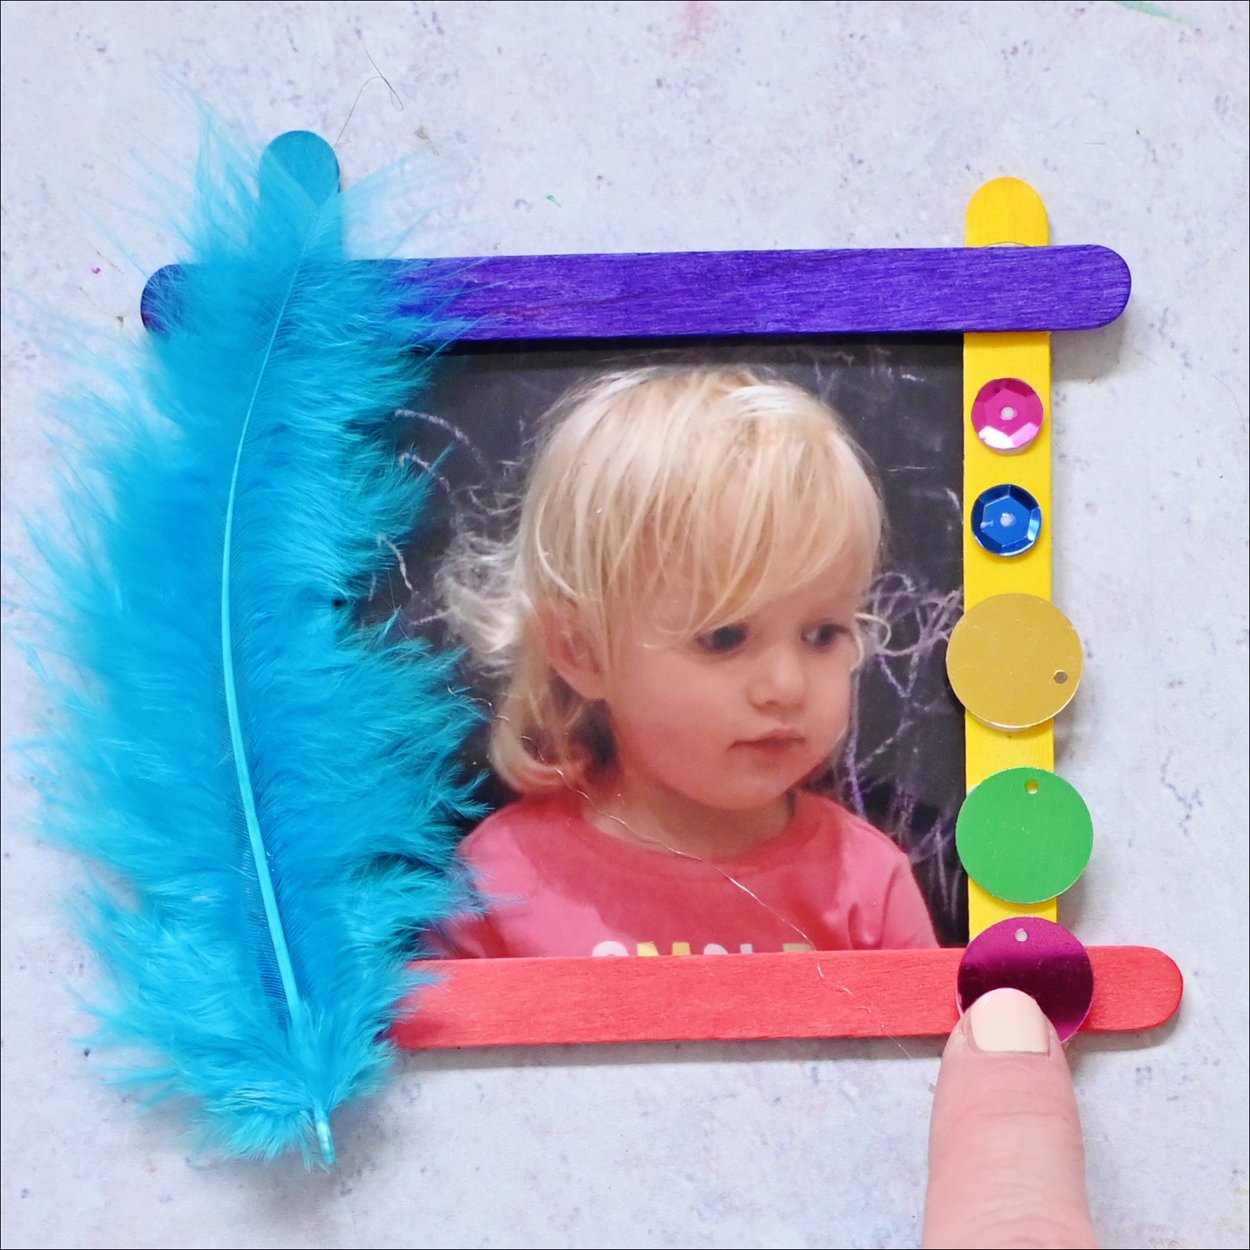
Repeat step one with the opposite corner before adding decorative craft elements, such as feathers, felt shapes, pom poms, sequins, and glitter.
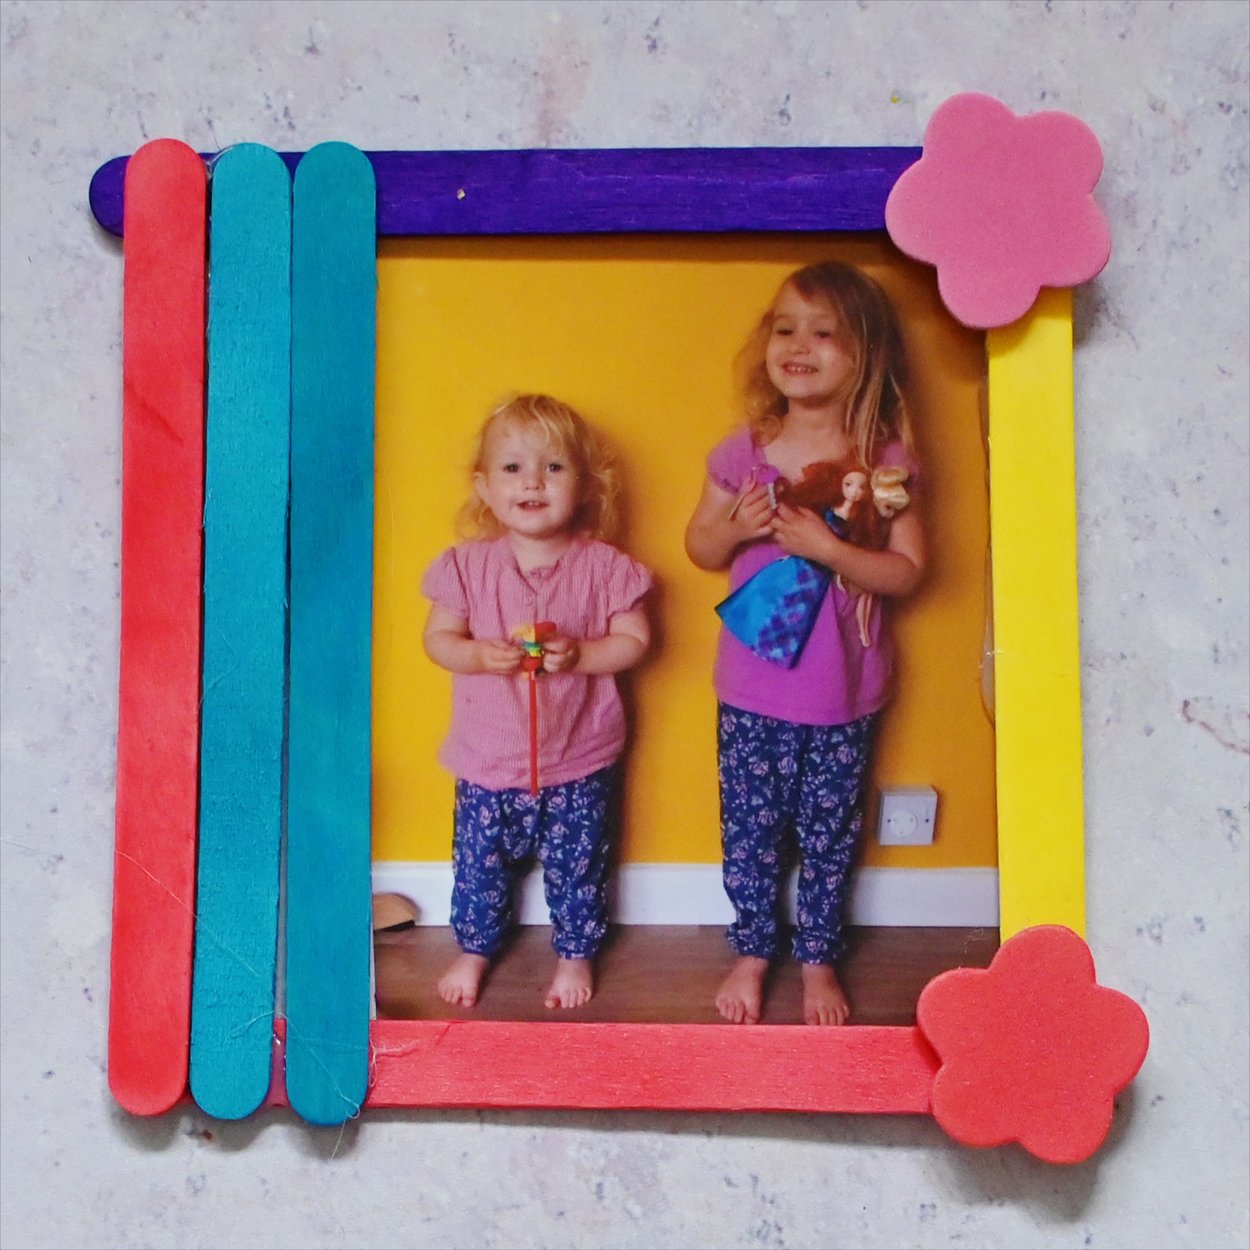
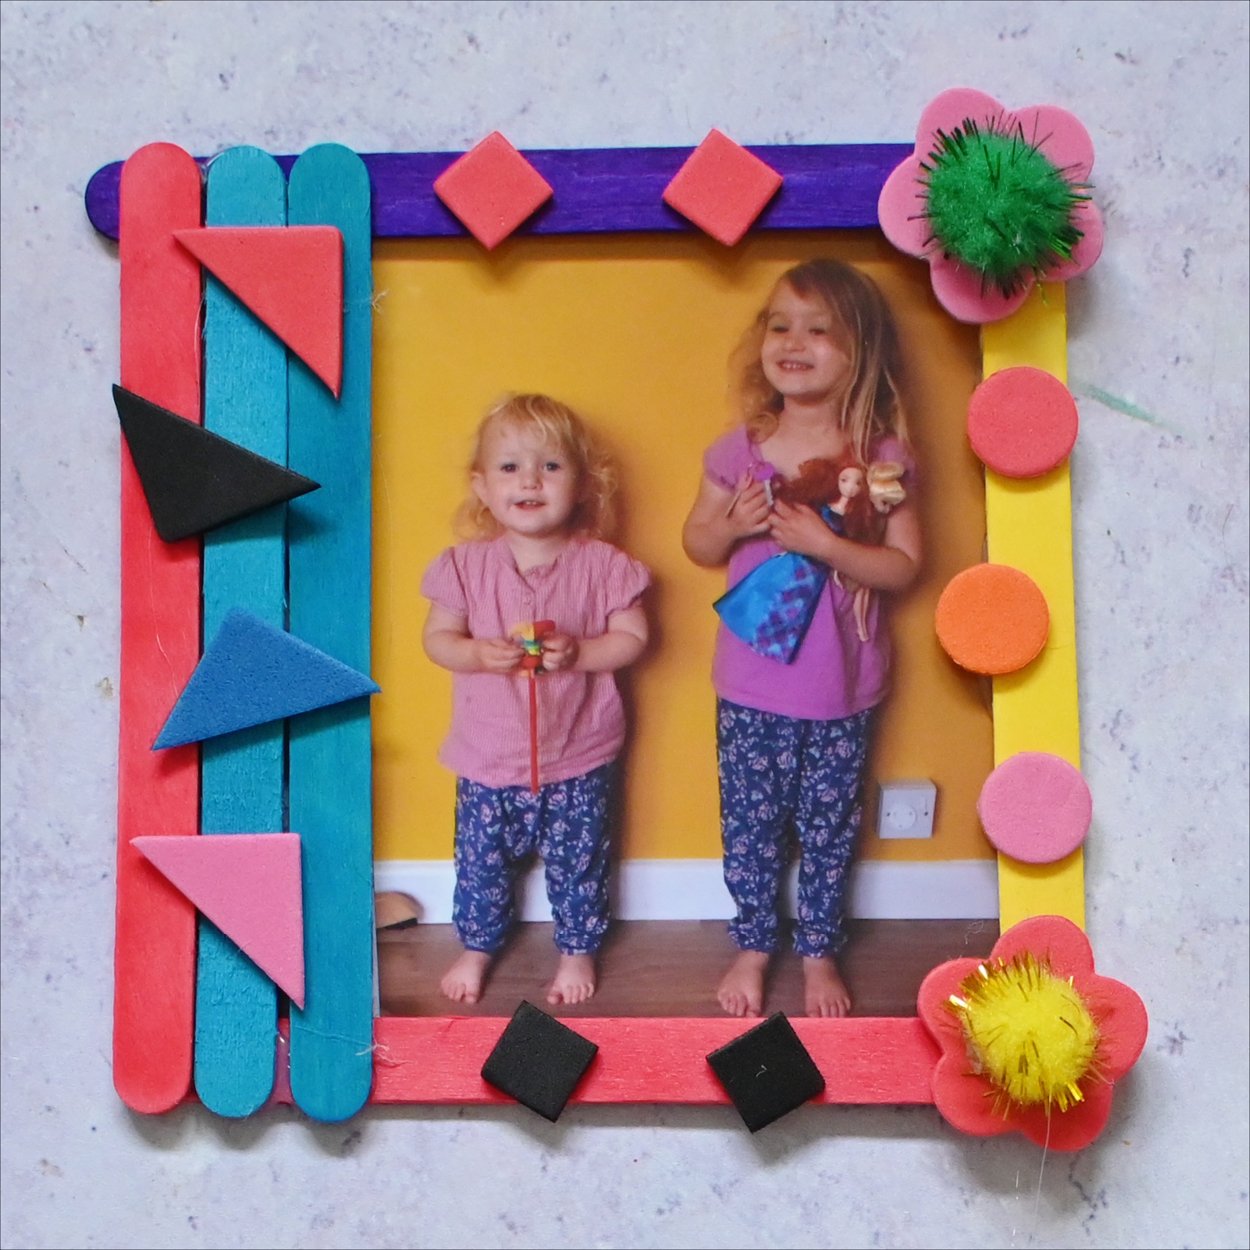
For photos that are different sizes, you can add more or less craft sticks and shapes.
For others, you could simply decorate the corners!
Beaded Flowers and Insects
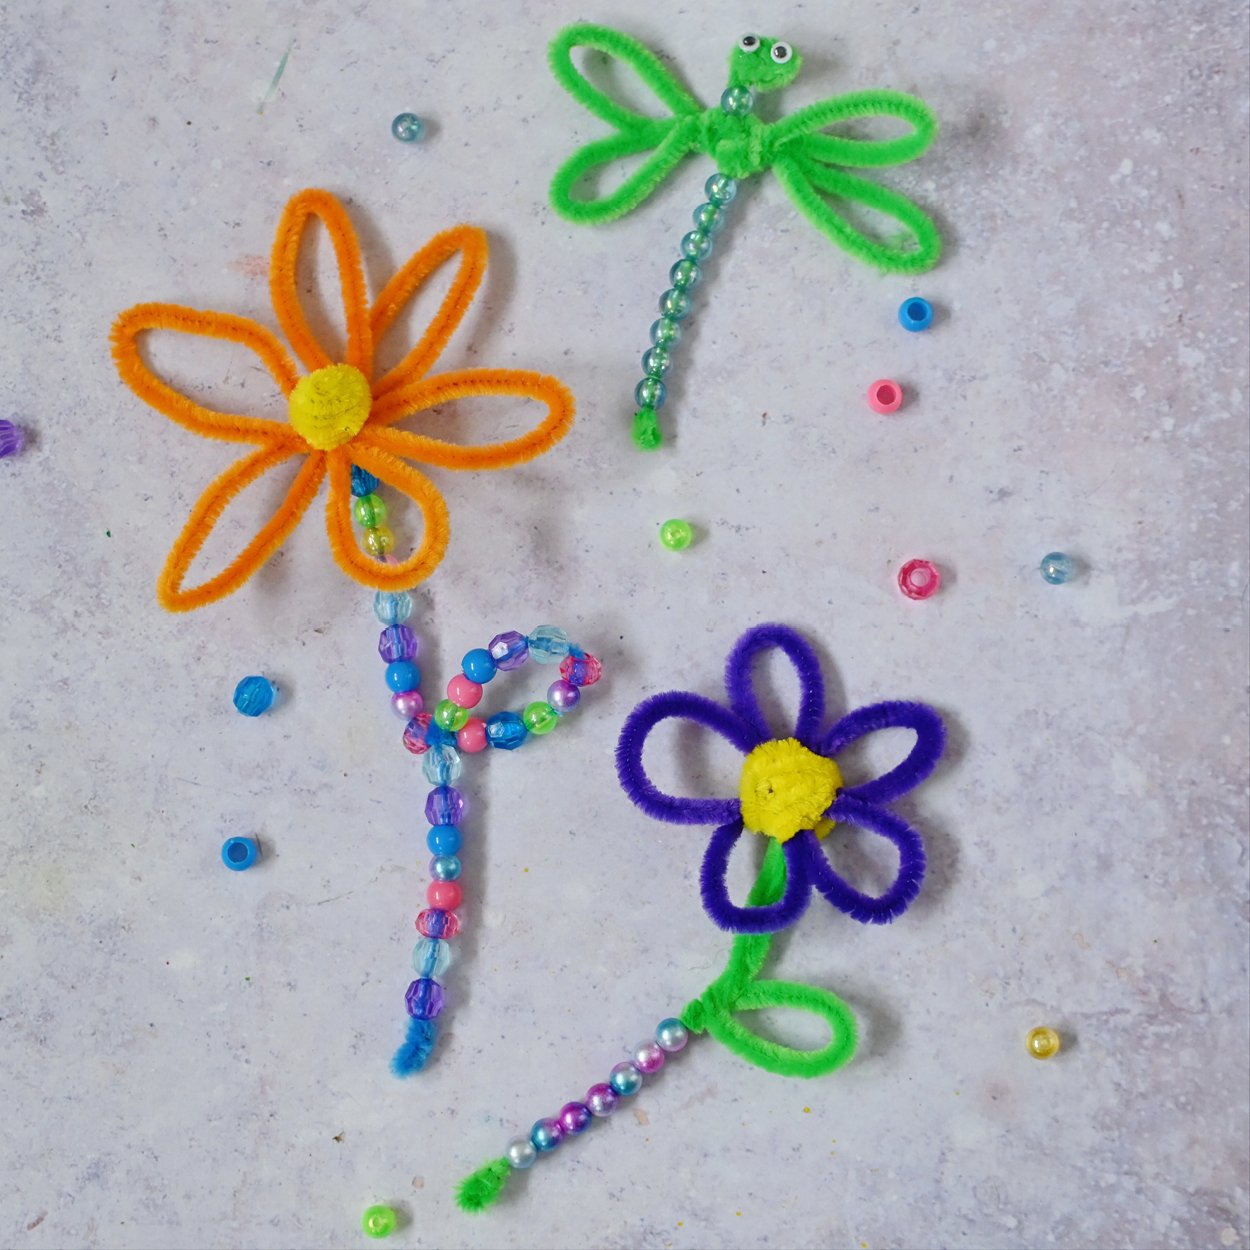
These pretty flowers and insects are so effective and use few materials! You could display them in a vase or give them as a thoughtful gift to friends and family. To create lots of different variations you could change up the colours of the beads, the shape of the petals or the type of insects. We've got all the steps you need to follow to create a dragonfly and two different types of flowers.
You will need:
- Pipe cleaners
- Beads
- Googly eyes
For a dragonfly
Step 1
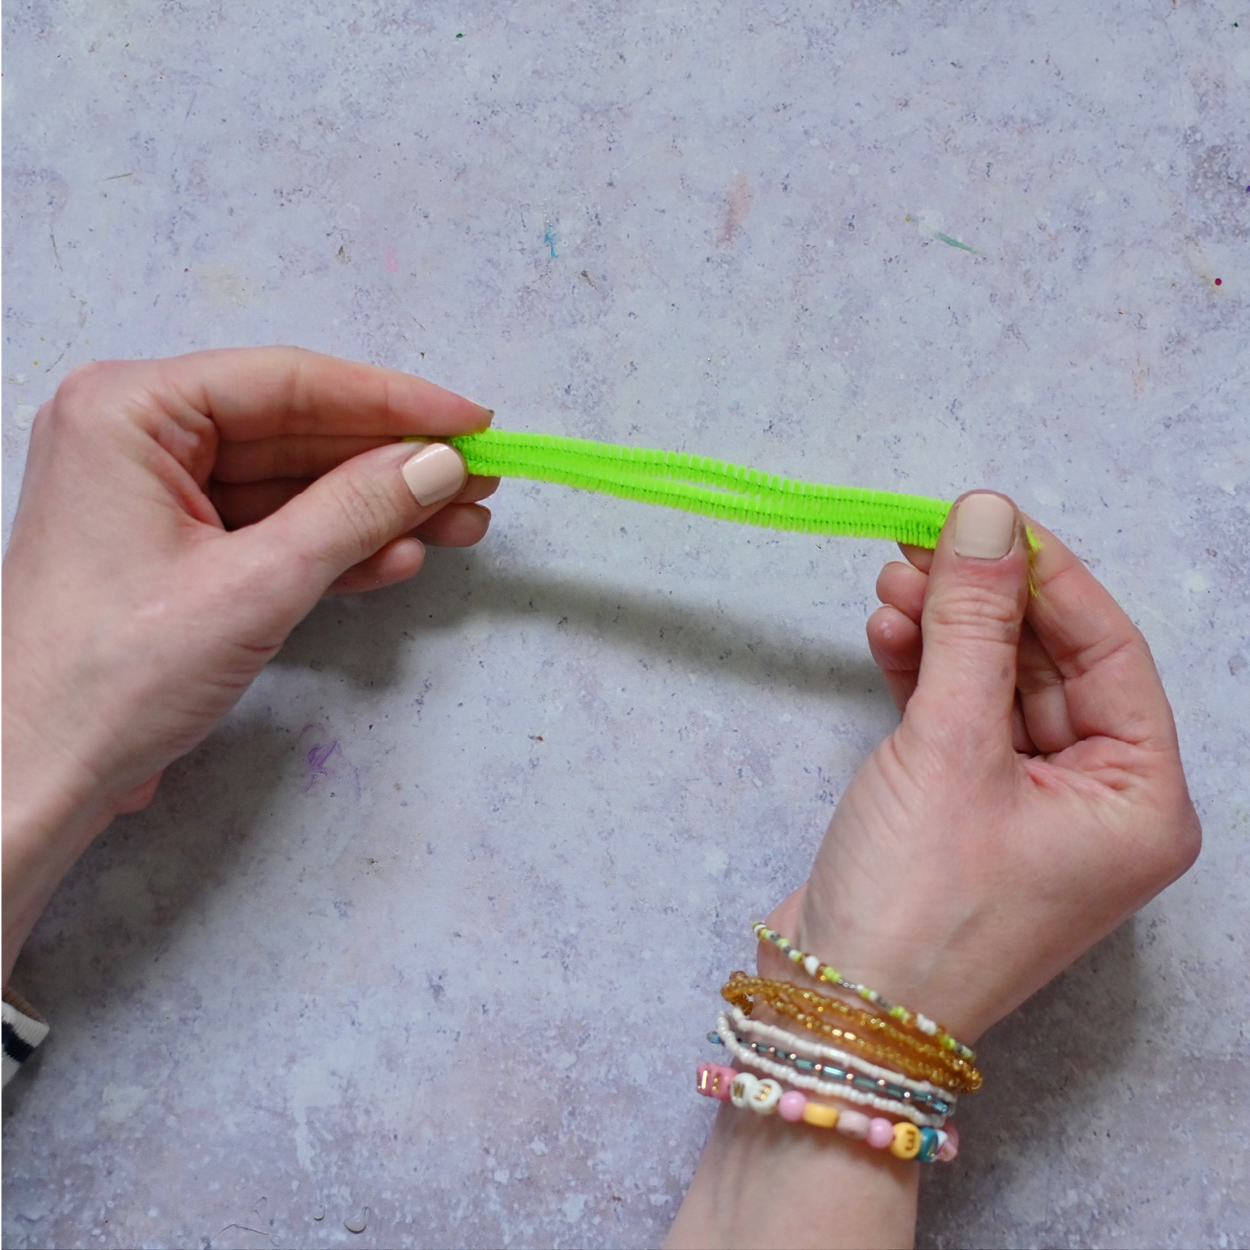
Take a pipe cleaner and bend it in half.
Step 2
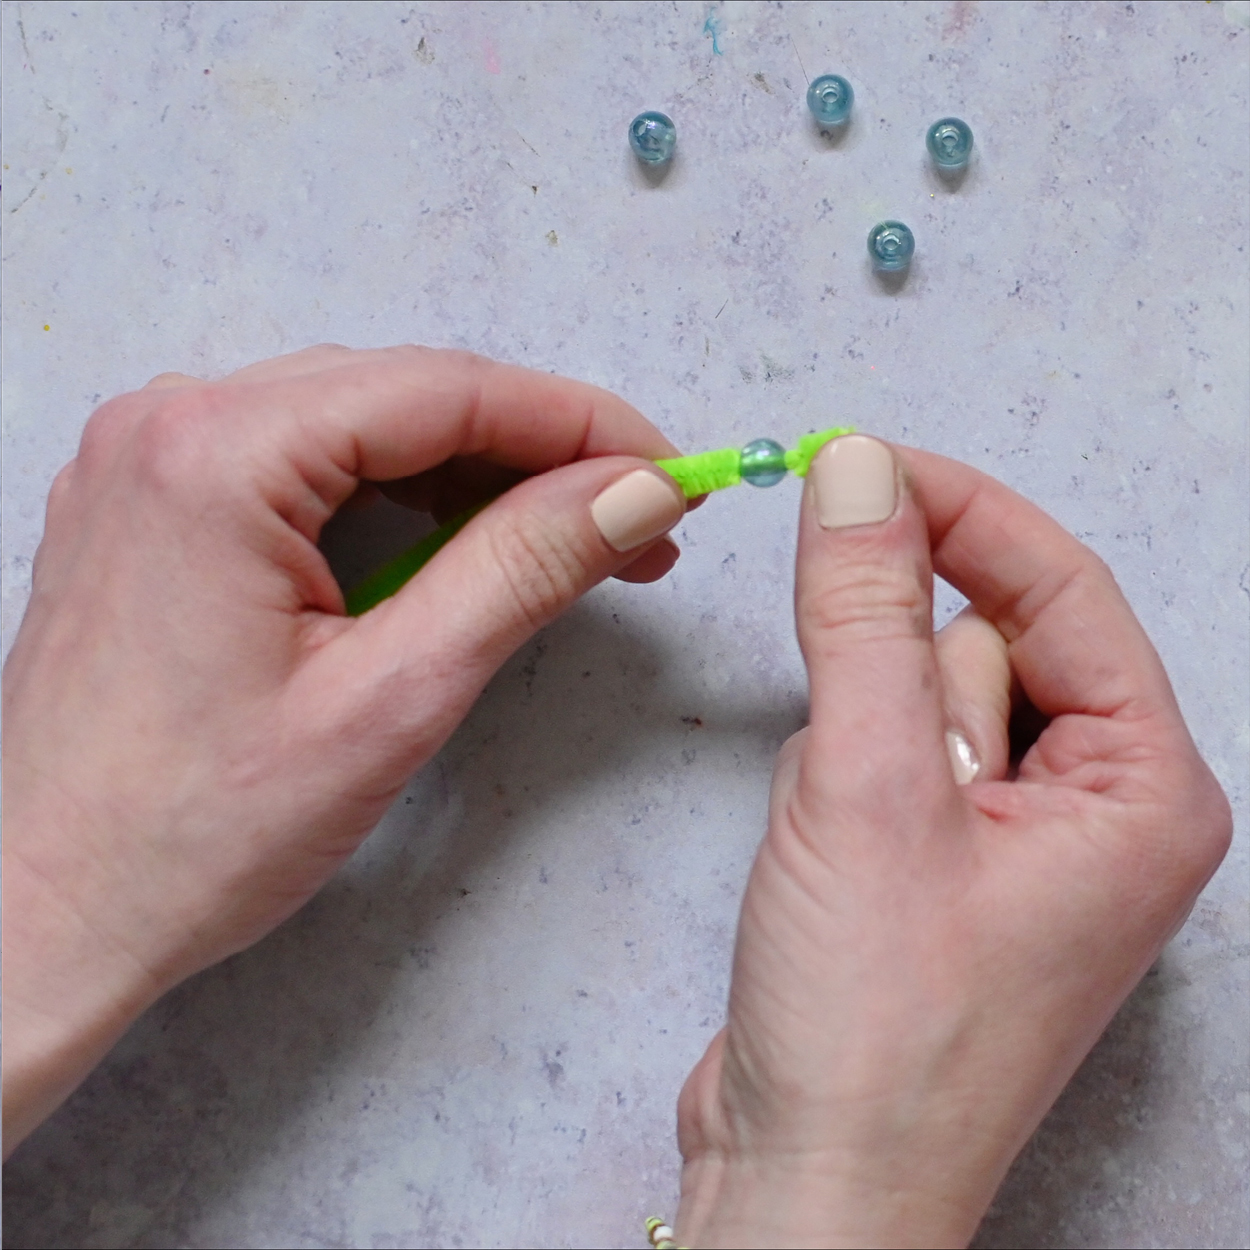
Thread roughly eight beads onto the pipe cleaner to create the body of a dragonfly.
Step 3
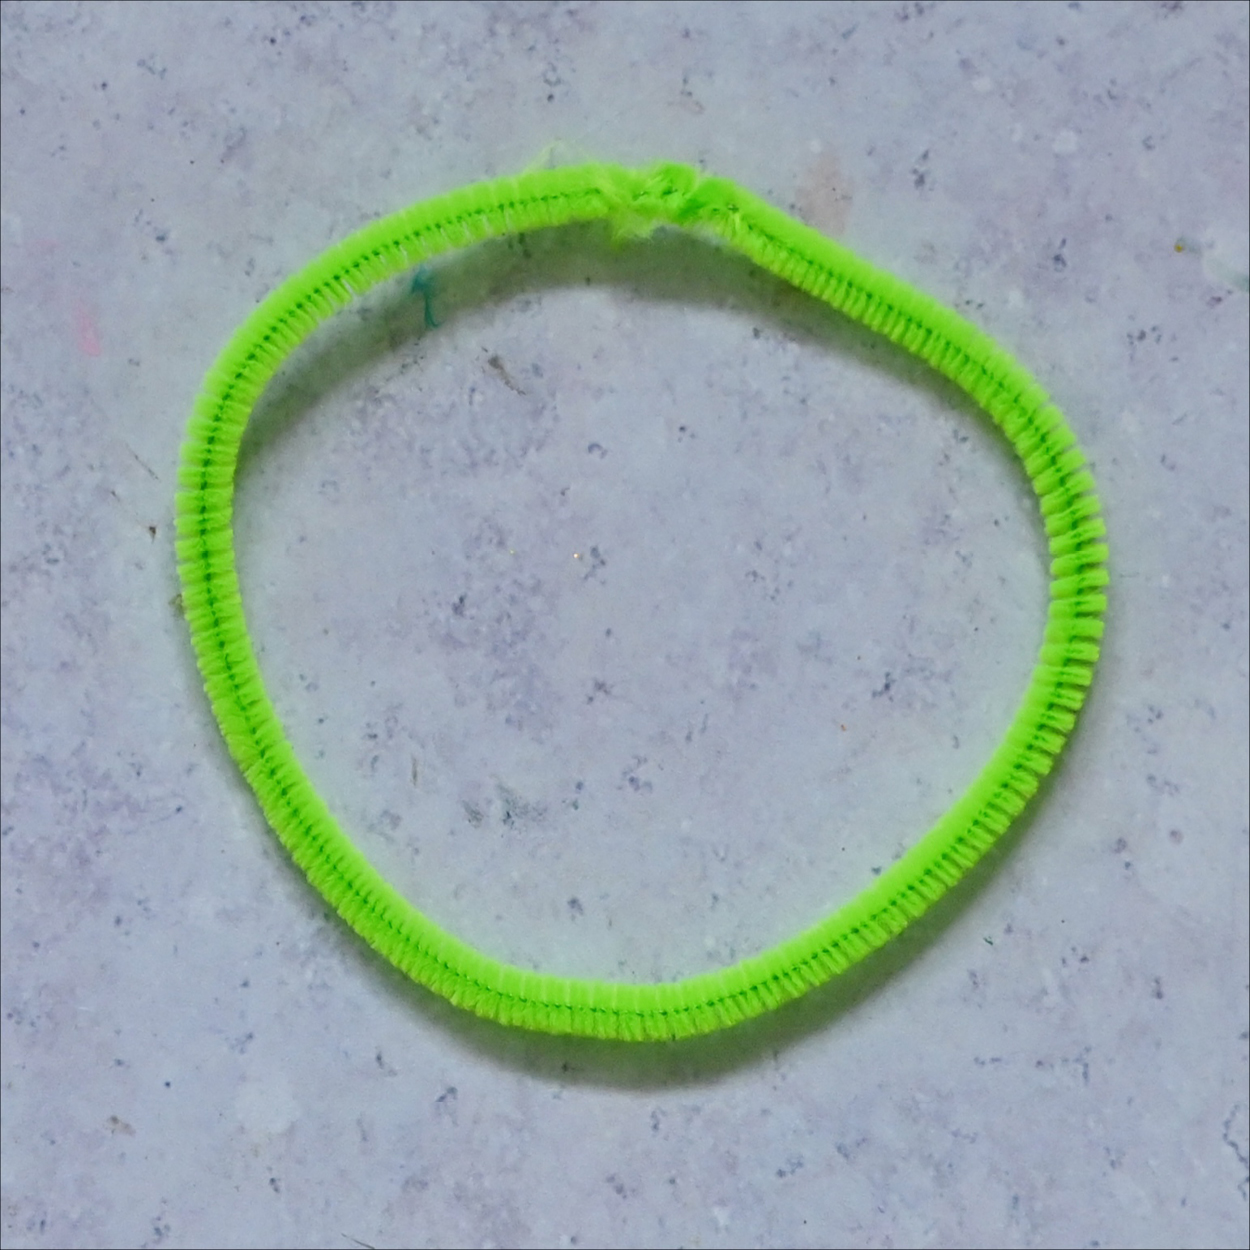
Grab another pipe cleaner and form it into a circle, twisting the ends together to join.
Step 4
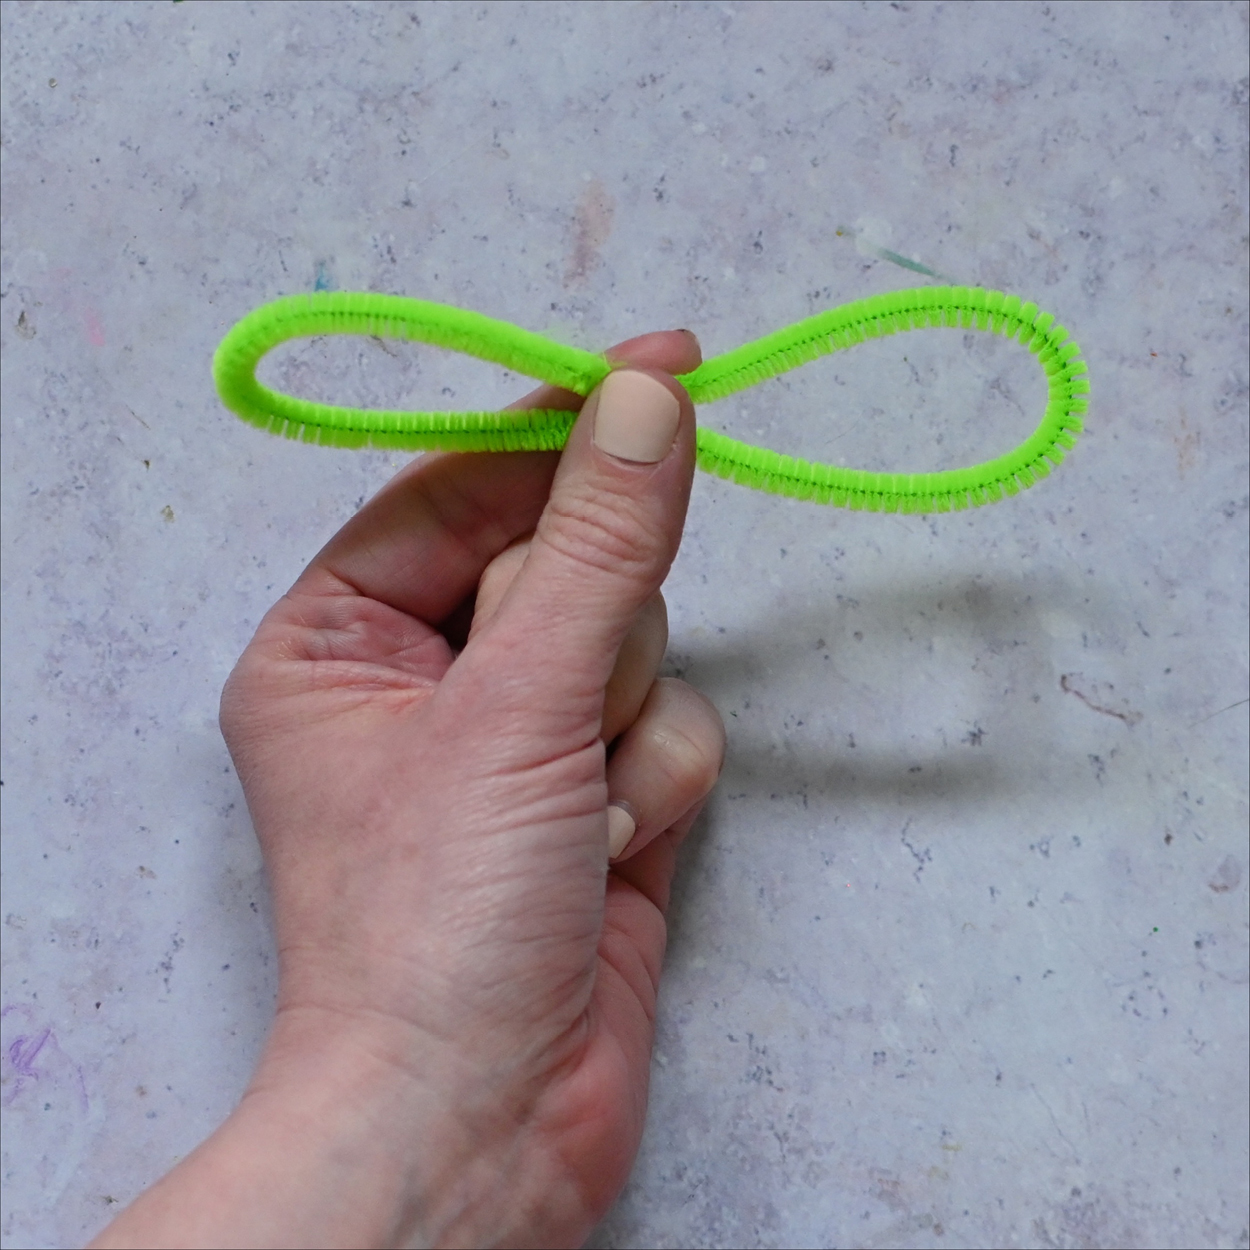
Pinch the circle in the middle and twist to create wings. Take another pipe cleaner and cut off roughly 3cm. Repeat this to create the second set of wings.
Step 5
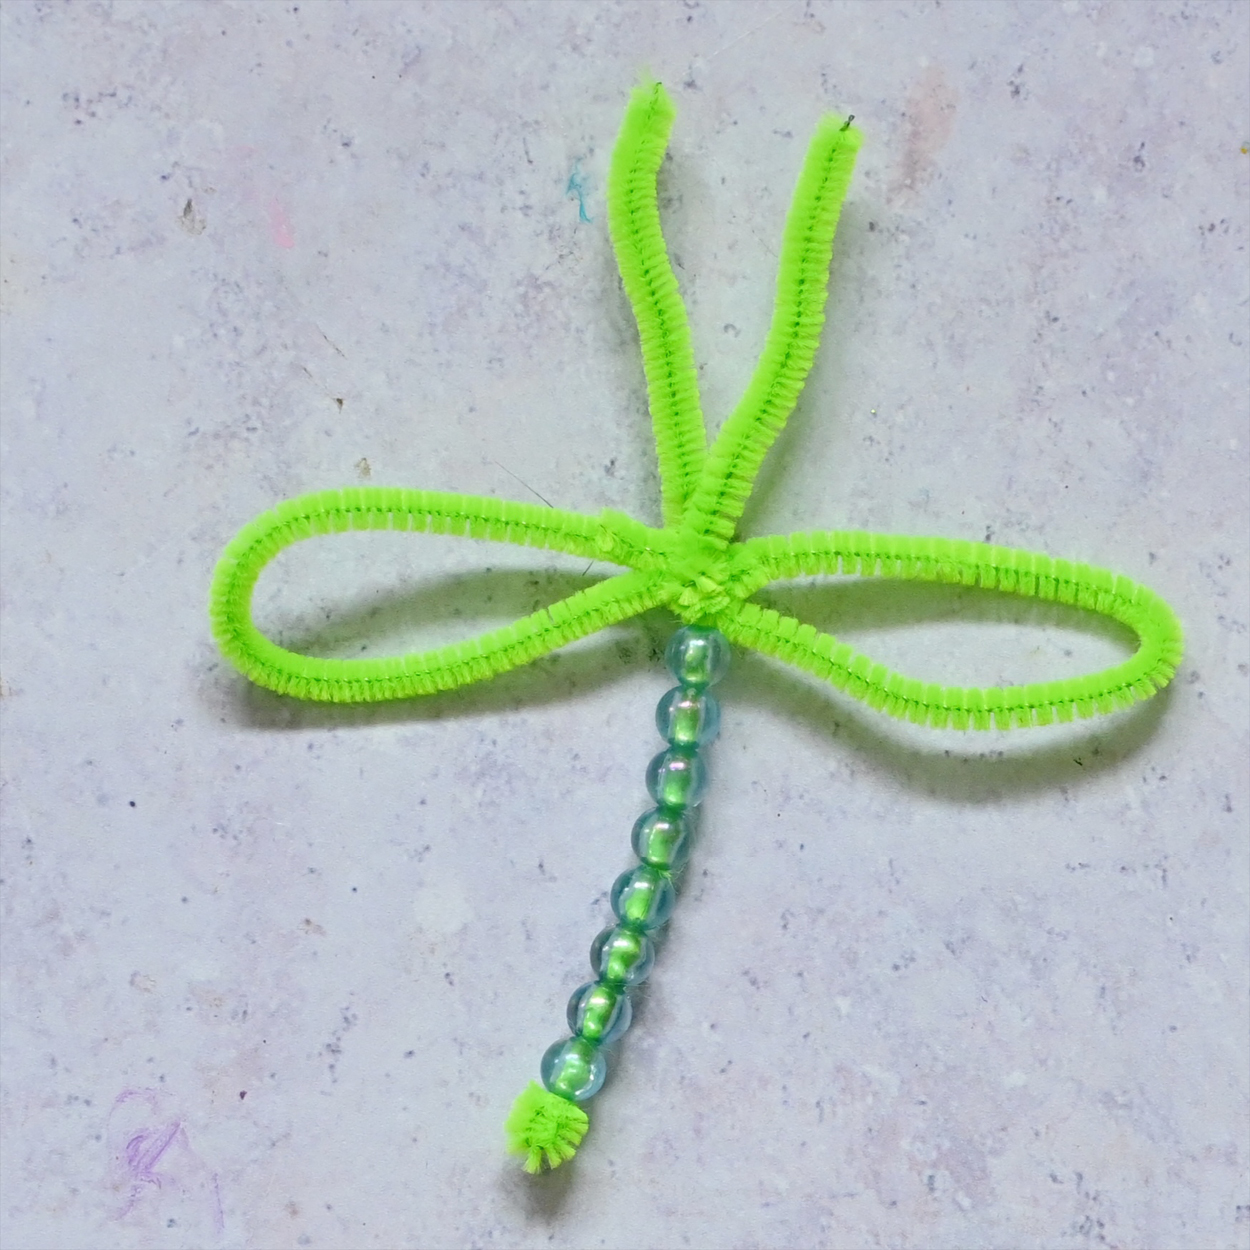
Attach the wings to the body by twisting them into place.
Step 6
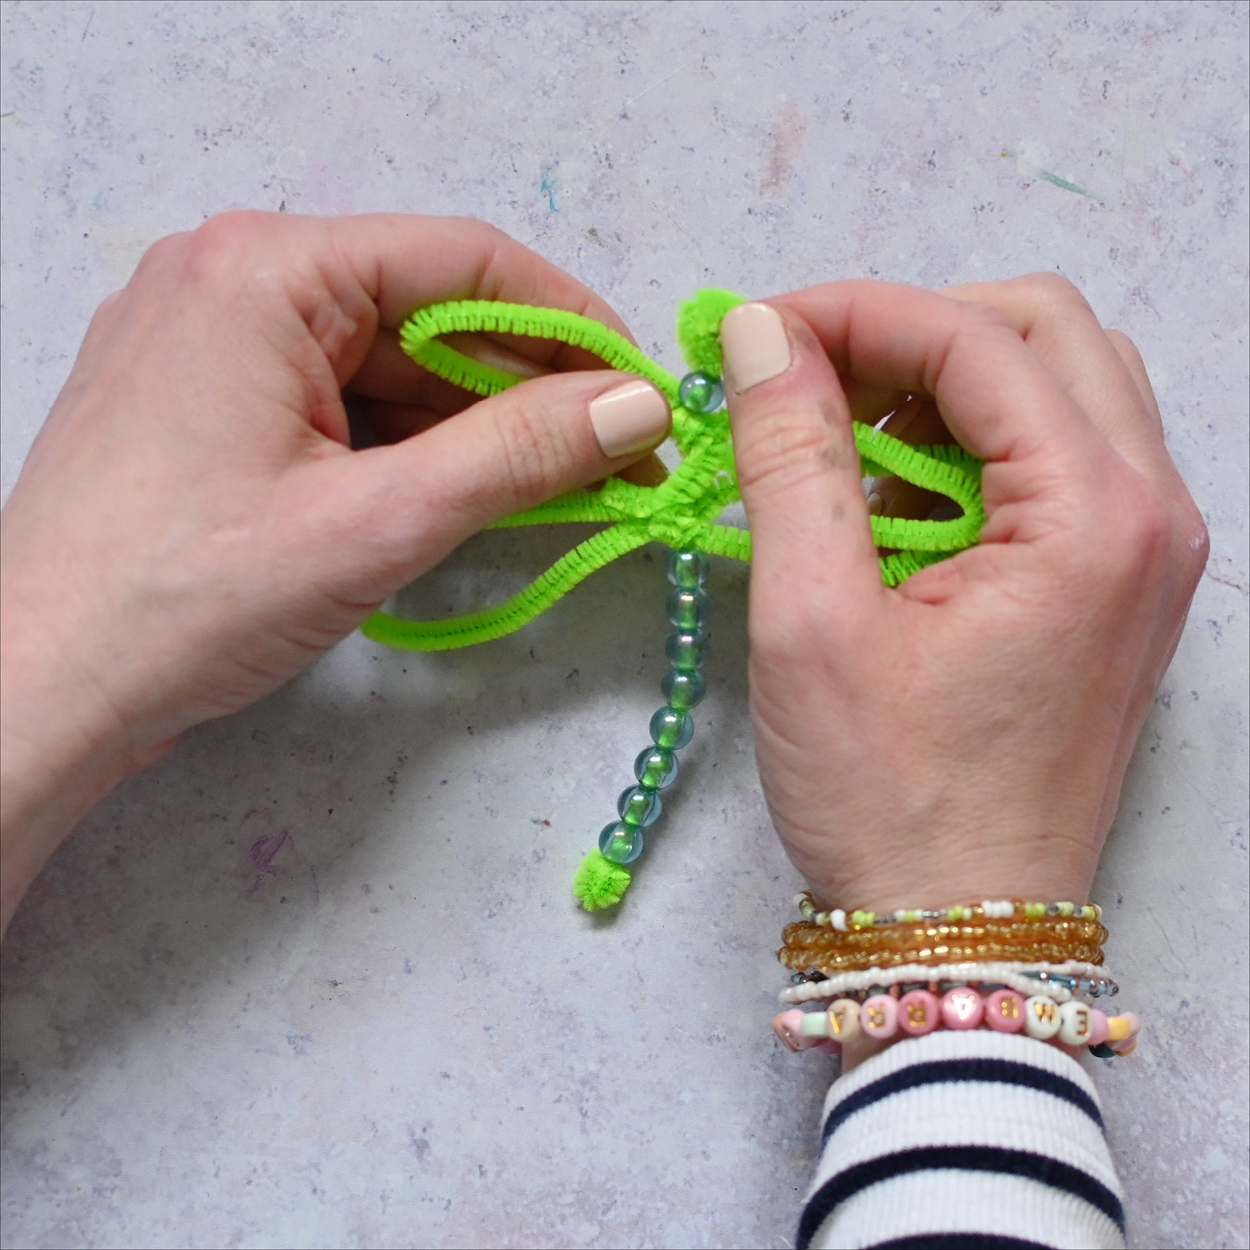
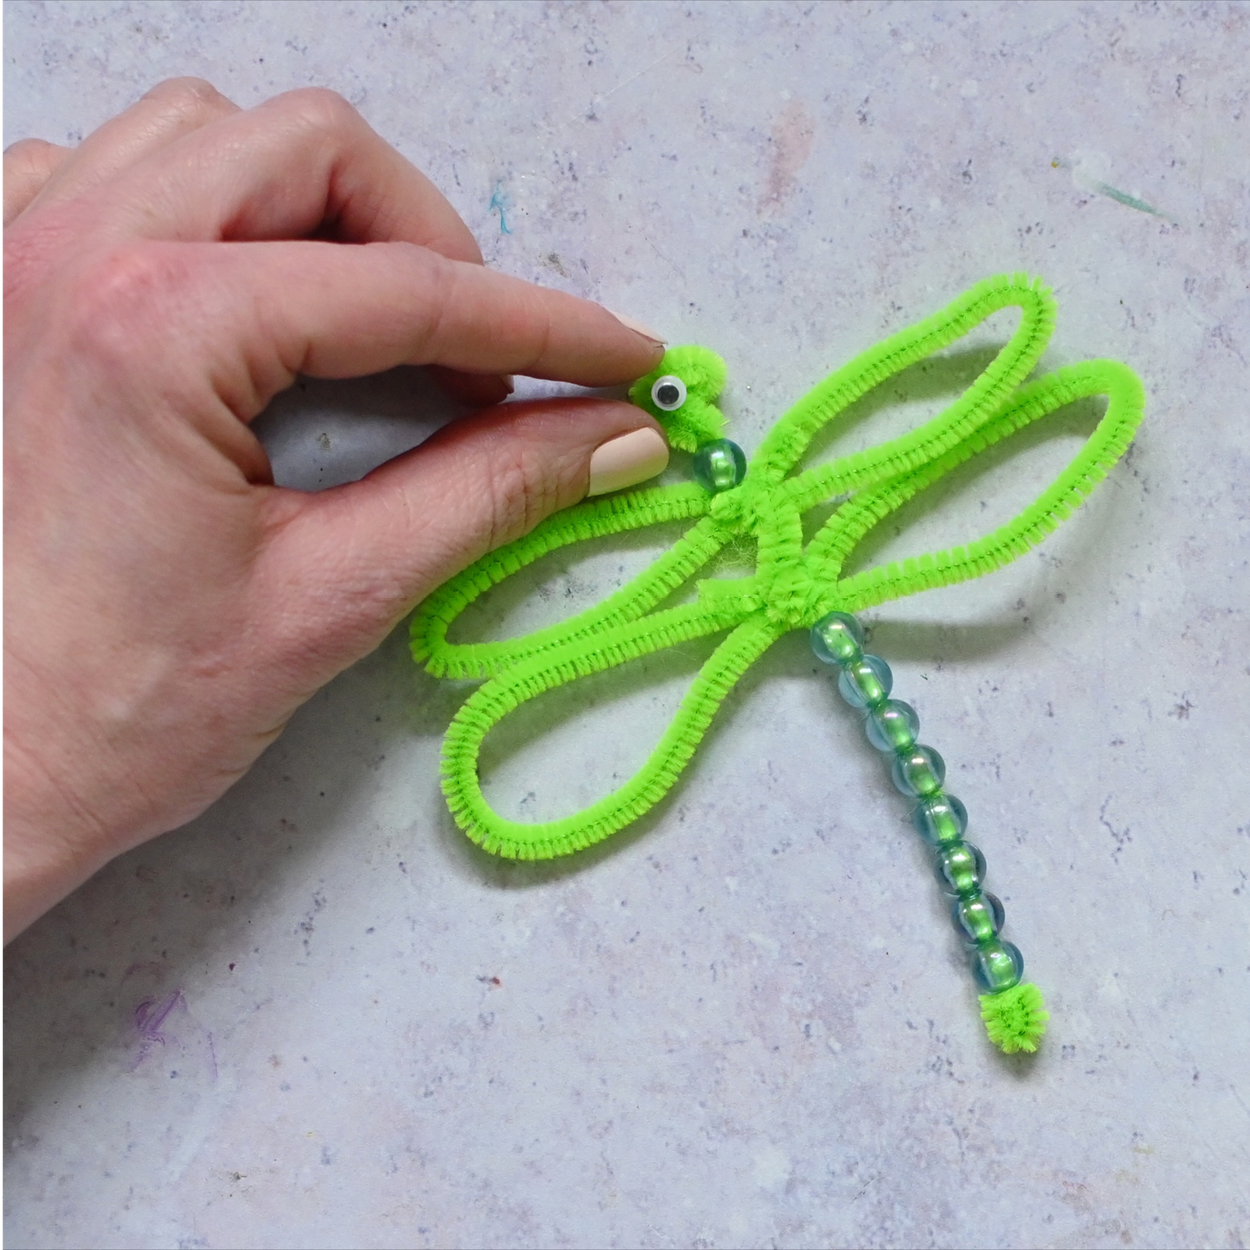
Add a final bead after the wings are in place before rolling down the remainder of the pipe cleaner to create a head. Glue on some googly eyes to finish.
For a long petalled flower
Step 1
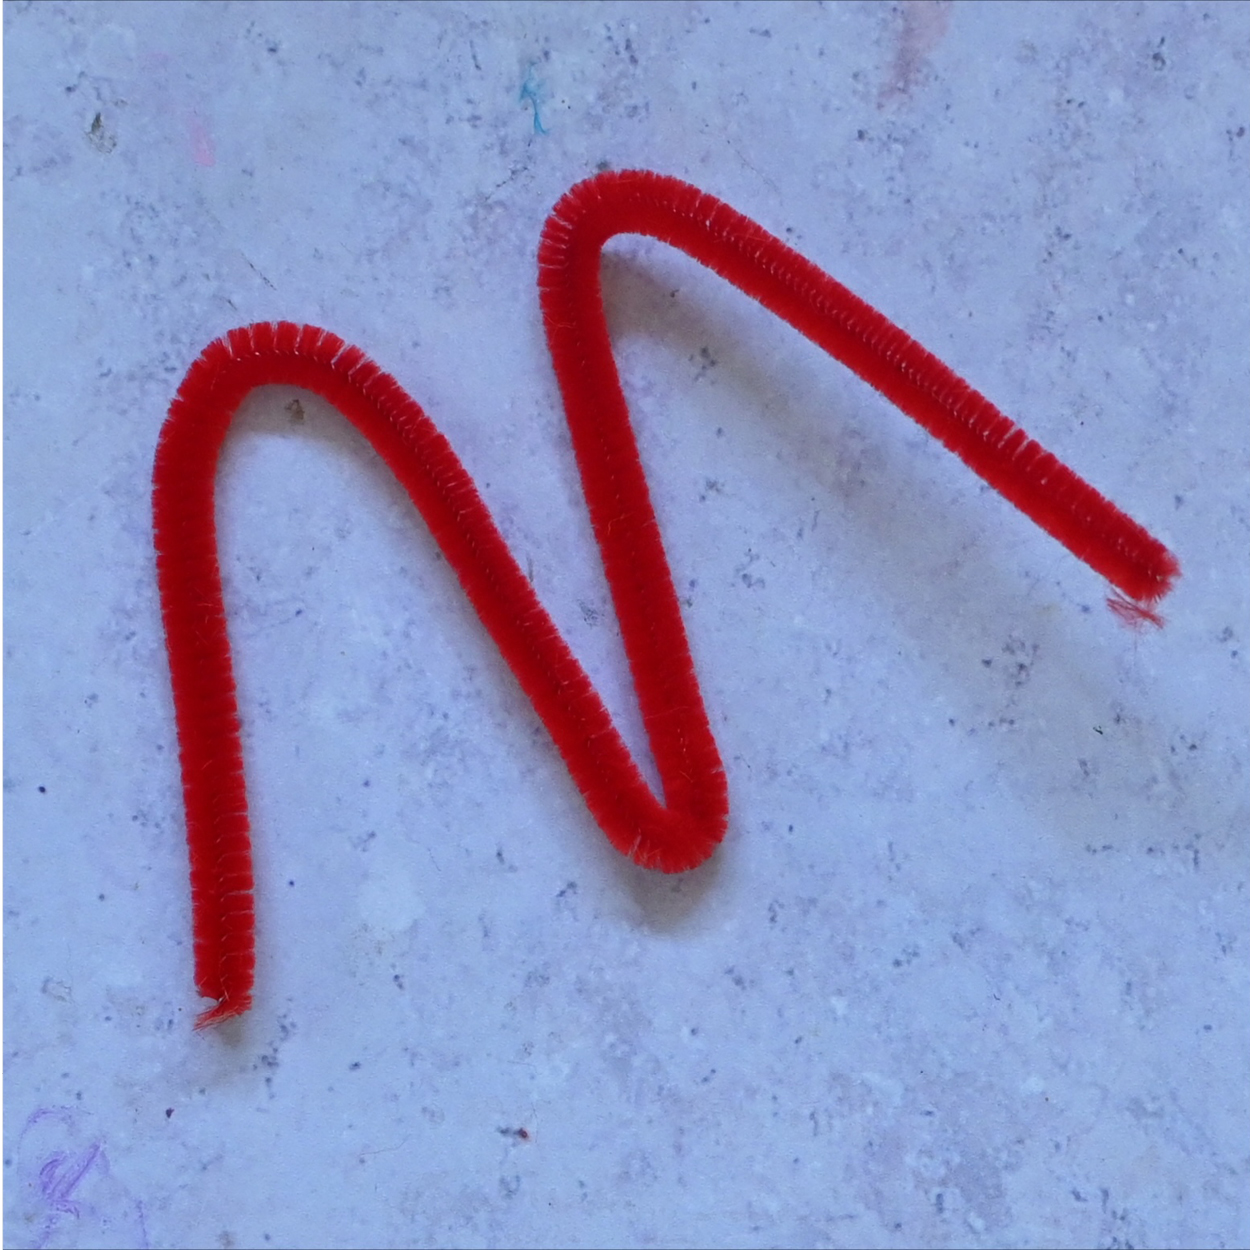
Take a pipe cleaner, in the colour you want for your petals, and fold it in half. Take each end and fold them towards each other to creat an 'M' shape. Repeat this with two more pipe cleaners.
Step 2
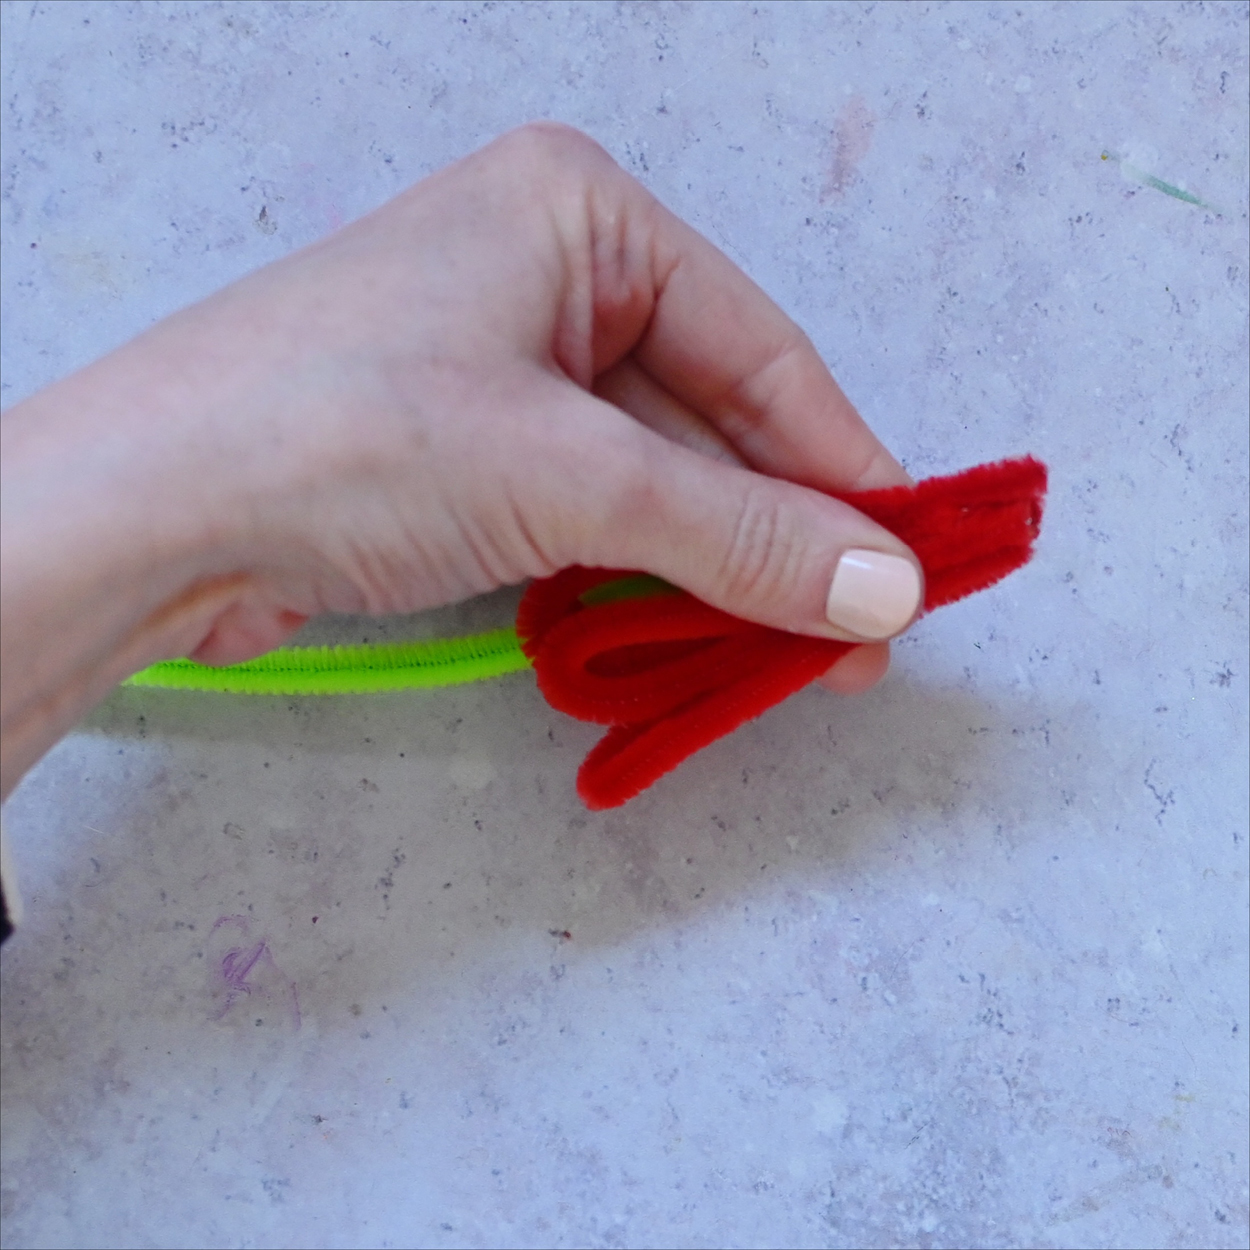
Arrange these pipe cleaners around a green pipe cleaner. This will act as the stem.
Step 3
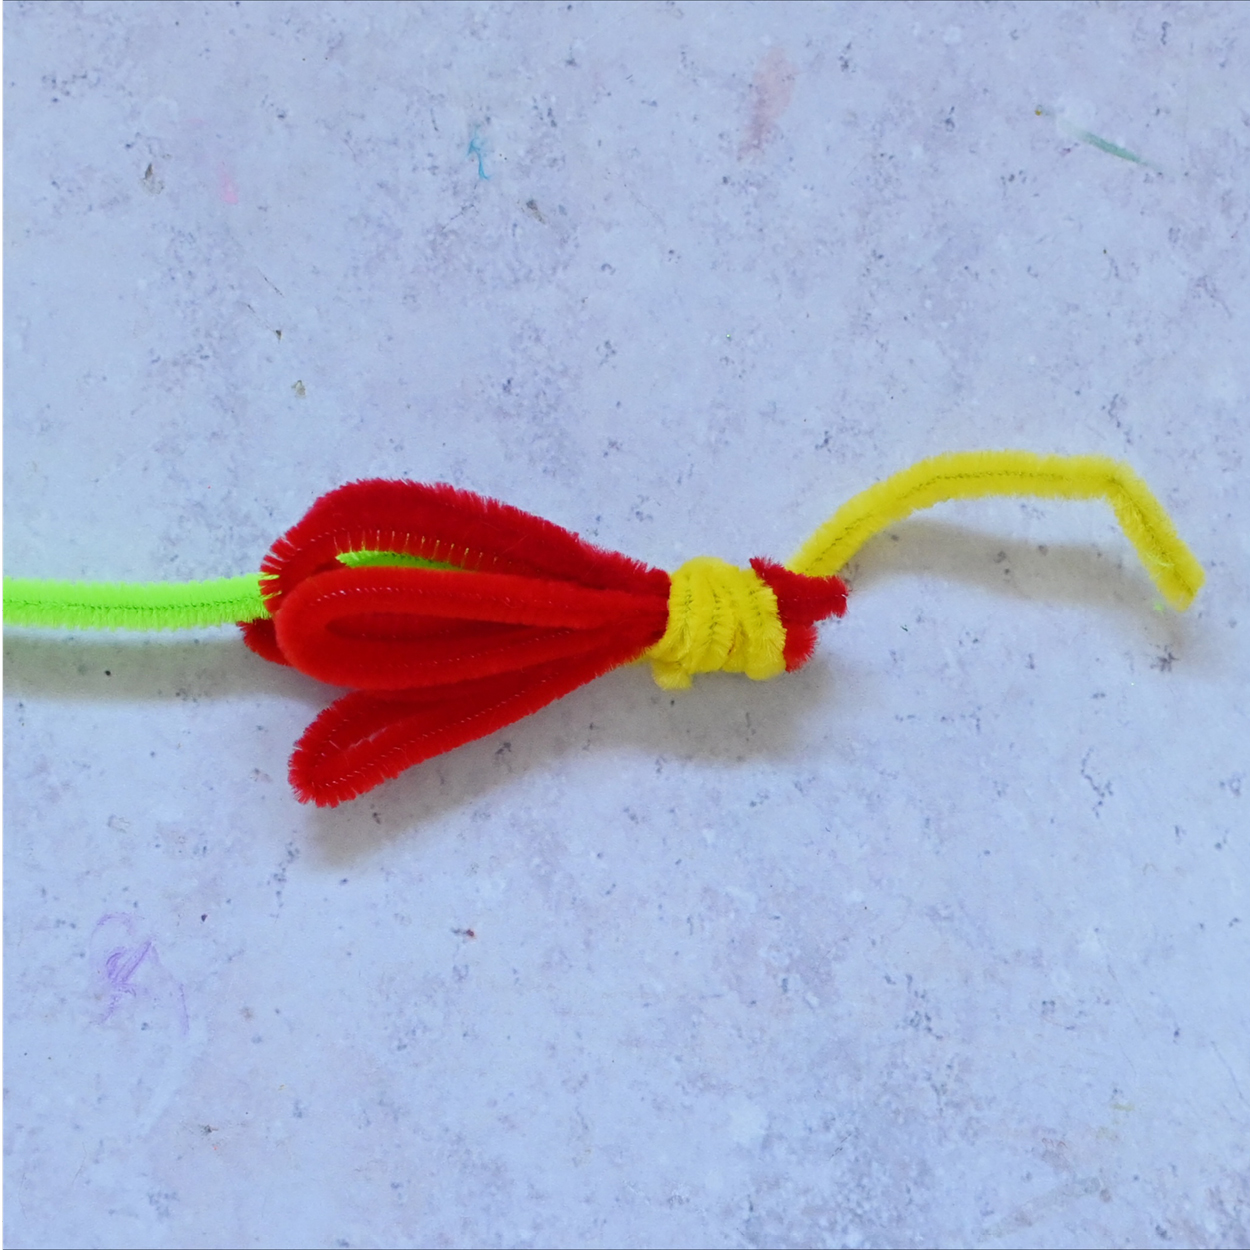
Wrap a yellow pipe cleaner around the top to create the centre of the flower.
Step 4
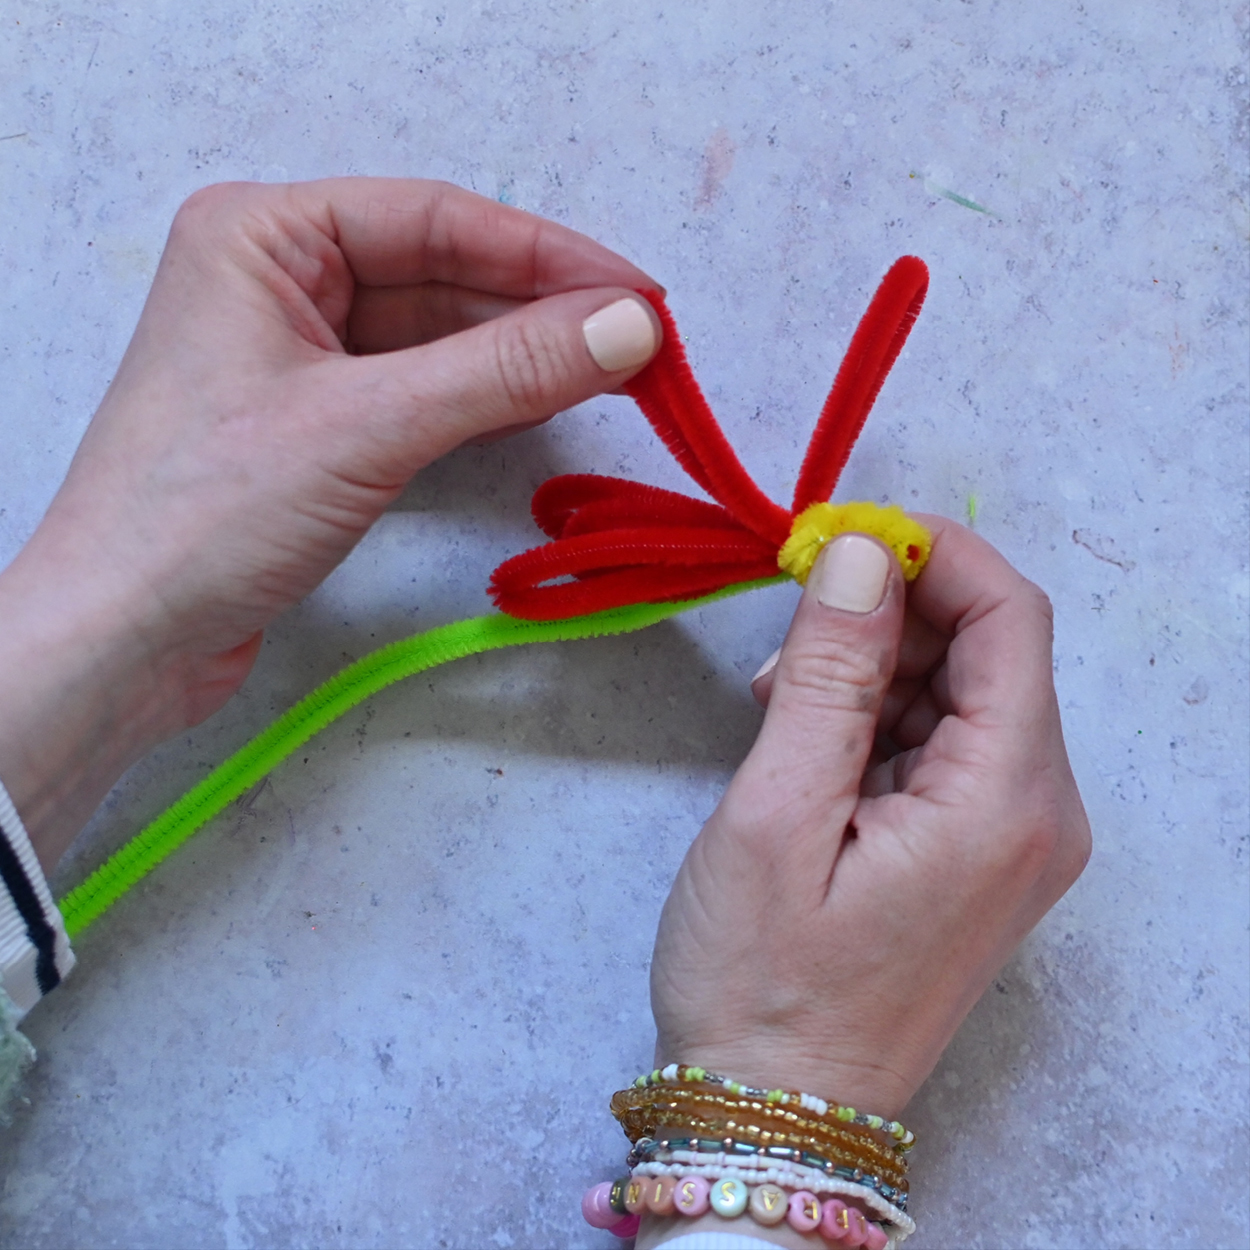
Bend the petals out to create the top of the flower.
Step 5
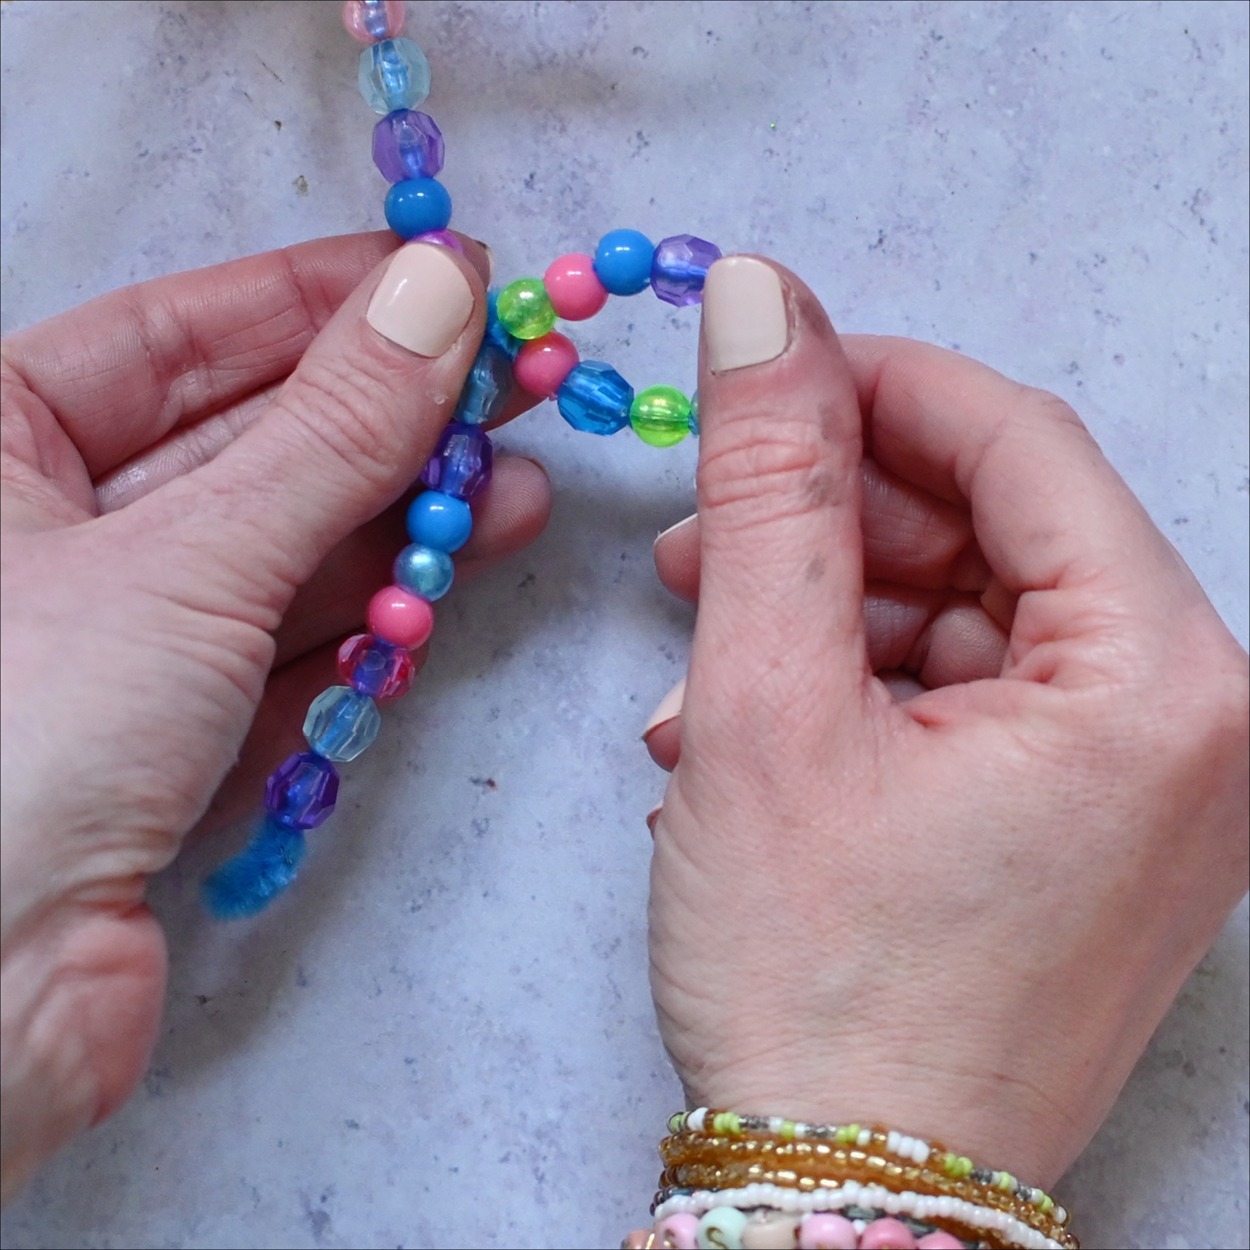
Thread some beads on to the stem and twist a leaf shape to finish. Bend the stem, or twist, to fasten on the beads.
For a round flower
Step 1
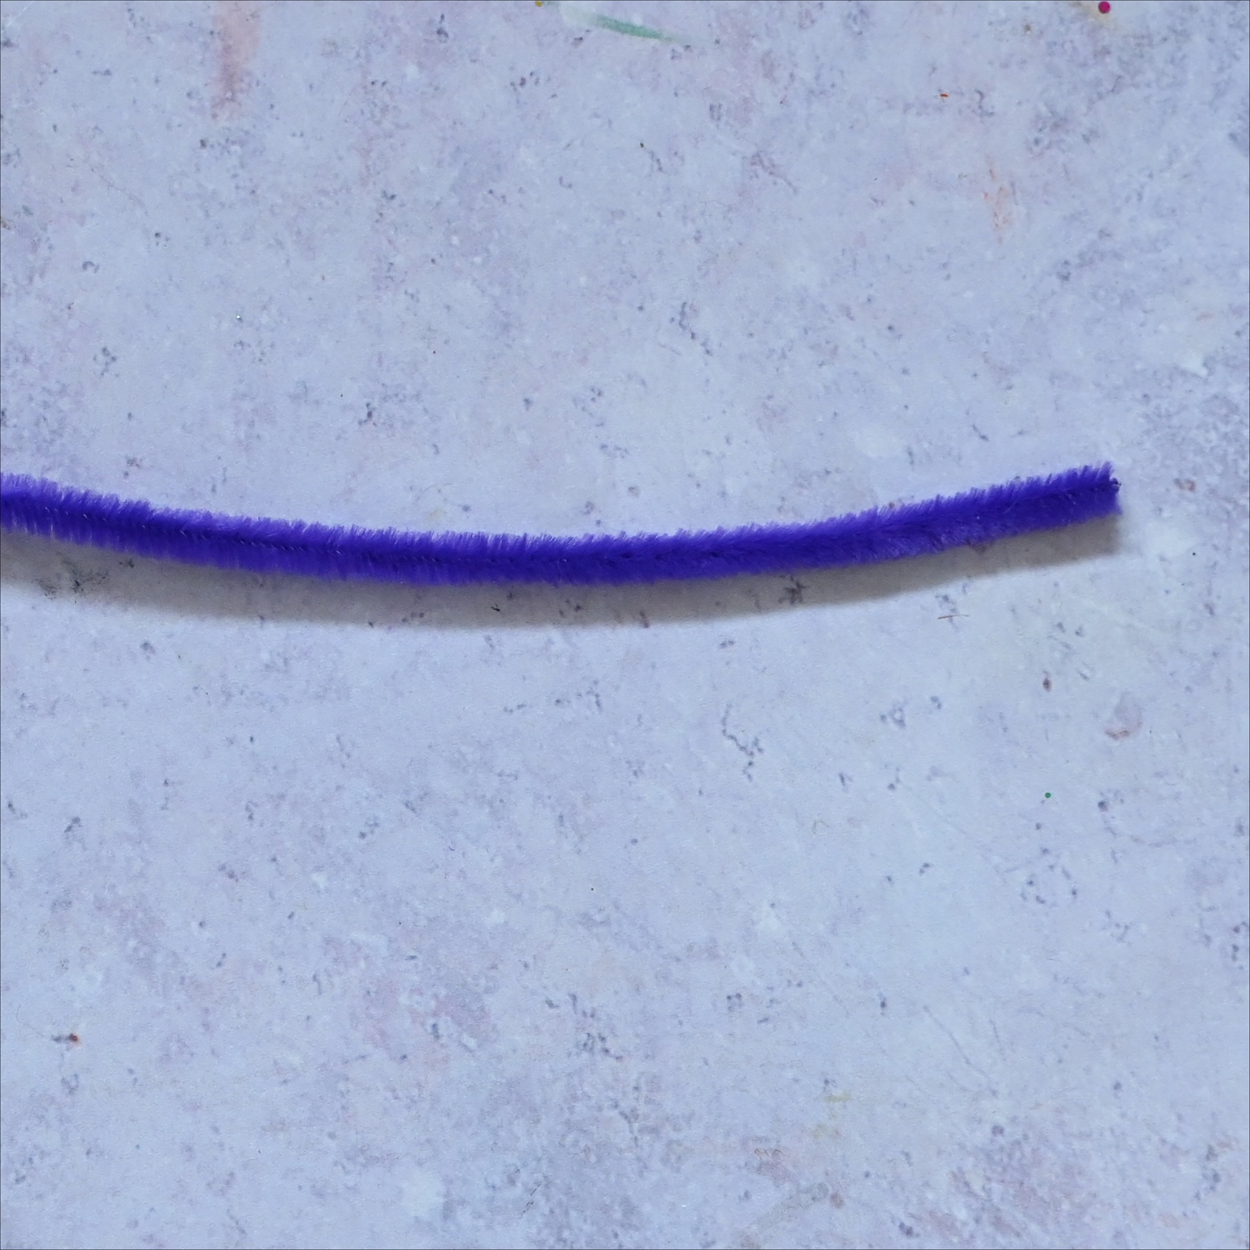
Make an extra long pipe cleaner by attaching one to another with a twist.
Step 2
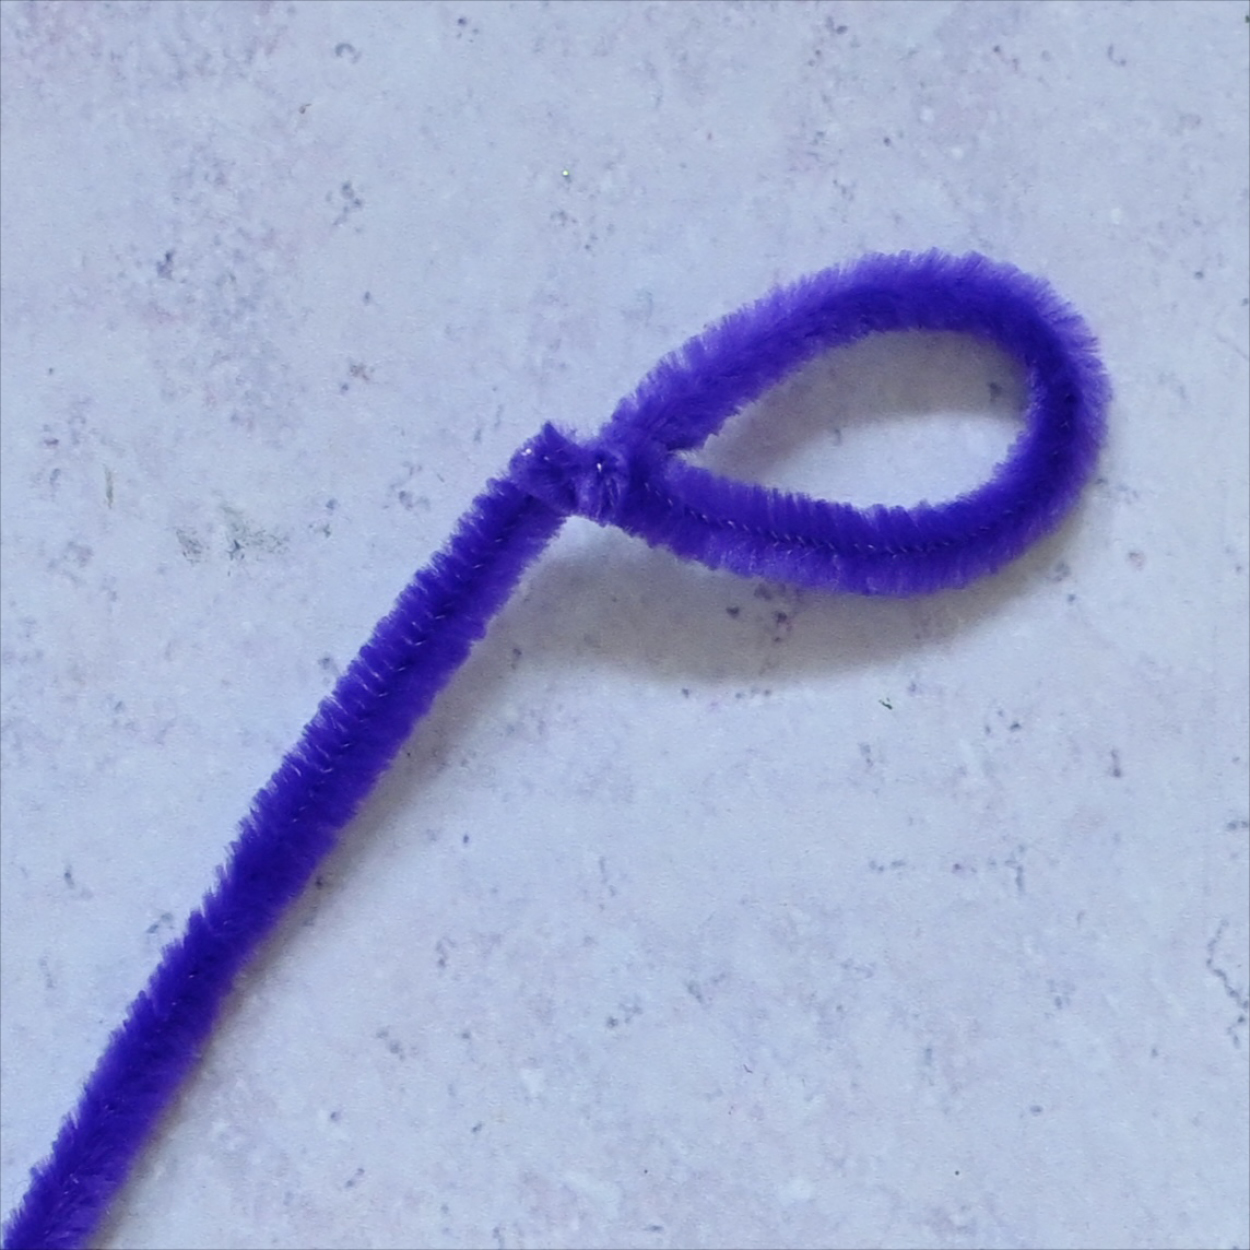
Bend the pipe cleaner to create a petal shape (see image).
Step 3
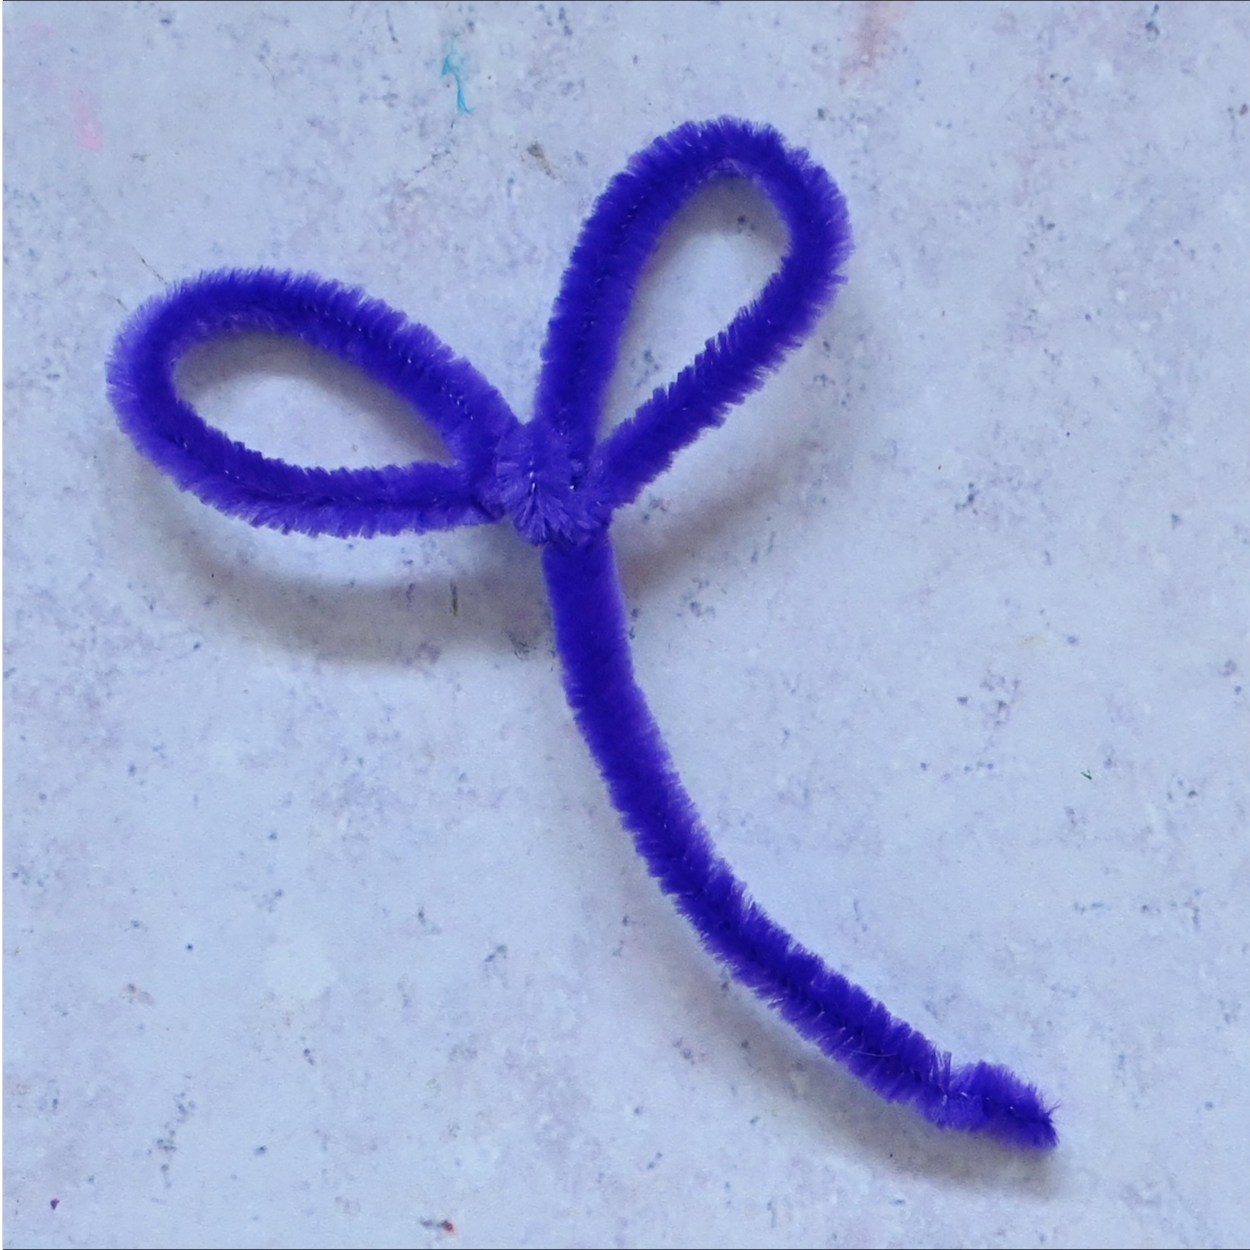
Repeat until you have your desired number of petals - five, for example.
Step 4
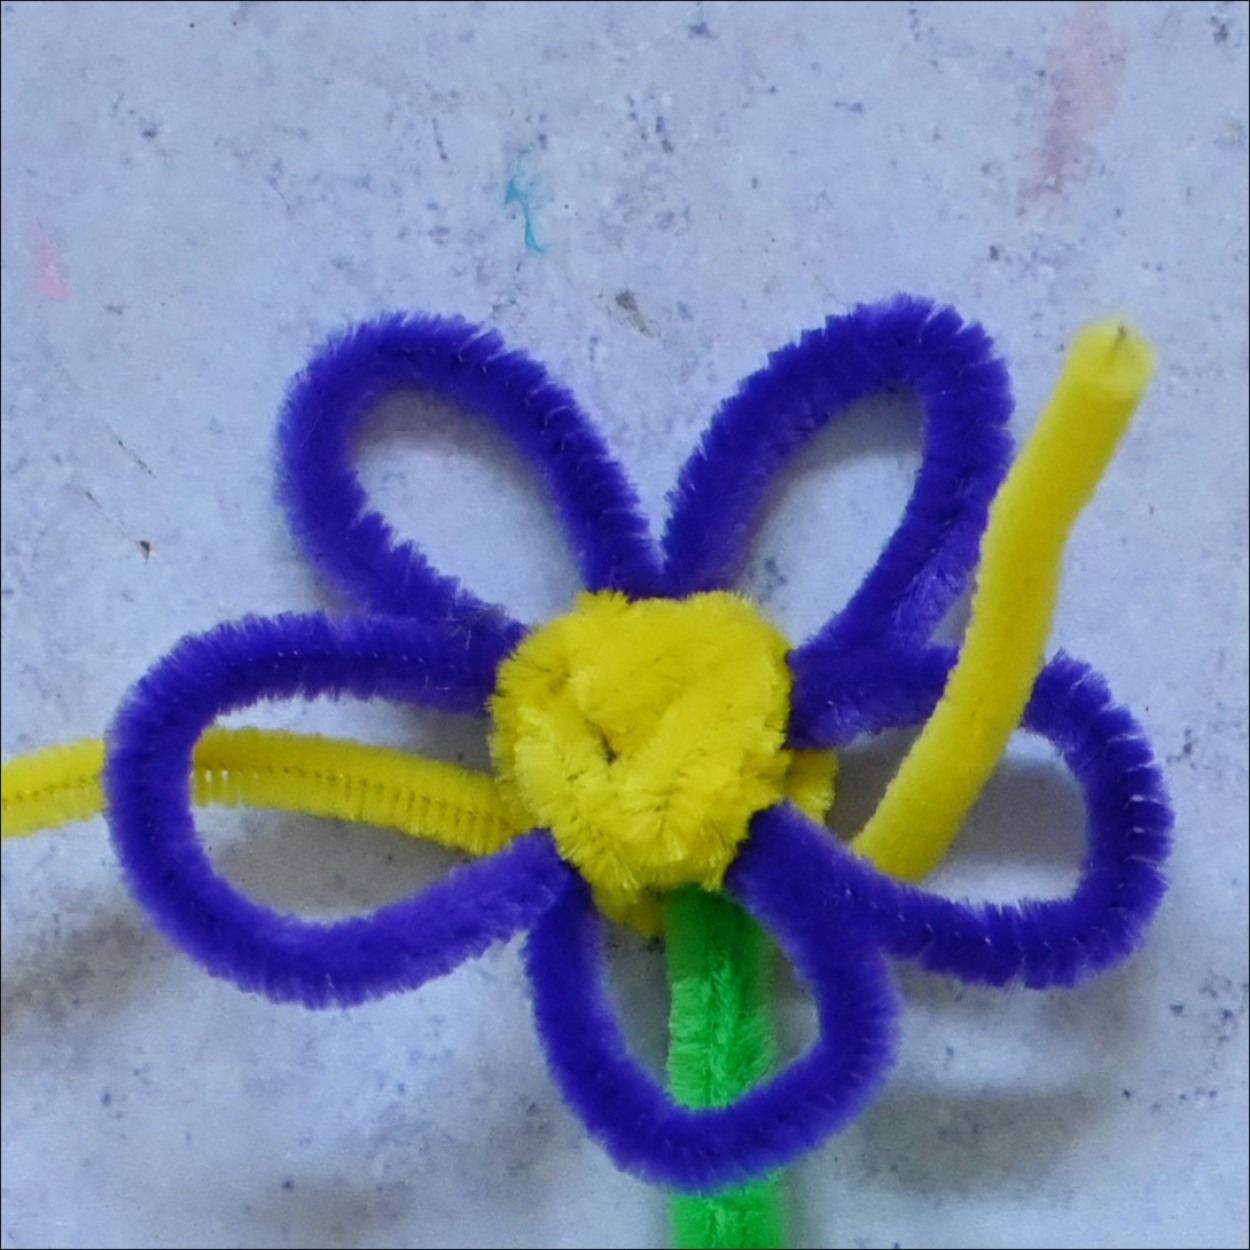
To create the centre of your flower, weave in and out of the petals and then tuck in the back to fasten in place.
Step 5
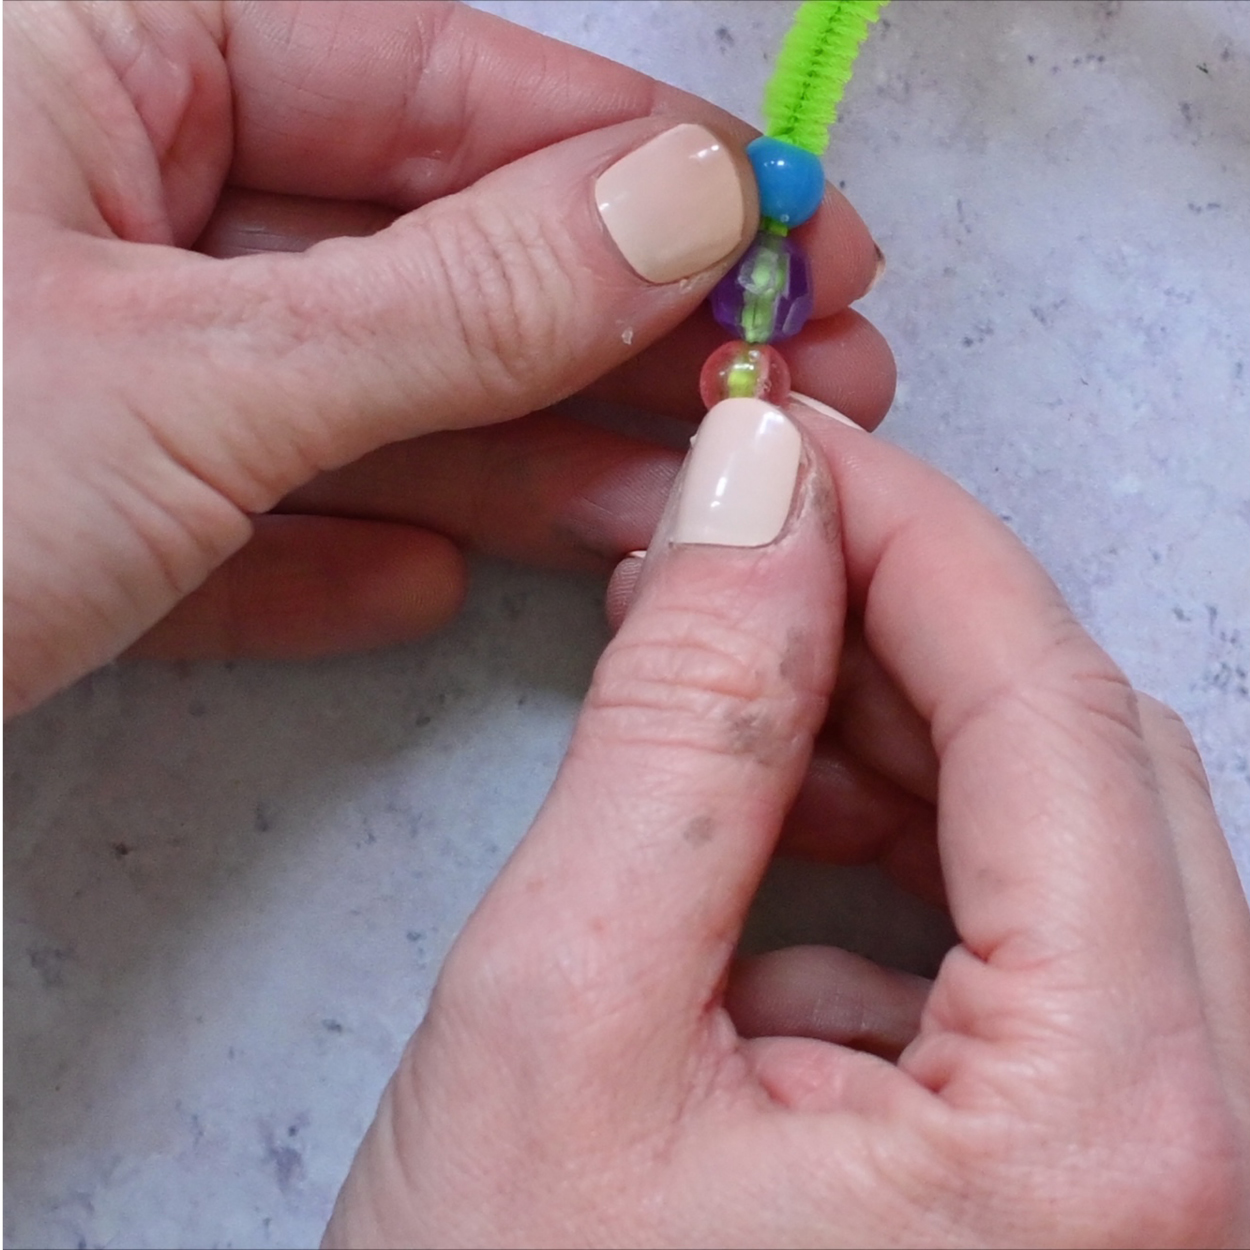
Add some beads to the stem to finish.
Up-cycled Flower Pot
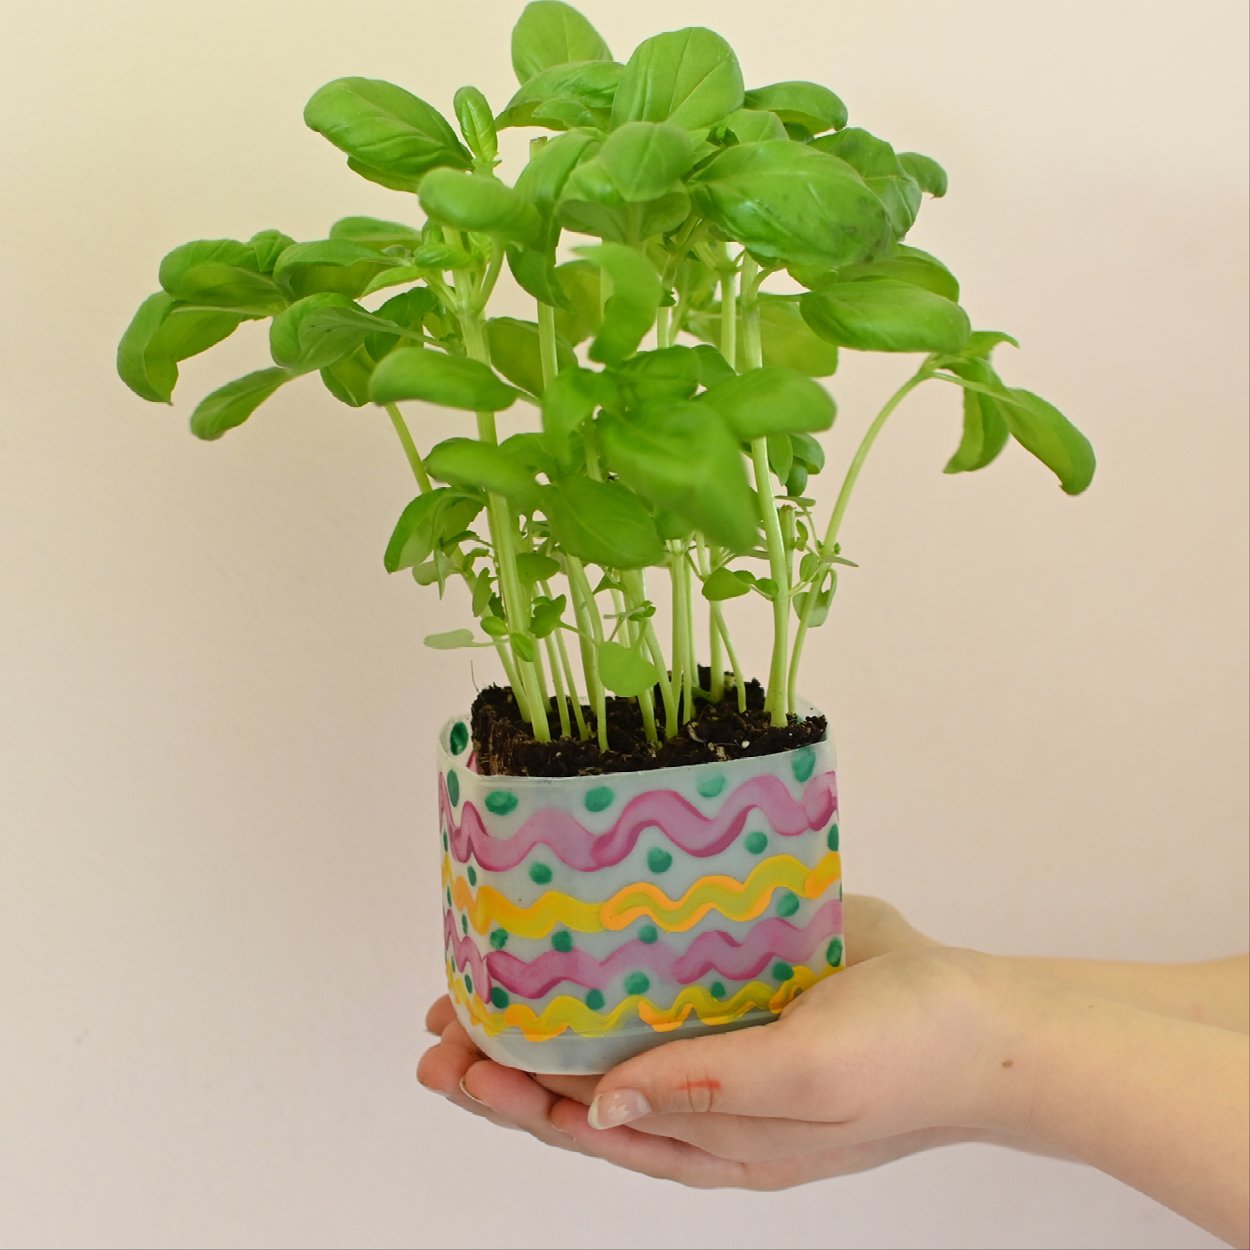
Using household items for crafting is a lovely way to make something from items that would otherwise be discarded. These recycled pots can be used for any type of plant: succulents, herbs, or flowers. They can also be used for propagating.
To ensure you have enough drainage, it may be useful to place some stones in the base or pierce some holes in the bottom of the carton.
You will need:
- Milk carton
- Acrylic paints
- Paintbrush
- Plant
Step 1
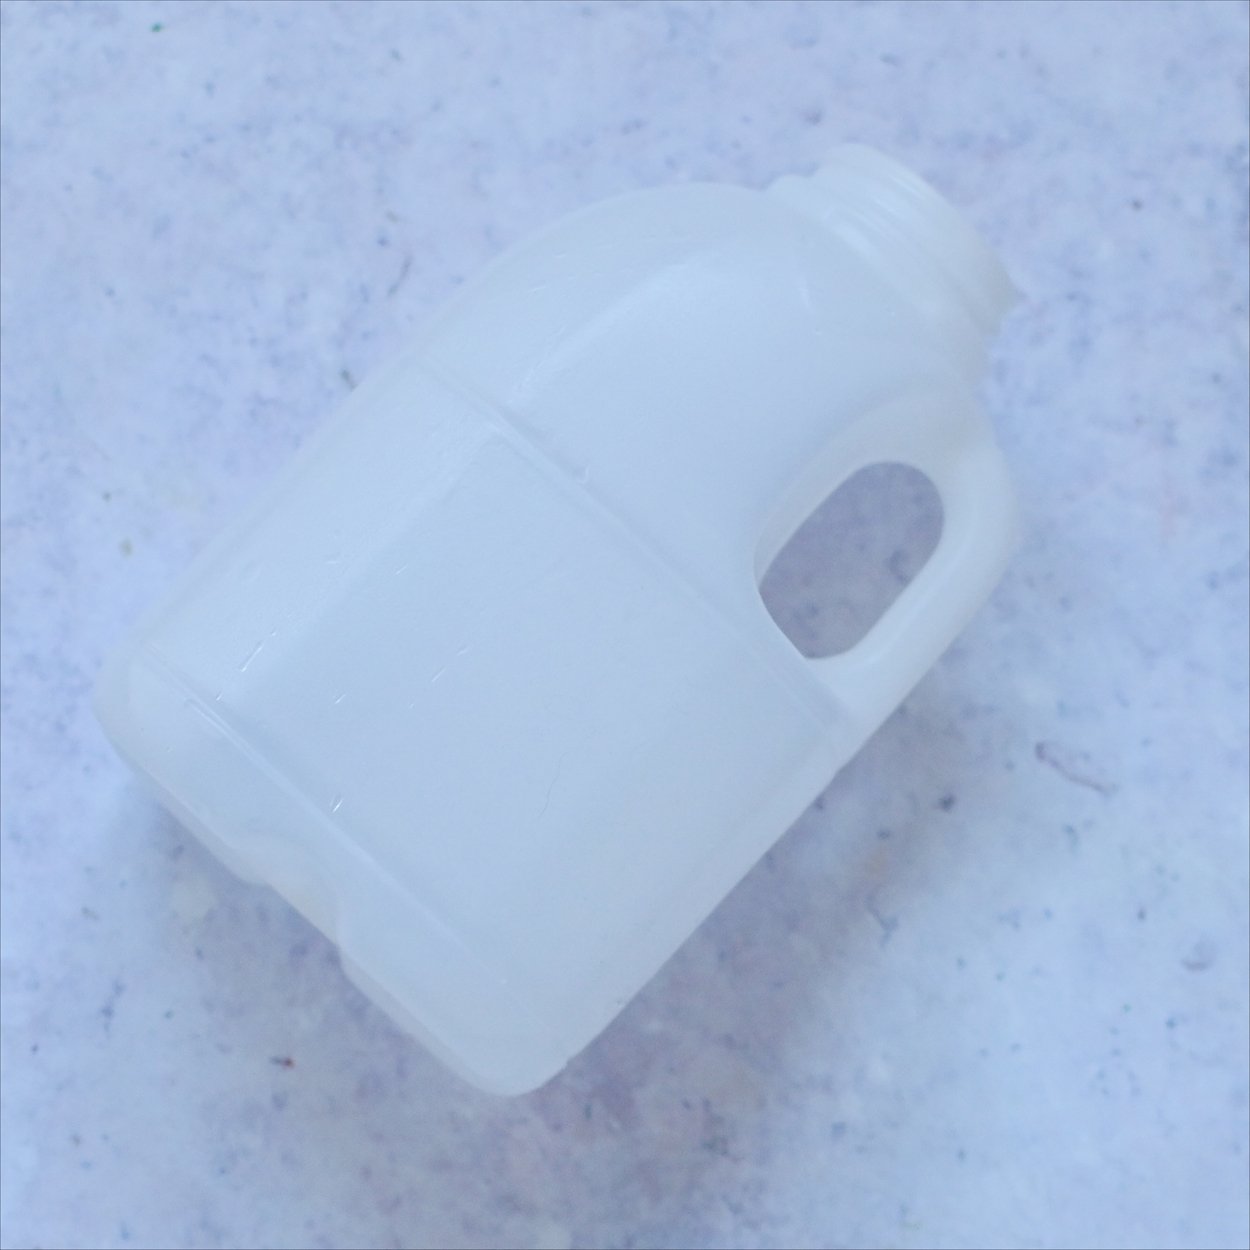
Wash and dry your milk carton.
Step 2
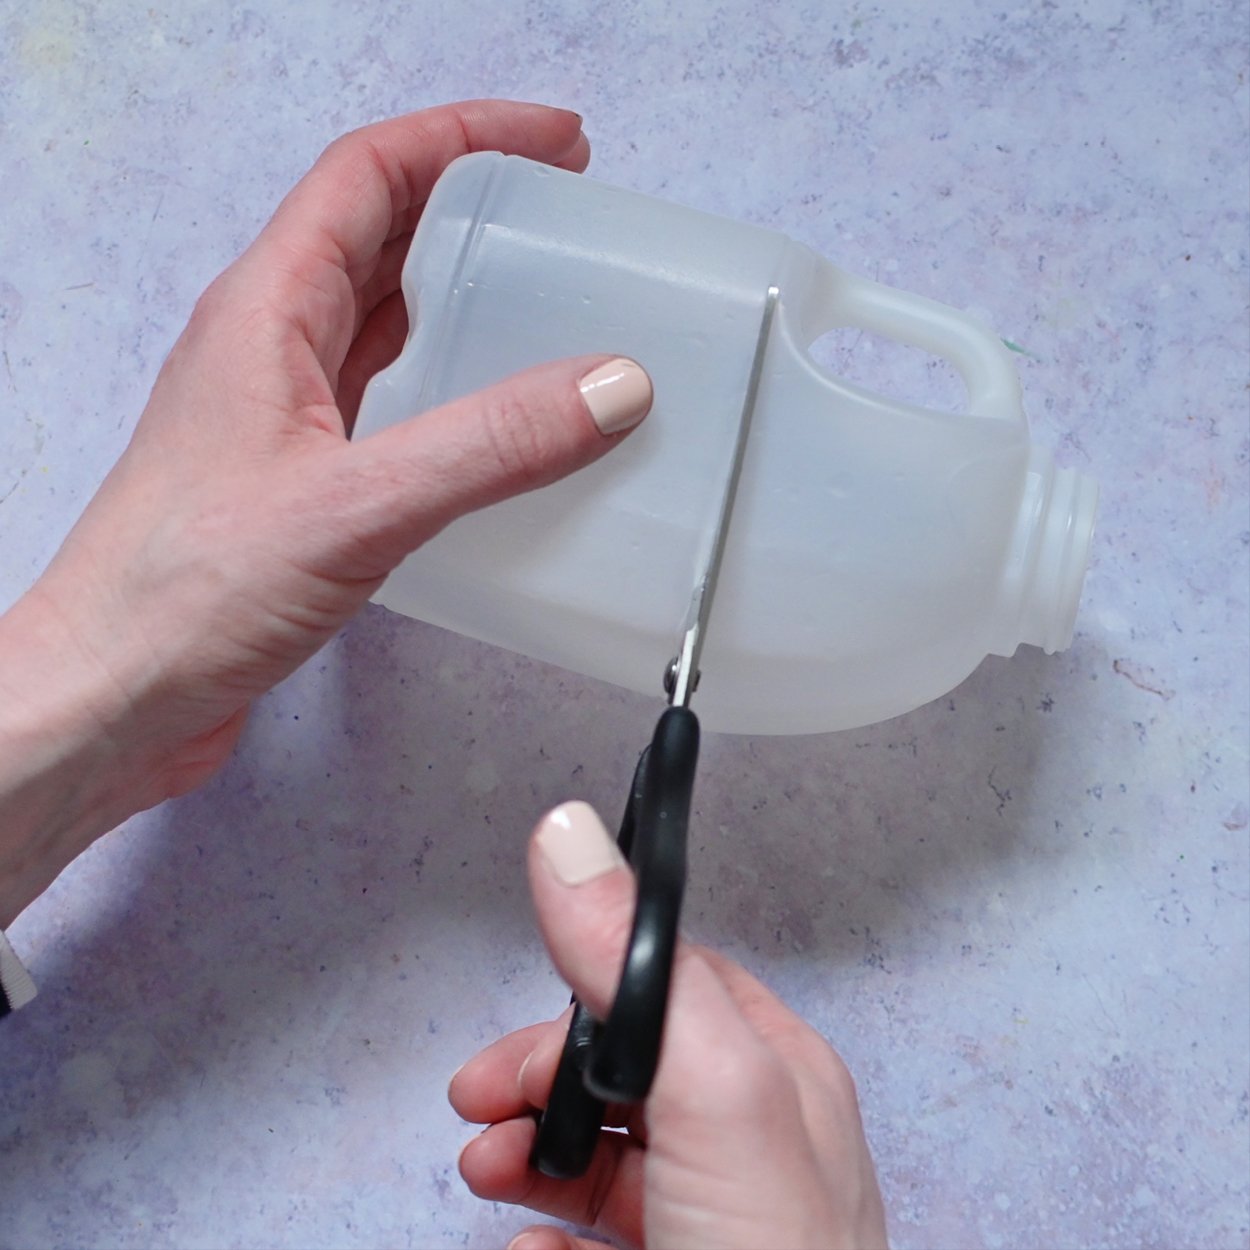
Carefully cut just below the handle of the milk carton to create the pot.
Step 3
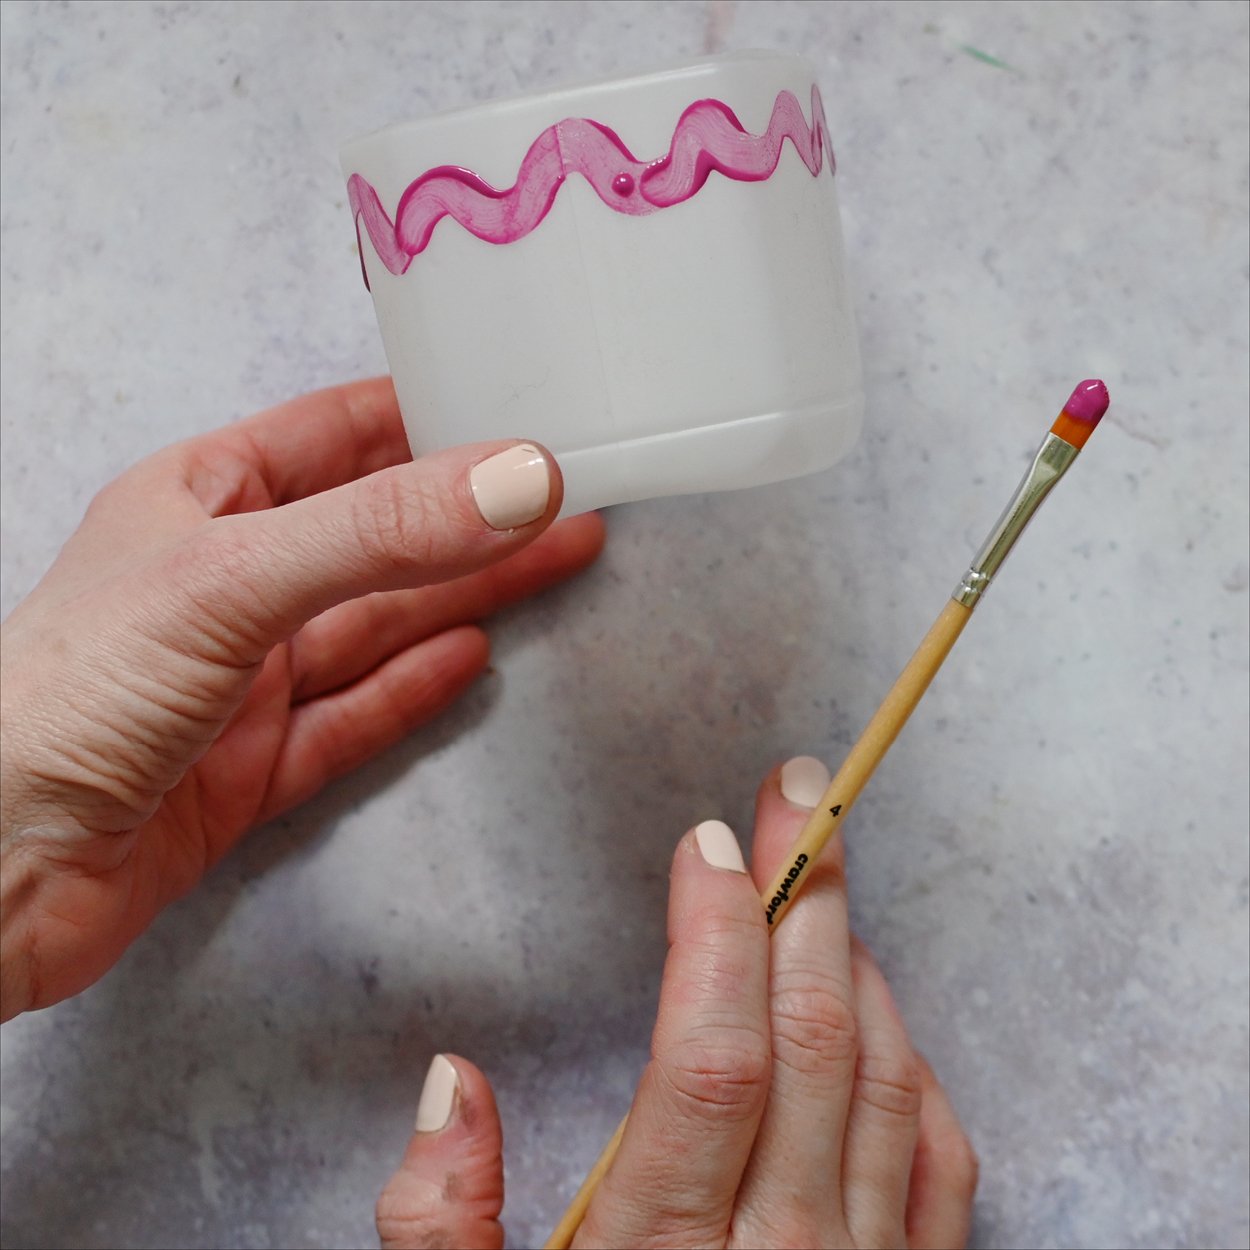
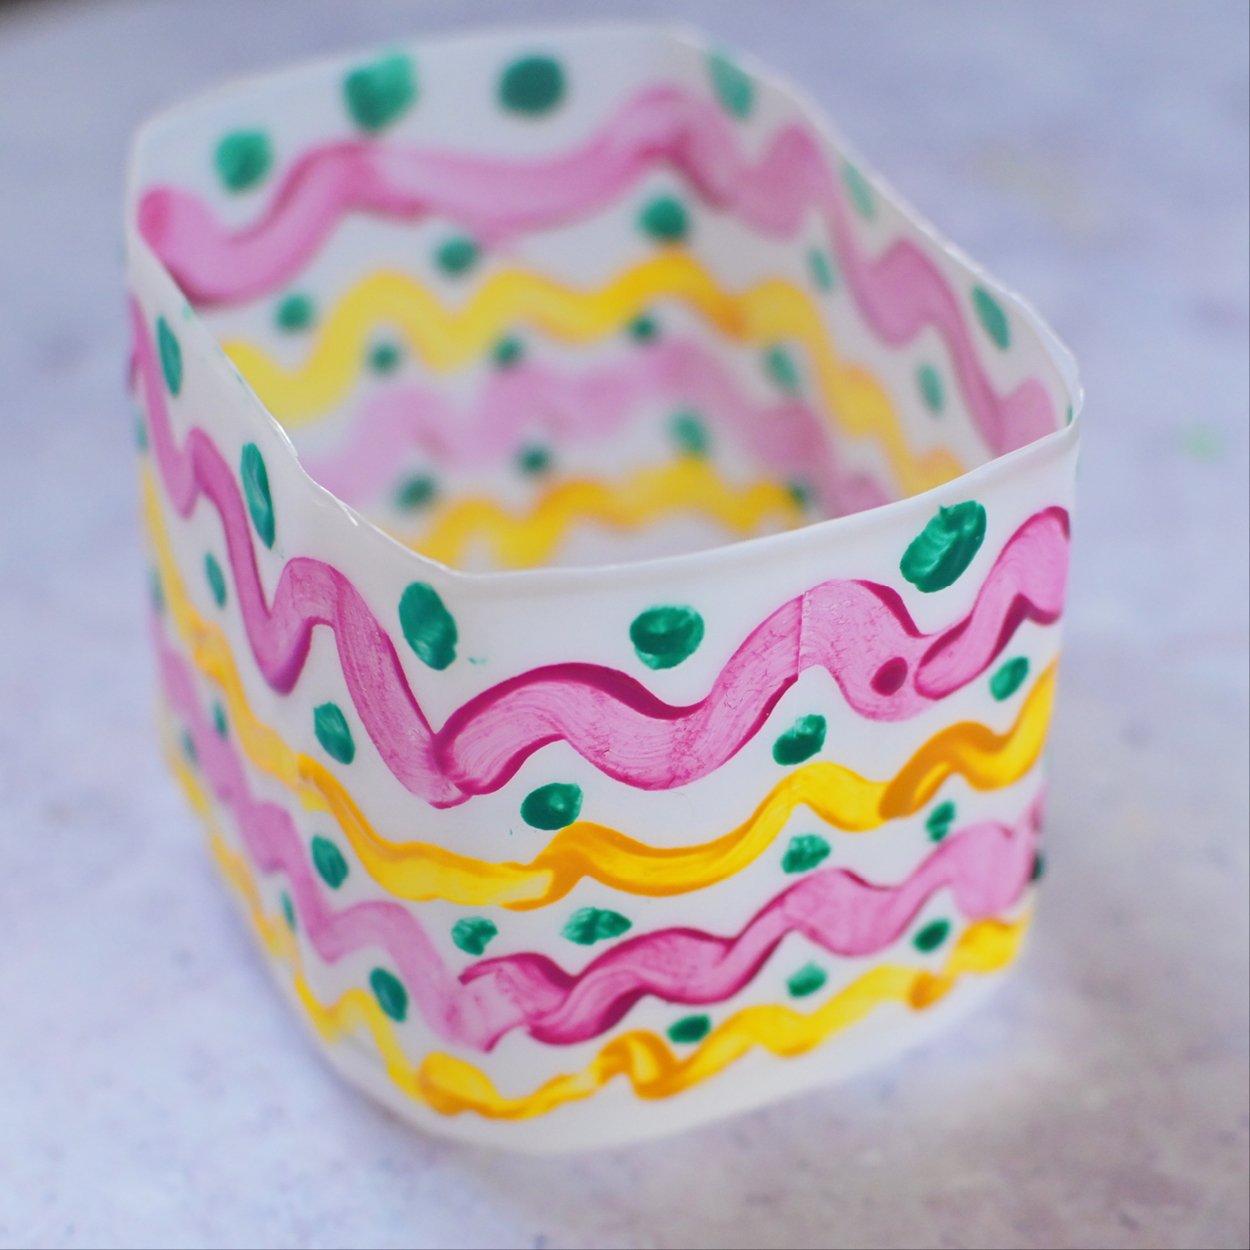
Paint some simple patterns onto the milk carton and leave to dry. Place your plant in to finish.
Happy Crafting!
Entertaining kids all summer long can often be difficult, but with these holiday craft ideas you can fill your children's holidays with creativity and joy. Each project not only provides hours of fun but offers valuable learning experiences, enhancing their imagination and fine motor skills. Remember, the best part of crafting is the memories made together along the way so cherish this time and proudly display their artistic creations. And if your kids just can't get enough, why not keep their crafting spirit up with 30 easy and fun summer crafts, or keep them busy on those less-than-sunny days with free printable summer activity sheets.


