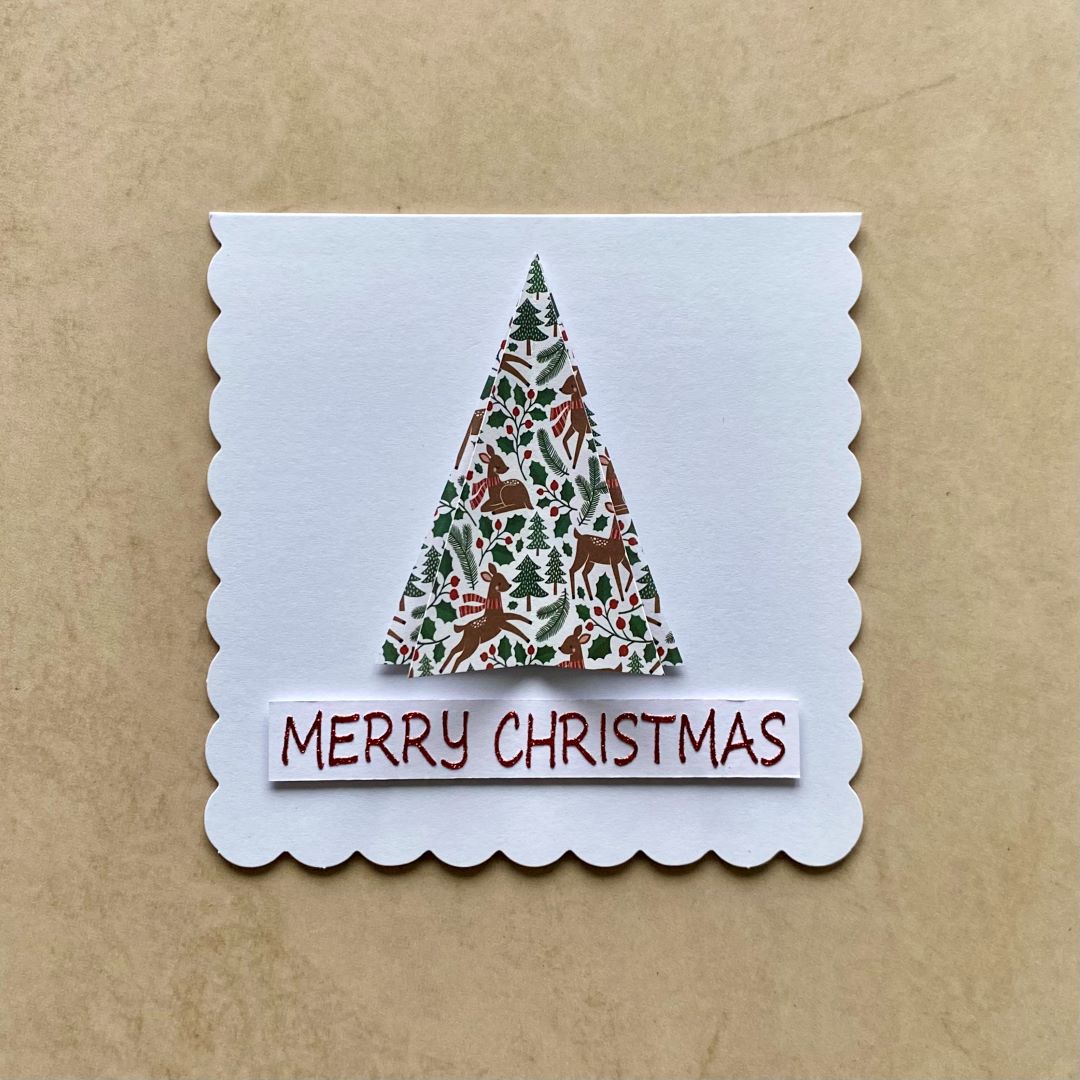
1. 3D Tree Card
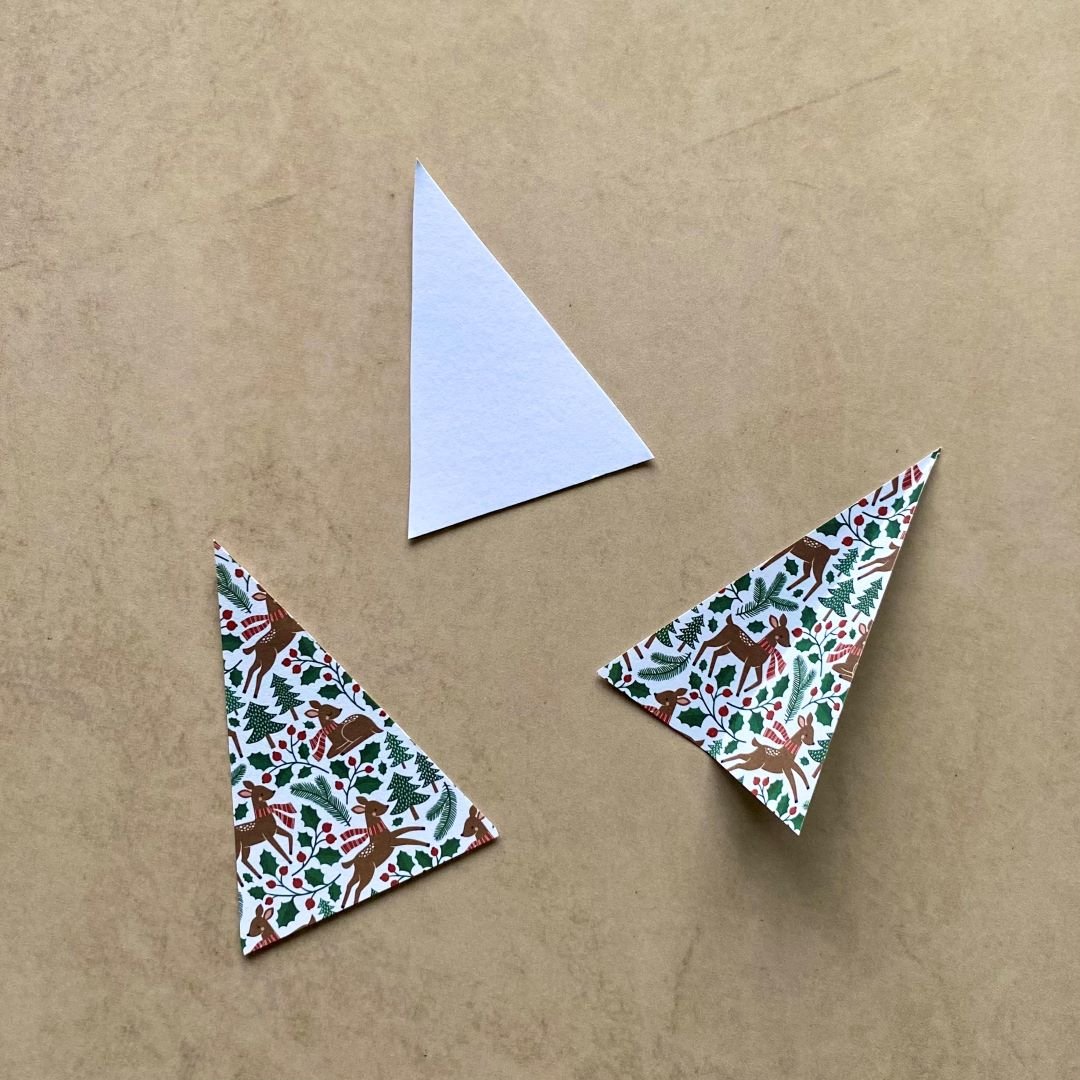
Step 1: Cut two triangles of patterned paper that will fit nicely on the card front. Fold one triangle in half lengthways then back the other triangle with a scrap of cardstock to strengthen.
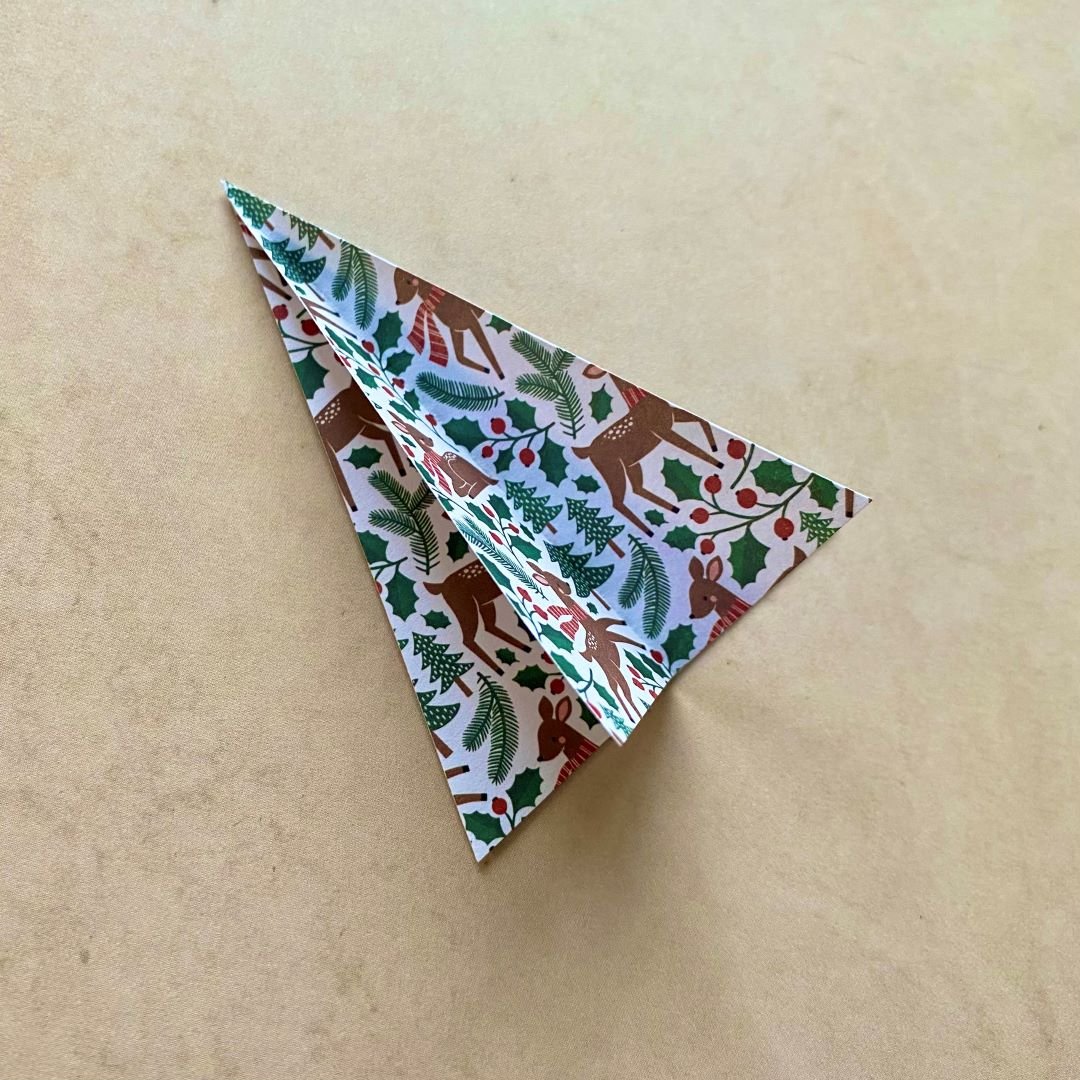
Step 2: Glue the folded triangle at the pointed fold and fix to the other triangle.
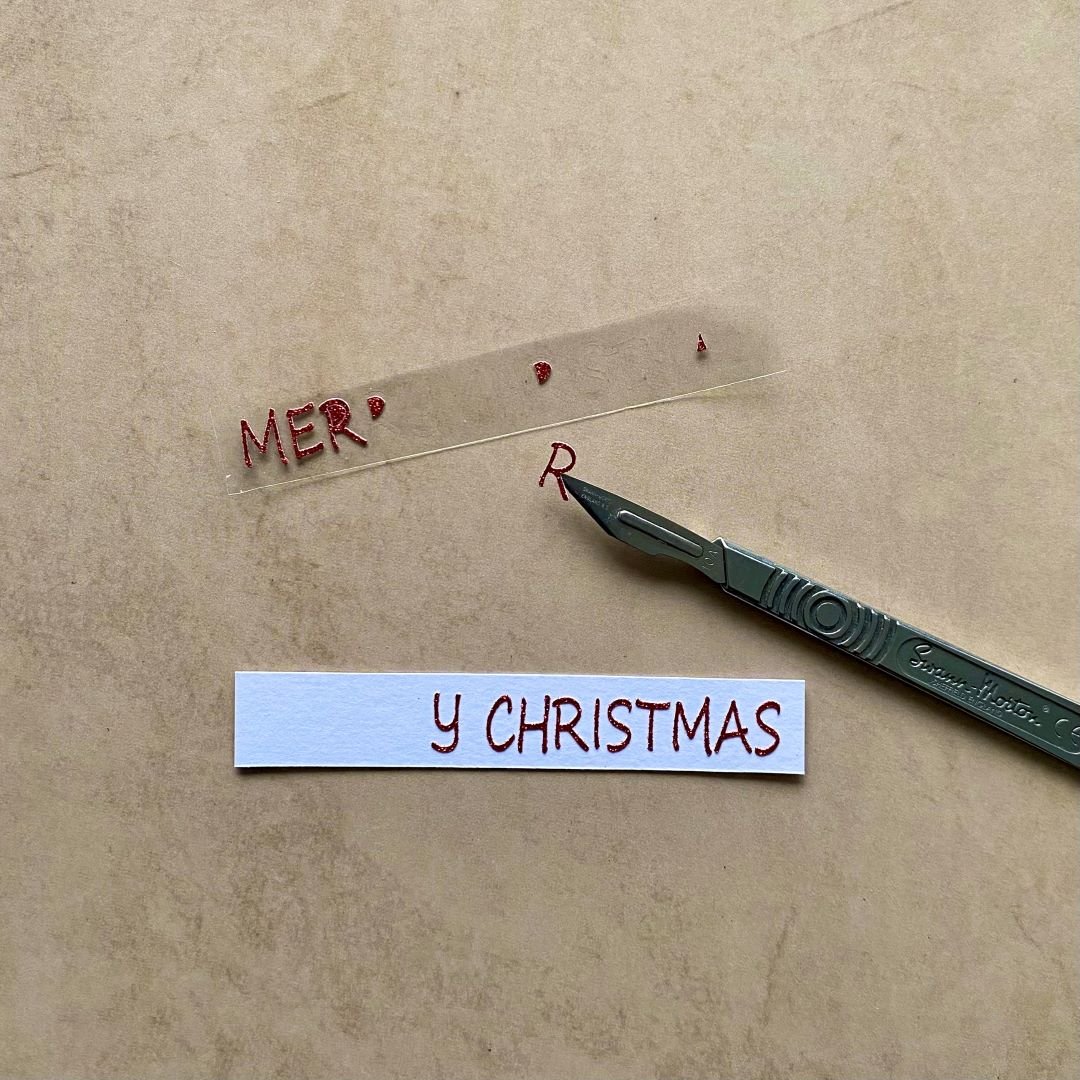
Step 3: Attach the sticker sentiment to a small panel of cardstock then add 3d foam pads to the reverse side.
Step 4: Fix the prepared tree and sentiment to the card front.
2. Bobble Hat Card
Step 1: Using patterned paper, fussy cut a hat shape.

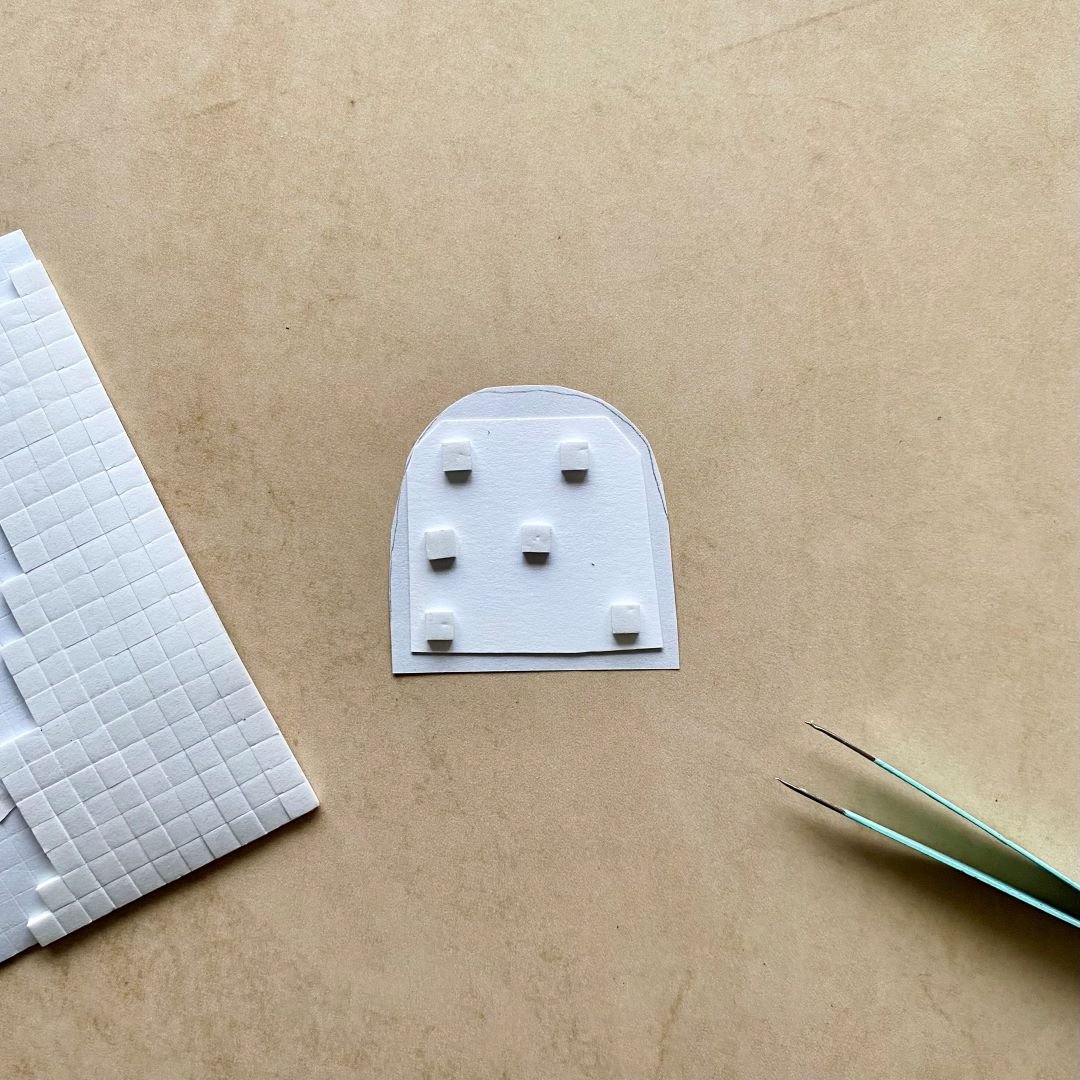
Step 2: Strengthen the reverse side with a piece of cardstock then add 3d foam pads.
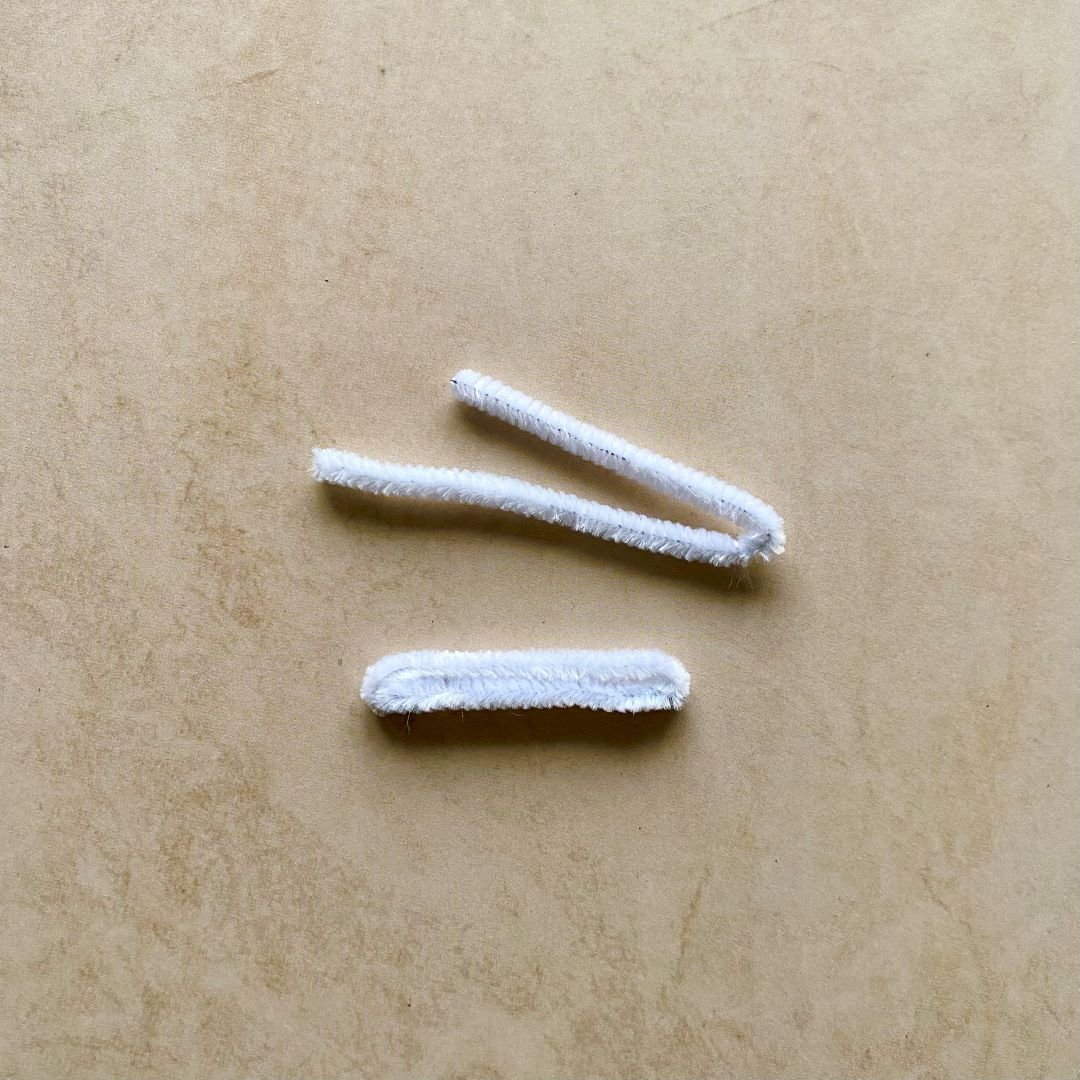
Step 3: Bend a piece of pipe cleaner into an elongated loop.
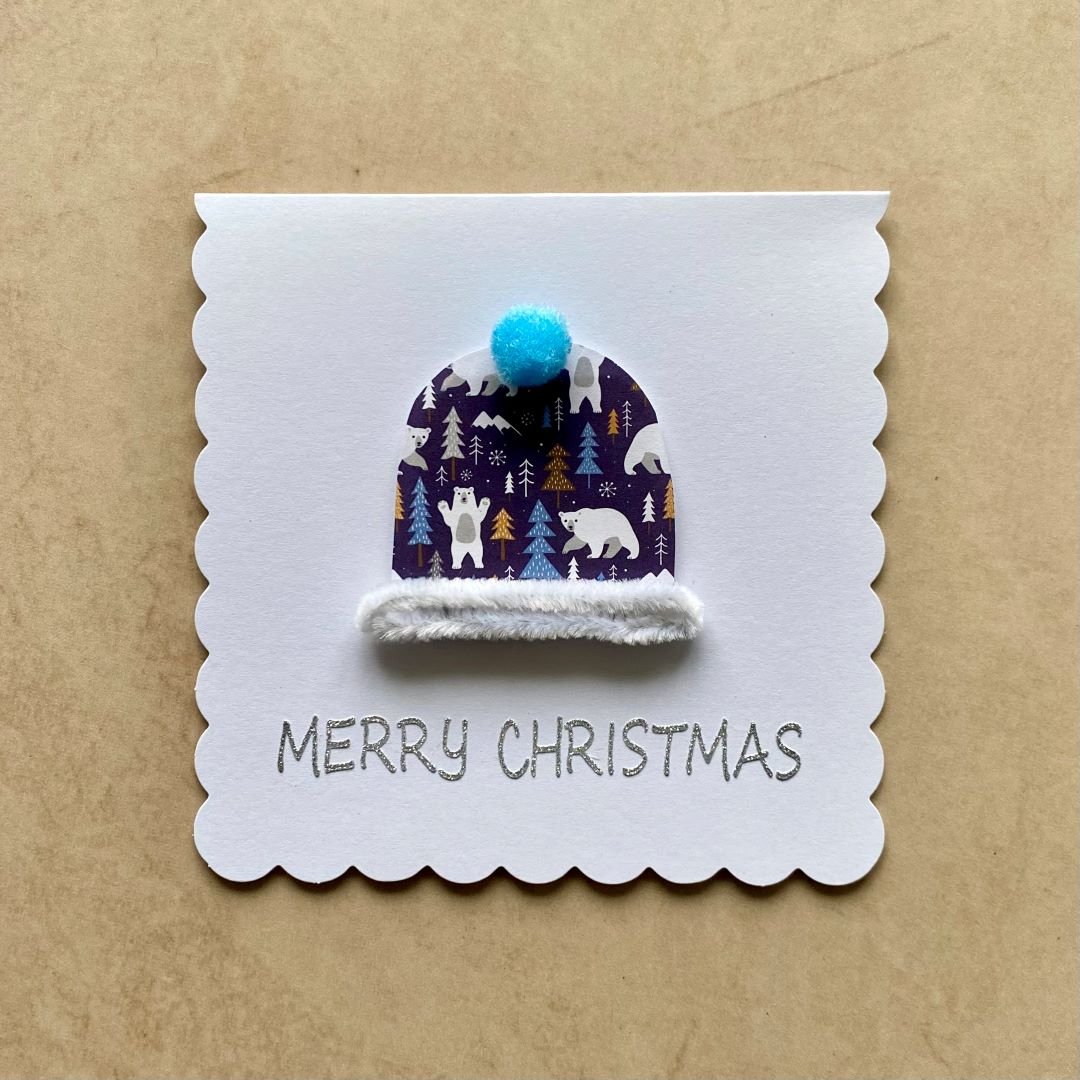
Step 4: Attach the hat shape to the card front. Glue the bobble on followed by the pipe cleaner trim then add the sticker sentiment to finish.
3. HoHoHo Card
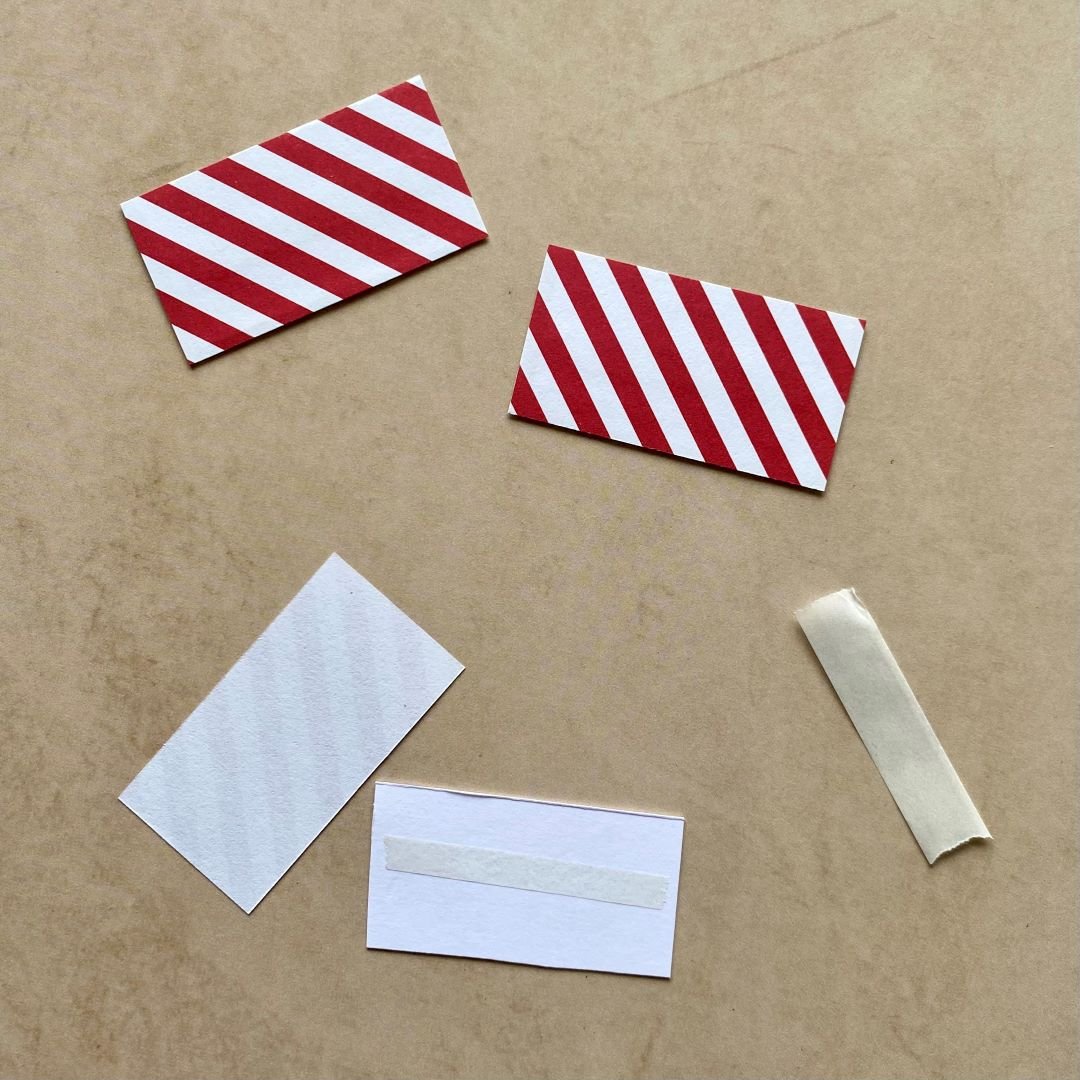
Step 1: Trim three patterned paper rectangles to 6 x 3.2 cm. Back all three with a scrap of cardstock to strengthen.
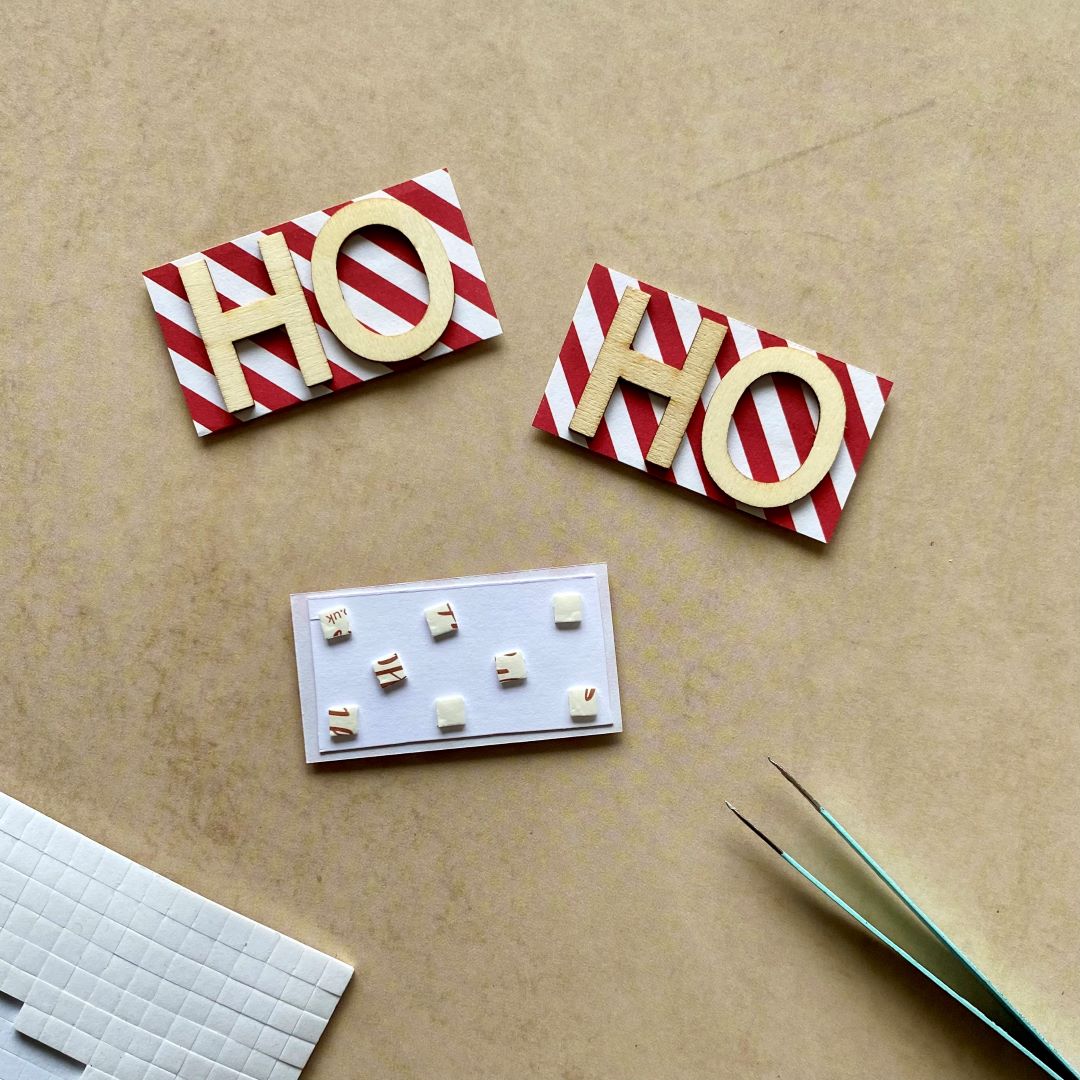
Step 2: Glue the wooden letters to the panels then attach 3d foam pads to the reverse side.
Step 3: Carefully line up and attach the panels to the card front.
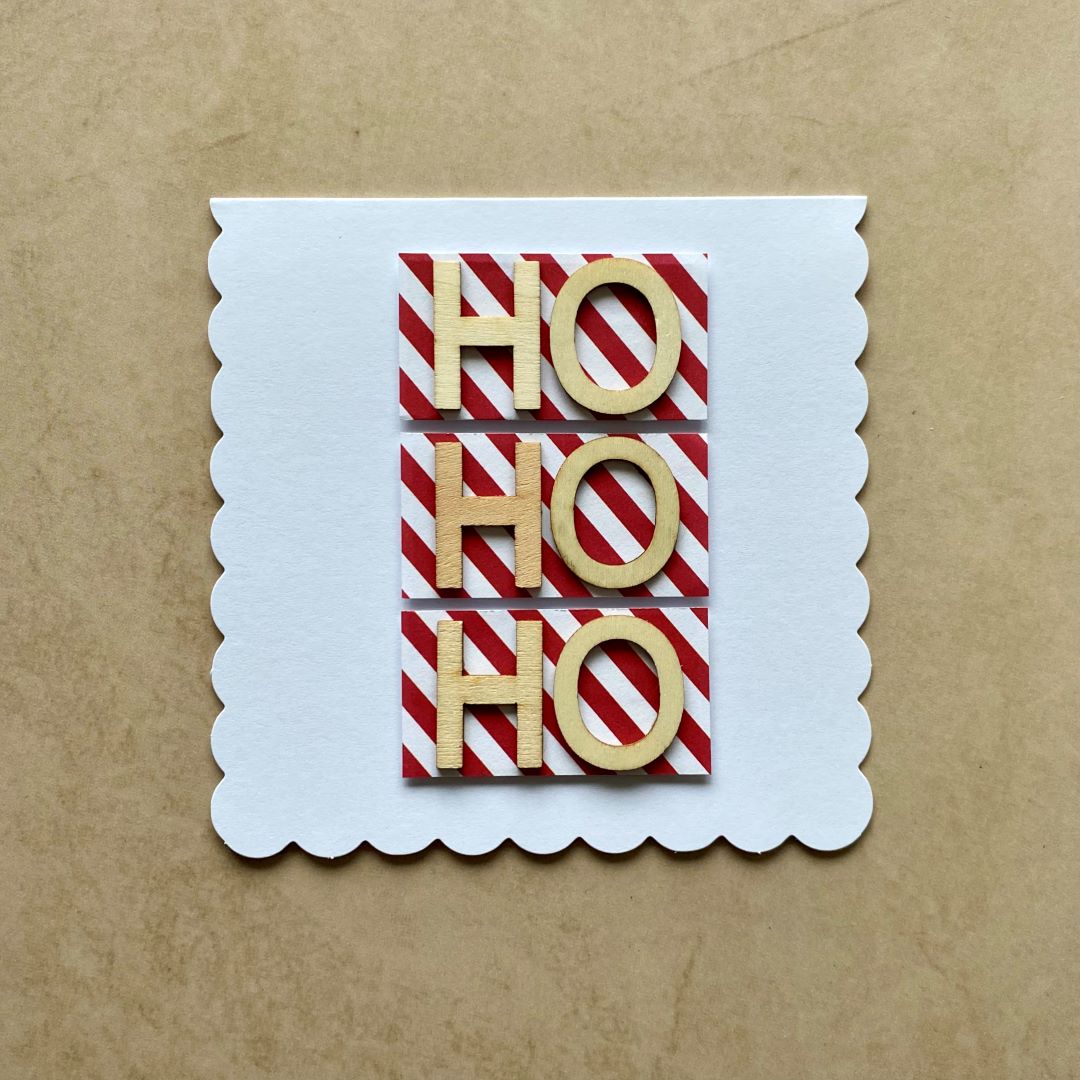
Tip: Add a small amount of glue to each foam pad to allow some wiggle room.
Step 4: Fussy cut to toppers from the patterned paper pad. Add a few gems to finish.

4. Sewn Tree Card
Step 1: Find the centre of the card blank. Line up a ruler and make a pencil mark at 12mm and 110mm as shown in the photo.
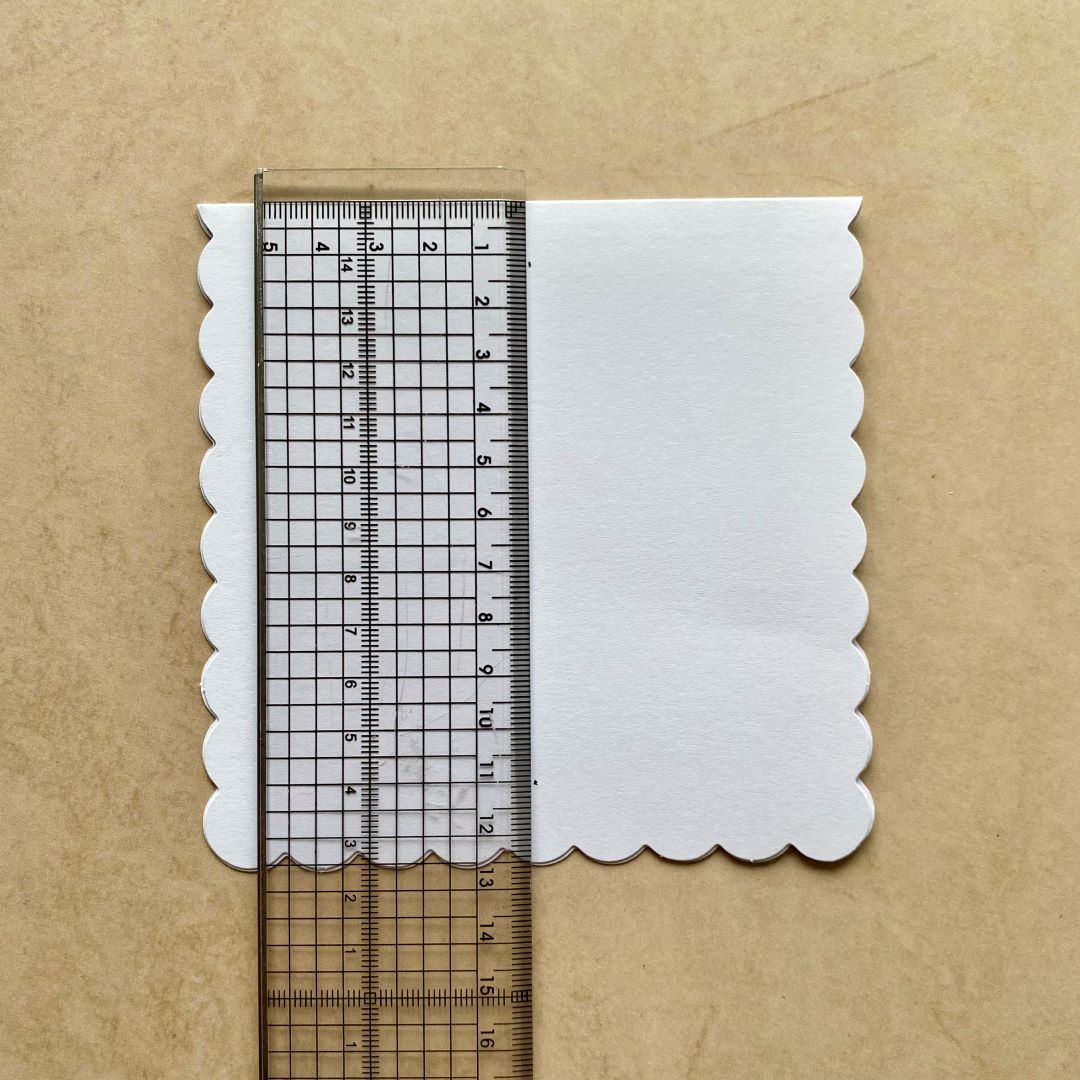
Step 2: Make three more marks either side of the bottom centre mark.
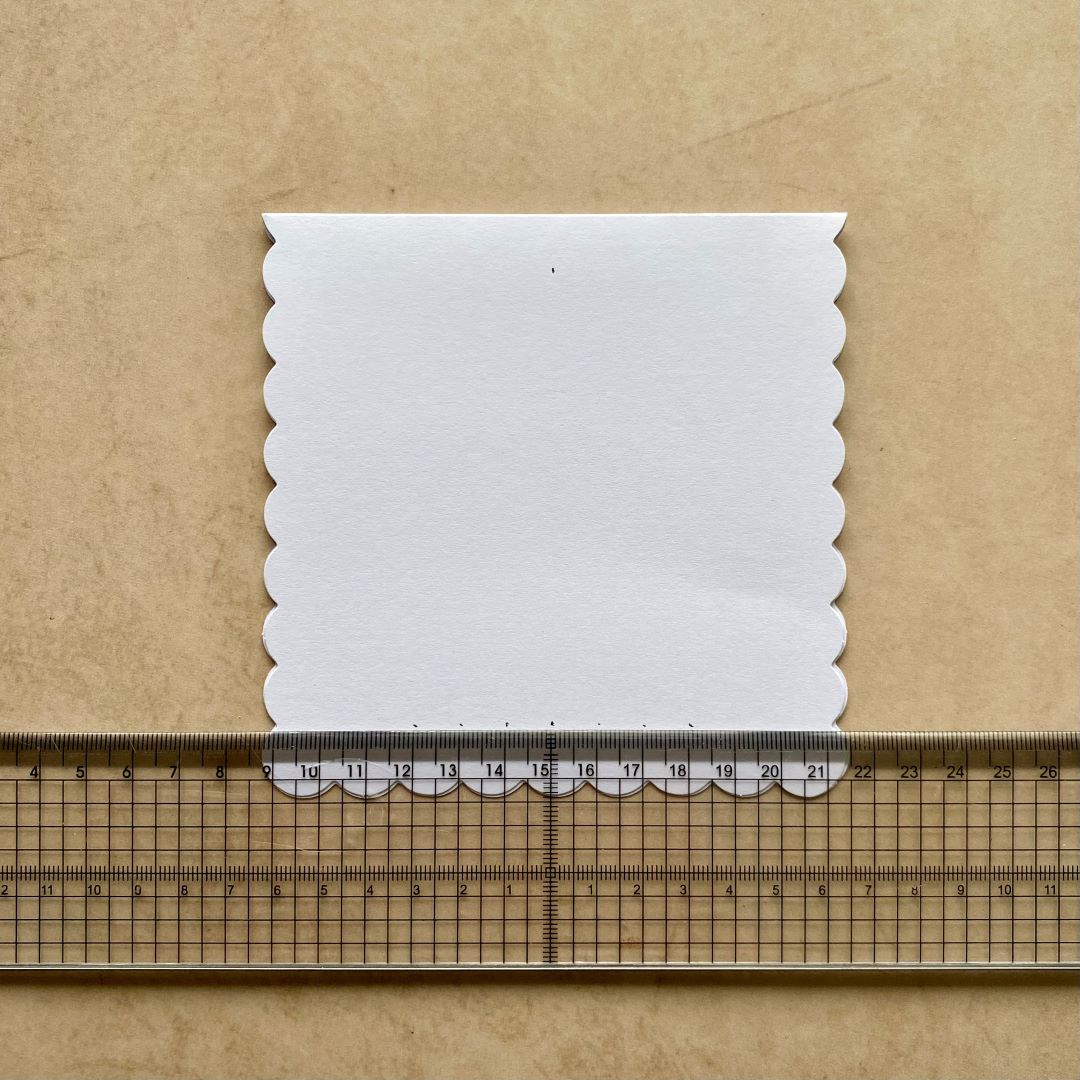
Tip: A grid mat would be helpful.
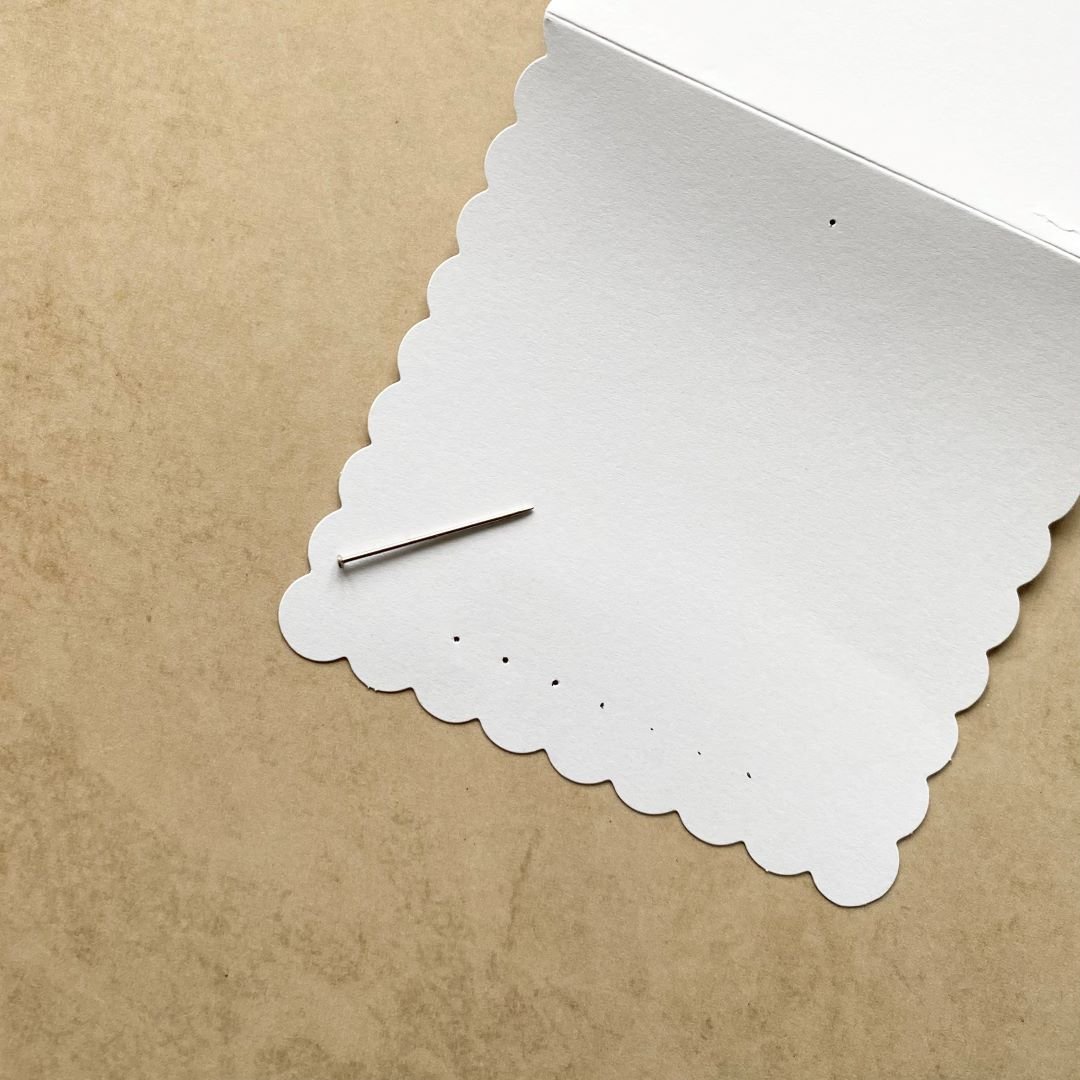
Step 3: Open out the card and use a pin or poke tool to make holes where indicated by the pencil marks.
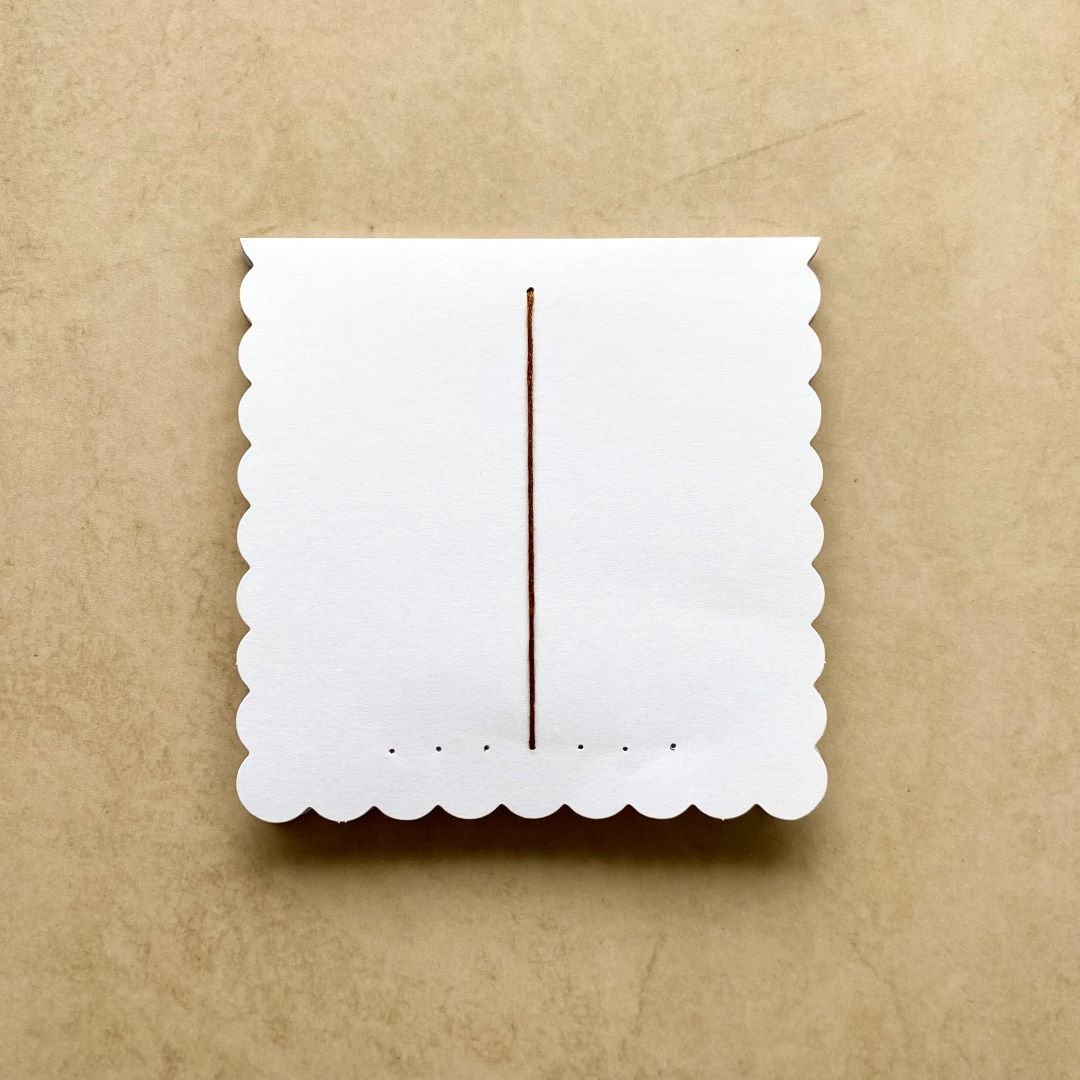
Step 4: Using a length of brown thread sew from the top hole to the bottom creating the trunk, secure in place using double sided tape on the reverse side.
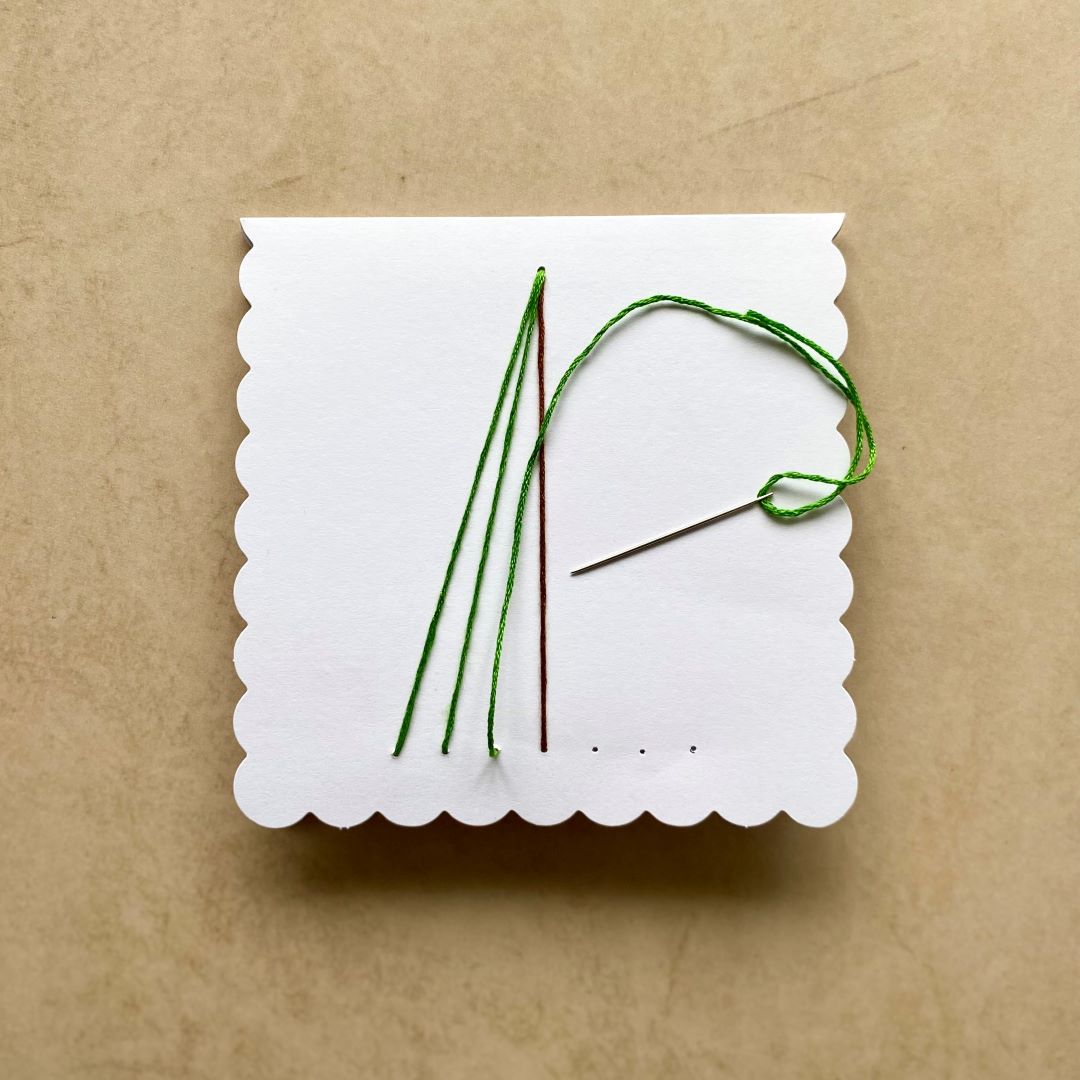
Step 5: Continue to sew with the green thread in the same way as step four.
Step 6: Cut a sentiment from the patterned paper pad to cover the other side.
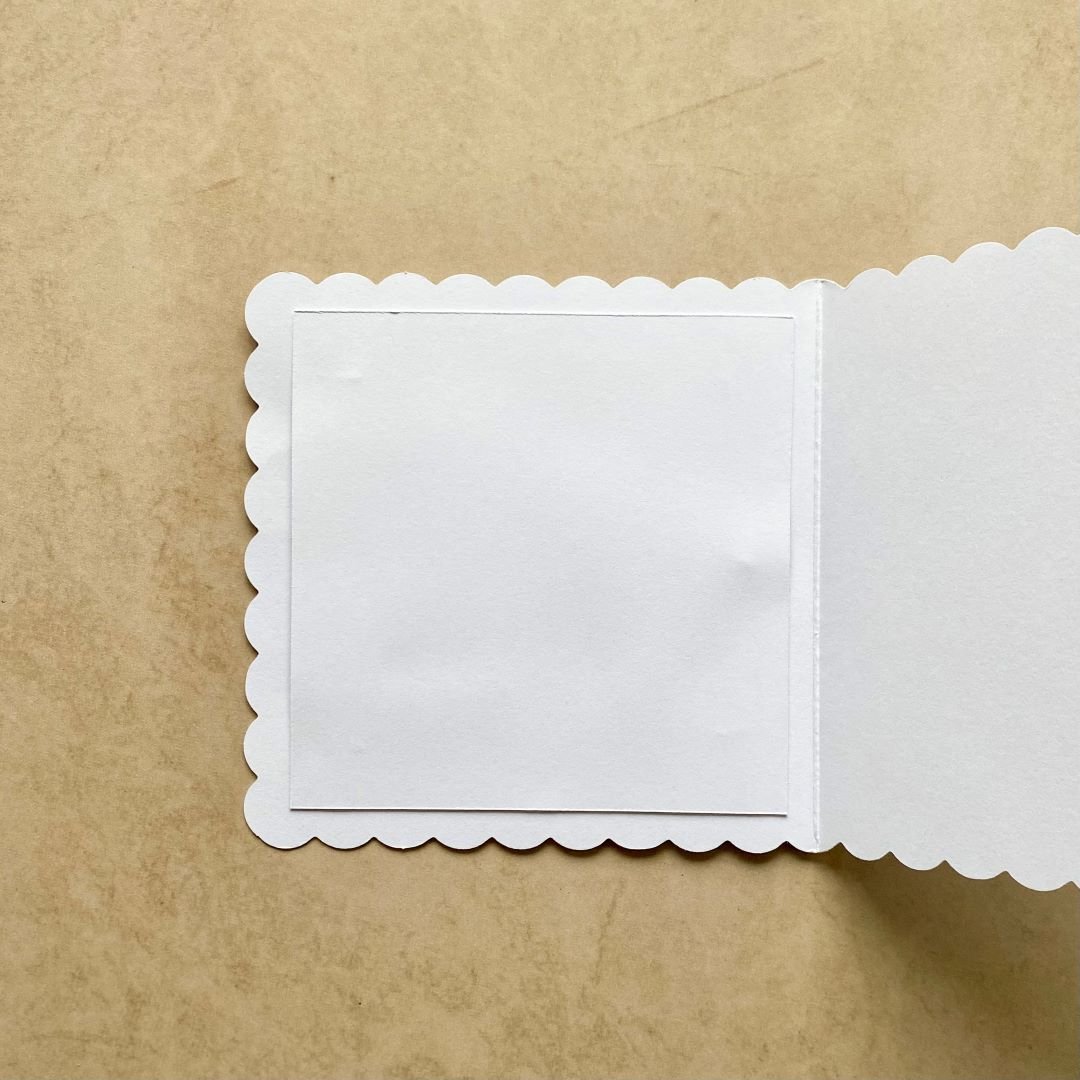
Step 7: Add a few gems to finish.
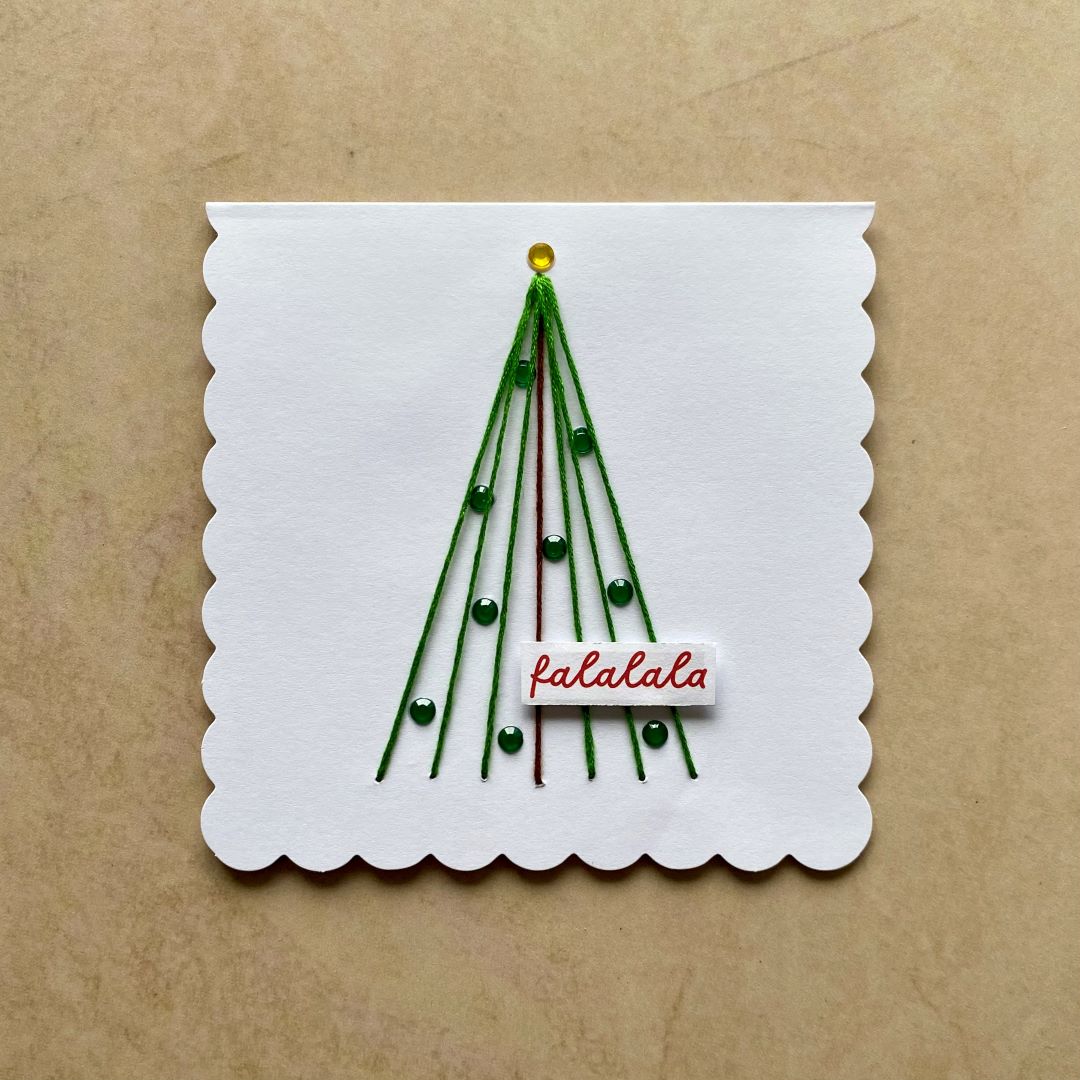
5. Foam Topper Card
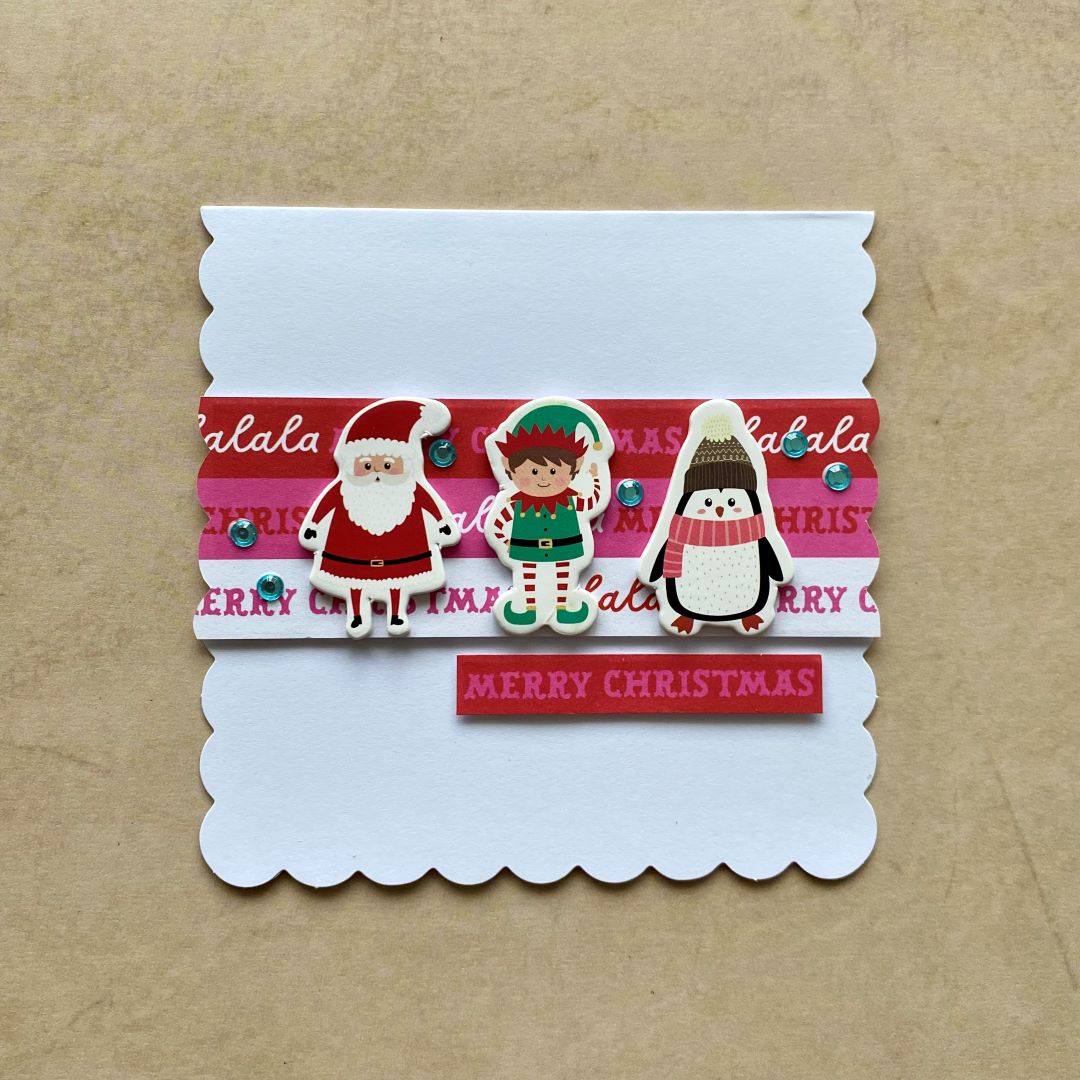
Step 1: Cut a panel of patterned paper slightly wider than the card front. Hold the panel in tightly in place across the middle then carefully flip over and draw the scalloped edge with a pencil. Fussy cut the pencil lines.
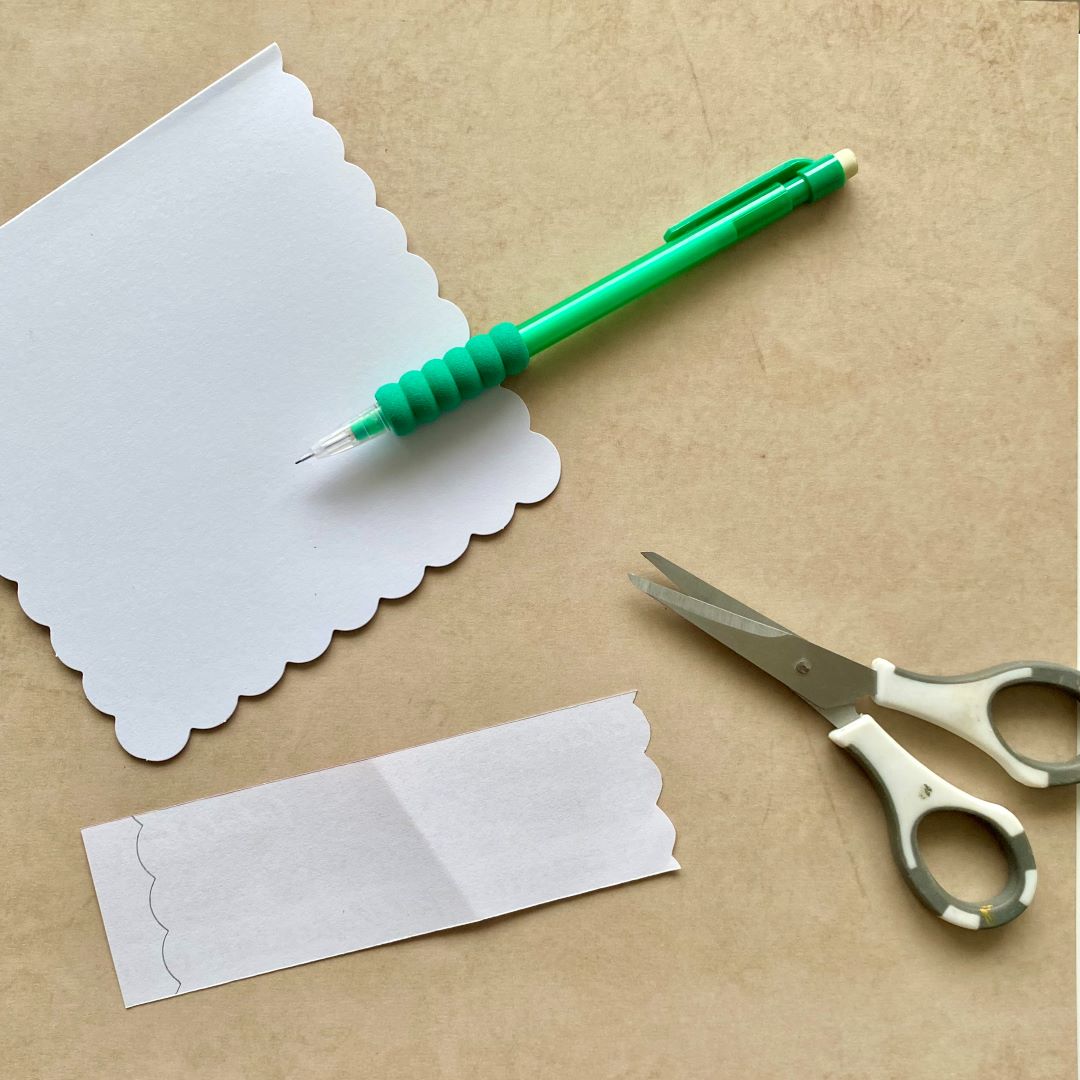
Step 2: Back the prepared panel with cardstock to strengthen then fix this to the card front using 3d foam pads.
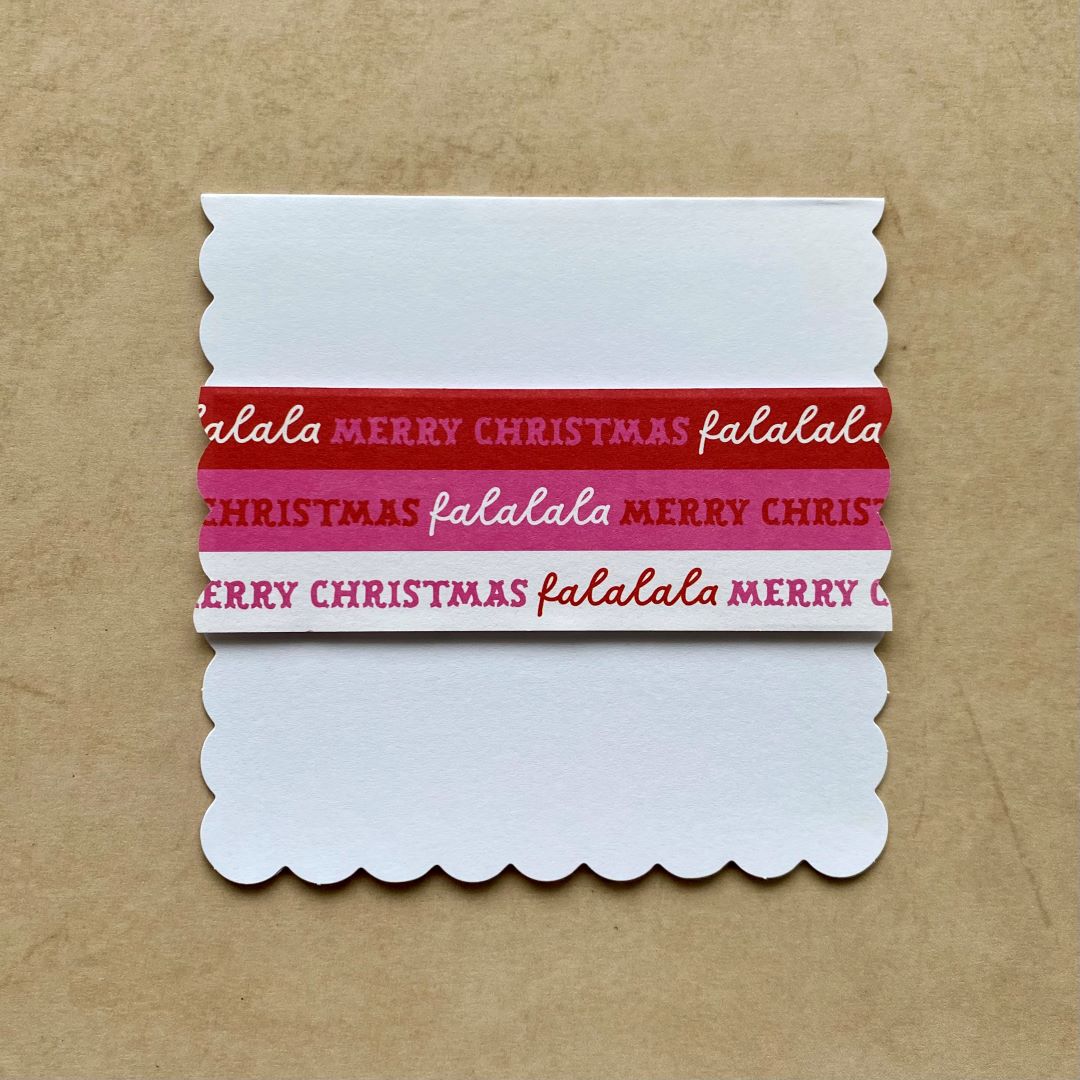
Step 3: Trim a sentiment from the patterned paper pad and strengthen the back as before, fix in place using more 3d foam pads.
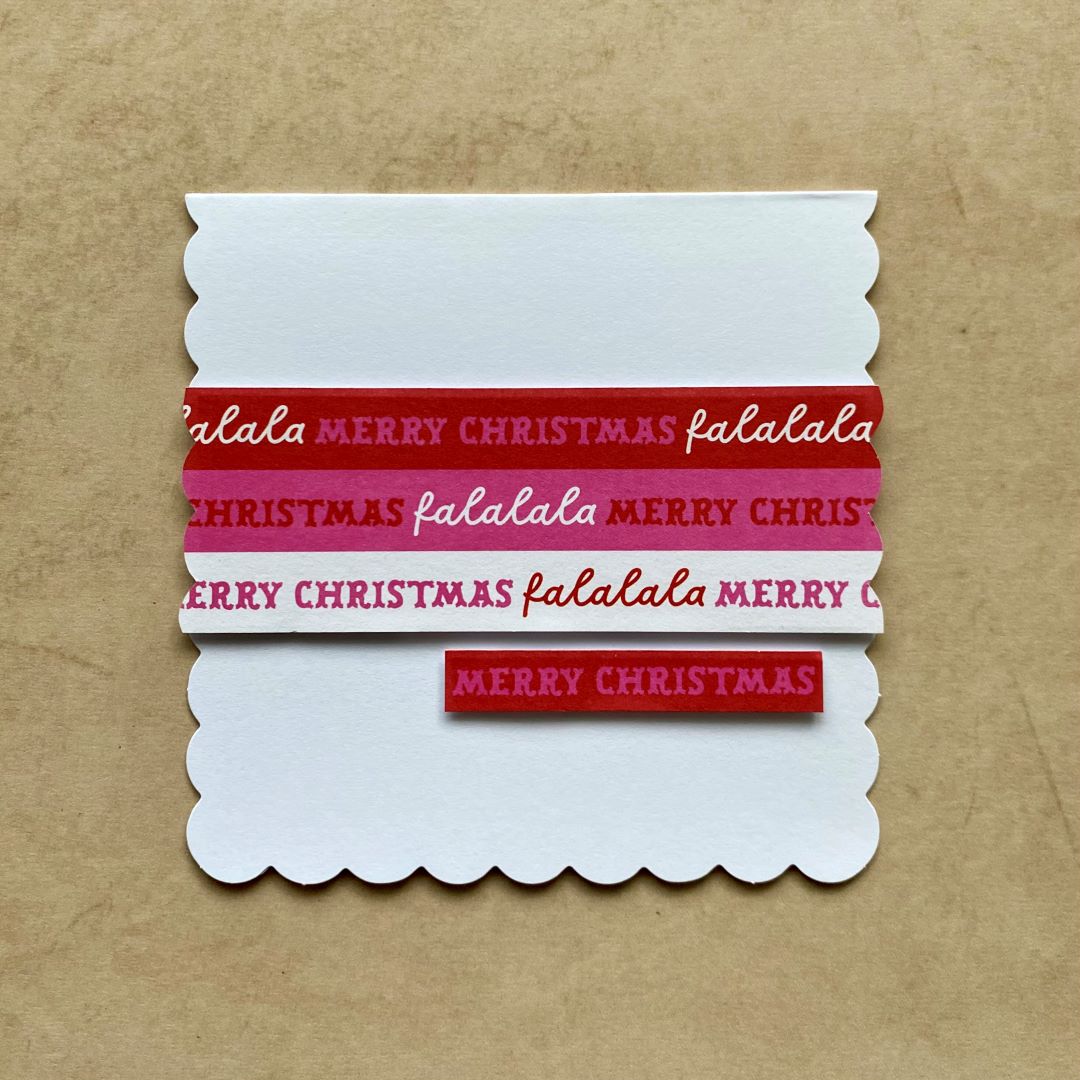
Step 4: Attach the three characters then add a few gems to finish.
6. Pipe Cleaner Tree Card
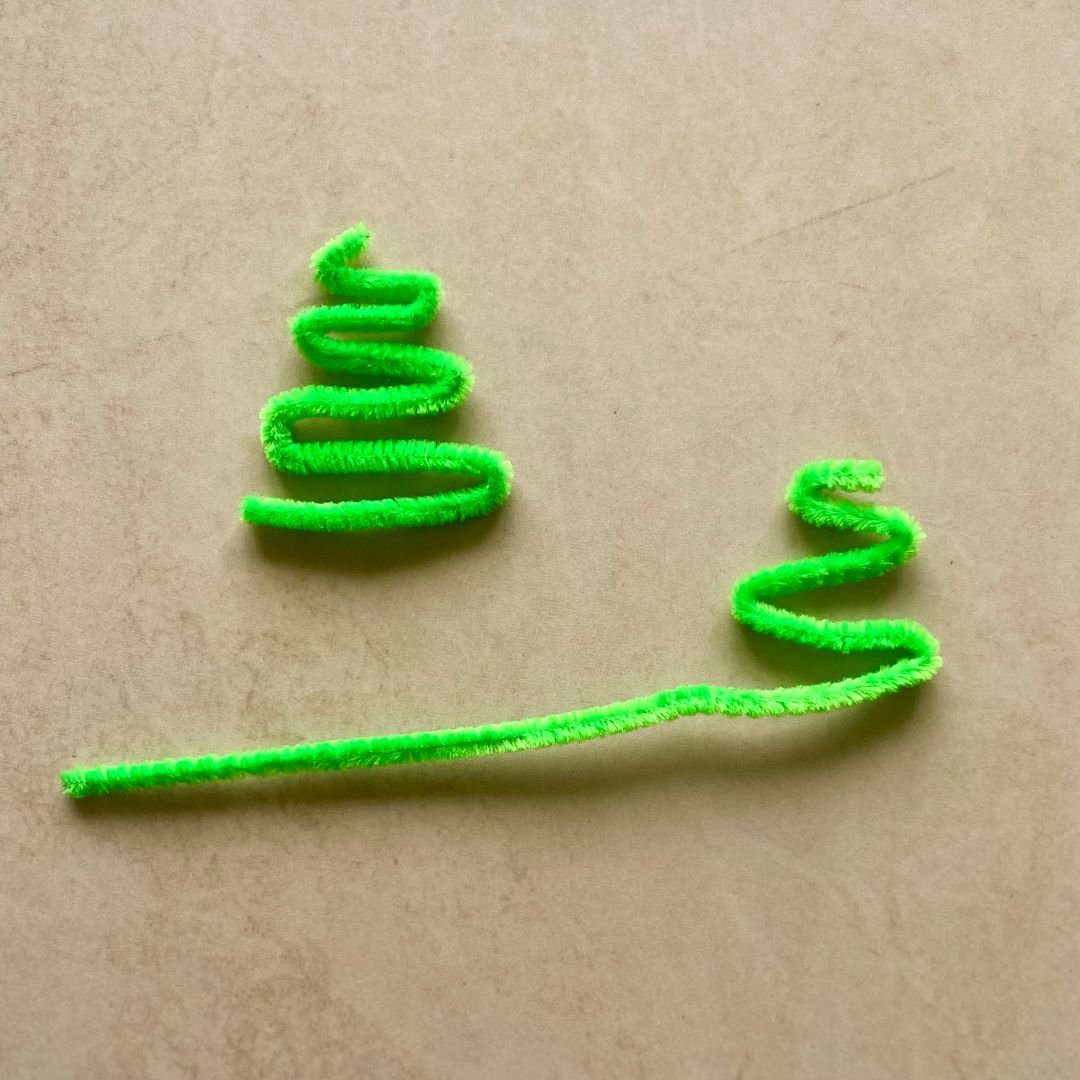
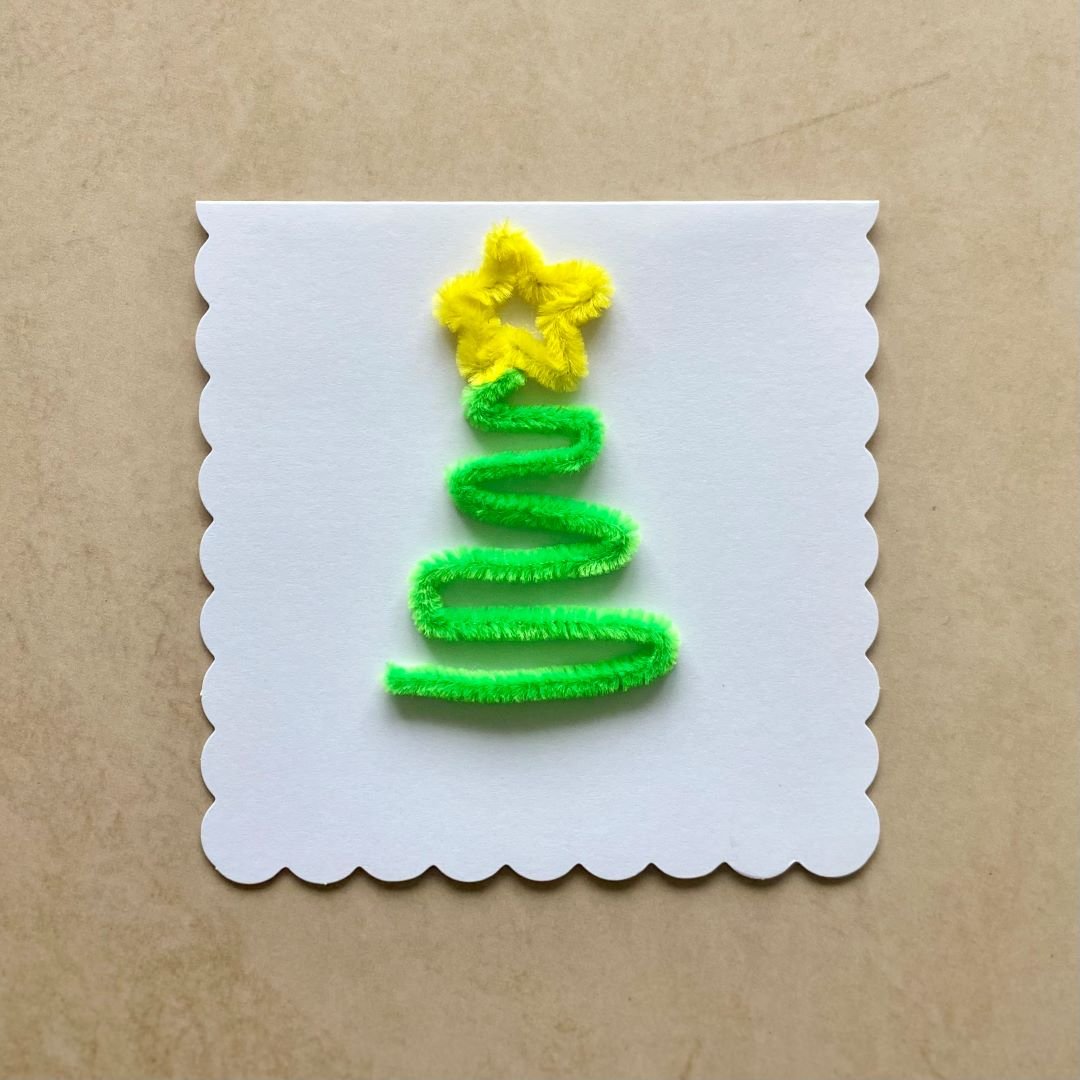
Step 1: Bend a green pipe cleaner into a zig zag Christmas tree shape. Trim the pipe cleaner to make a smaller tree.
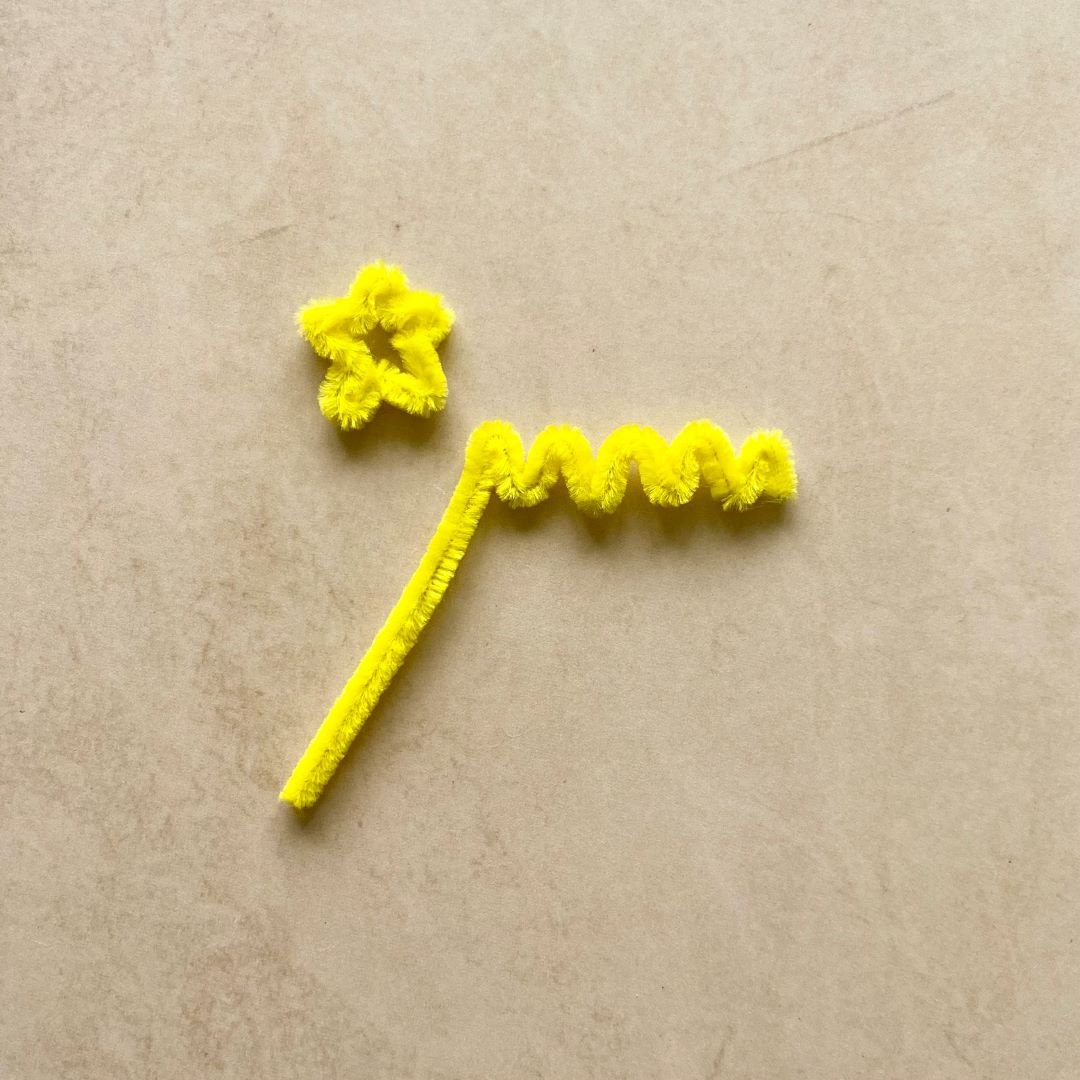
Step 2: Bend a yellow pipe cleaner into a small zig zag shape then manipulate into a star.
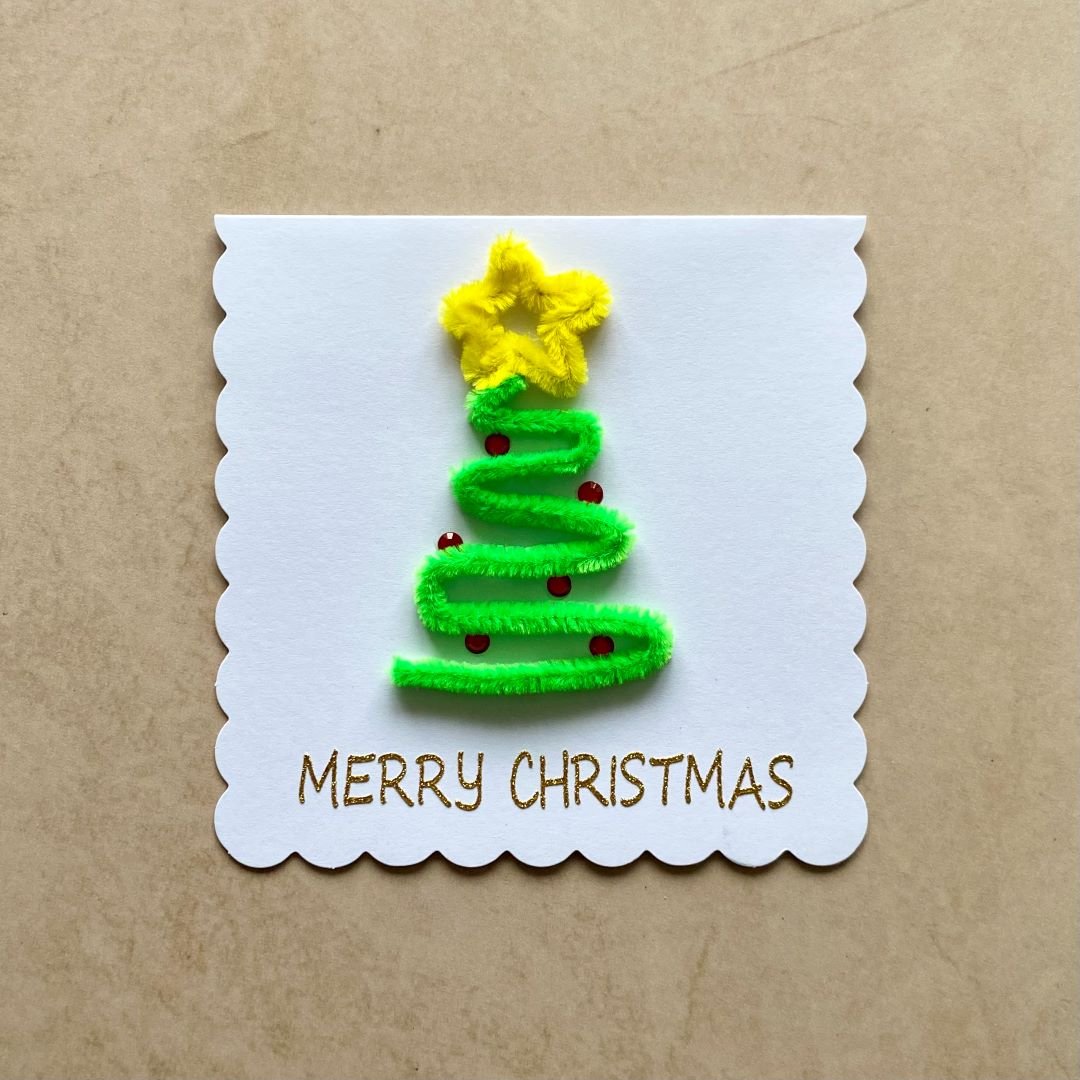
Step 3: Attach the tree and star to the card front using 3d foam pads.
Step 4: Glue a few gems here and there then add the sticker sentiment to finish.
Tips for Making Handmade Christmas Cards
Personalise Each Card: Adding a personal message, a recipient’s name, or a small photo makes each card unique.
Use High-Quality Materials: Good quality paper, paint, and embellishments will make your cards last longer and look more professional.
Keep It Simple: Don’t overwhelm yourself with overly complicated designs. Simple touches, like a splash of glitter or a gold ribbon, can make a big impact.
Happy Holidays!
Creating handmade Christmas cards is a wonderful way to embrace the holiday spirit and share joy with loved ones. Whether you go for a simple paper and glue design or something more crafty with pipe cleaners, these ideas make it easy to get started. So gather your supplies, get creative, and make this holiday season even more memorable with your own unique Christmas card creations!

