5 steps to make a father's day scrapbook
Step 1
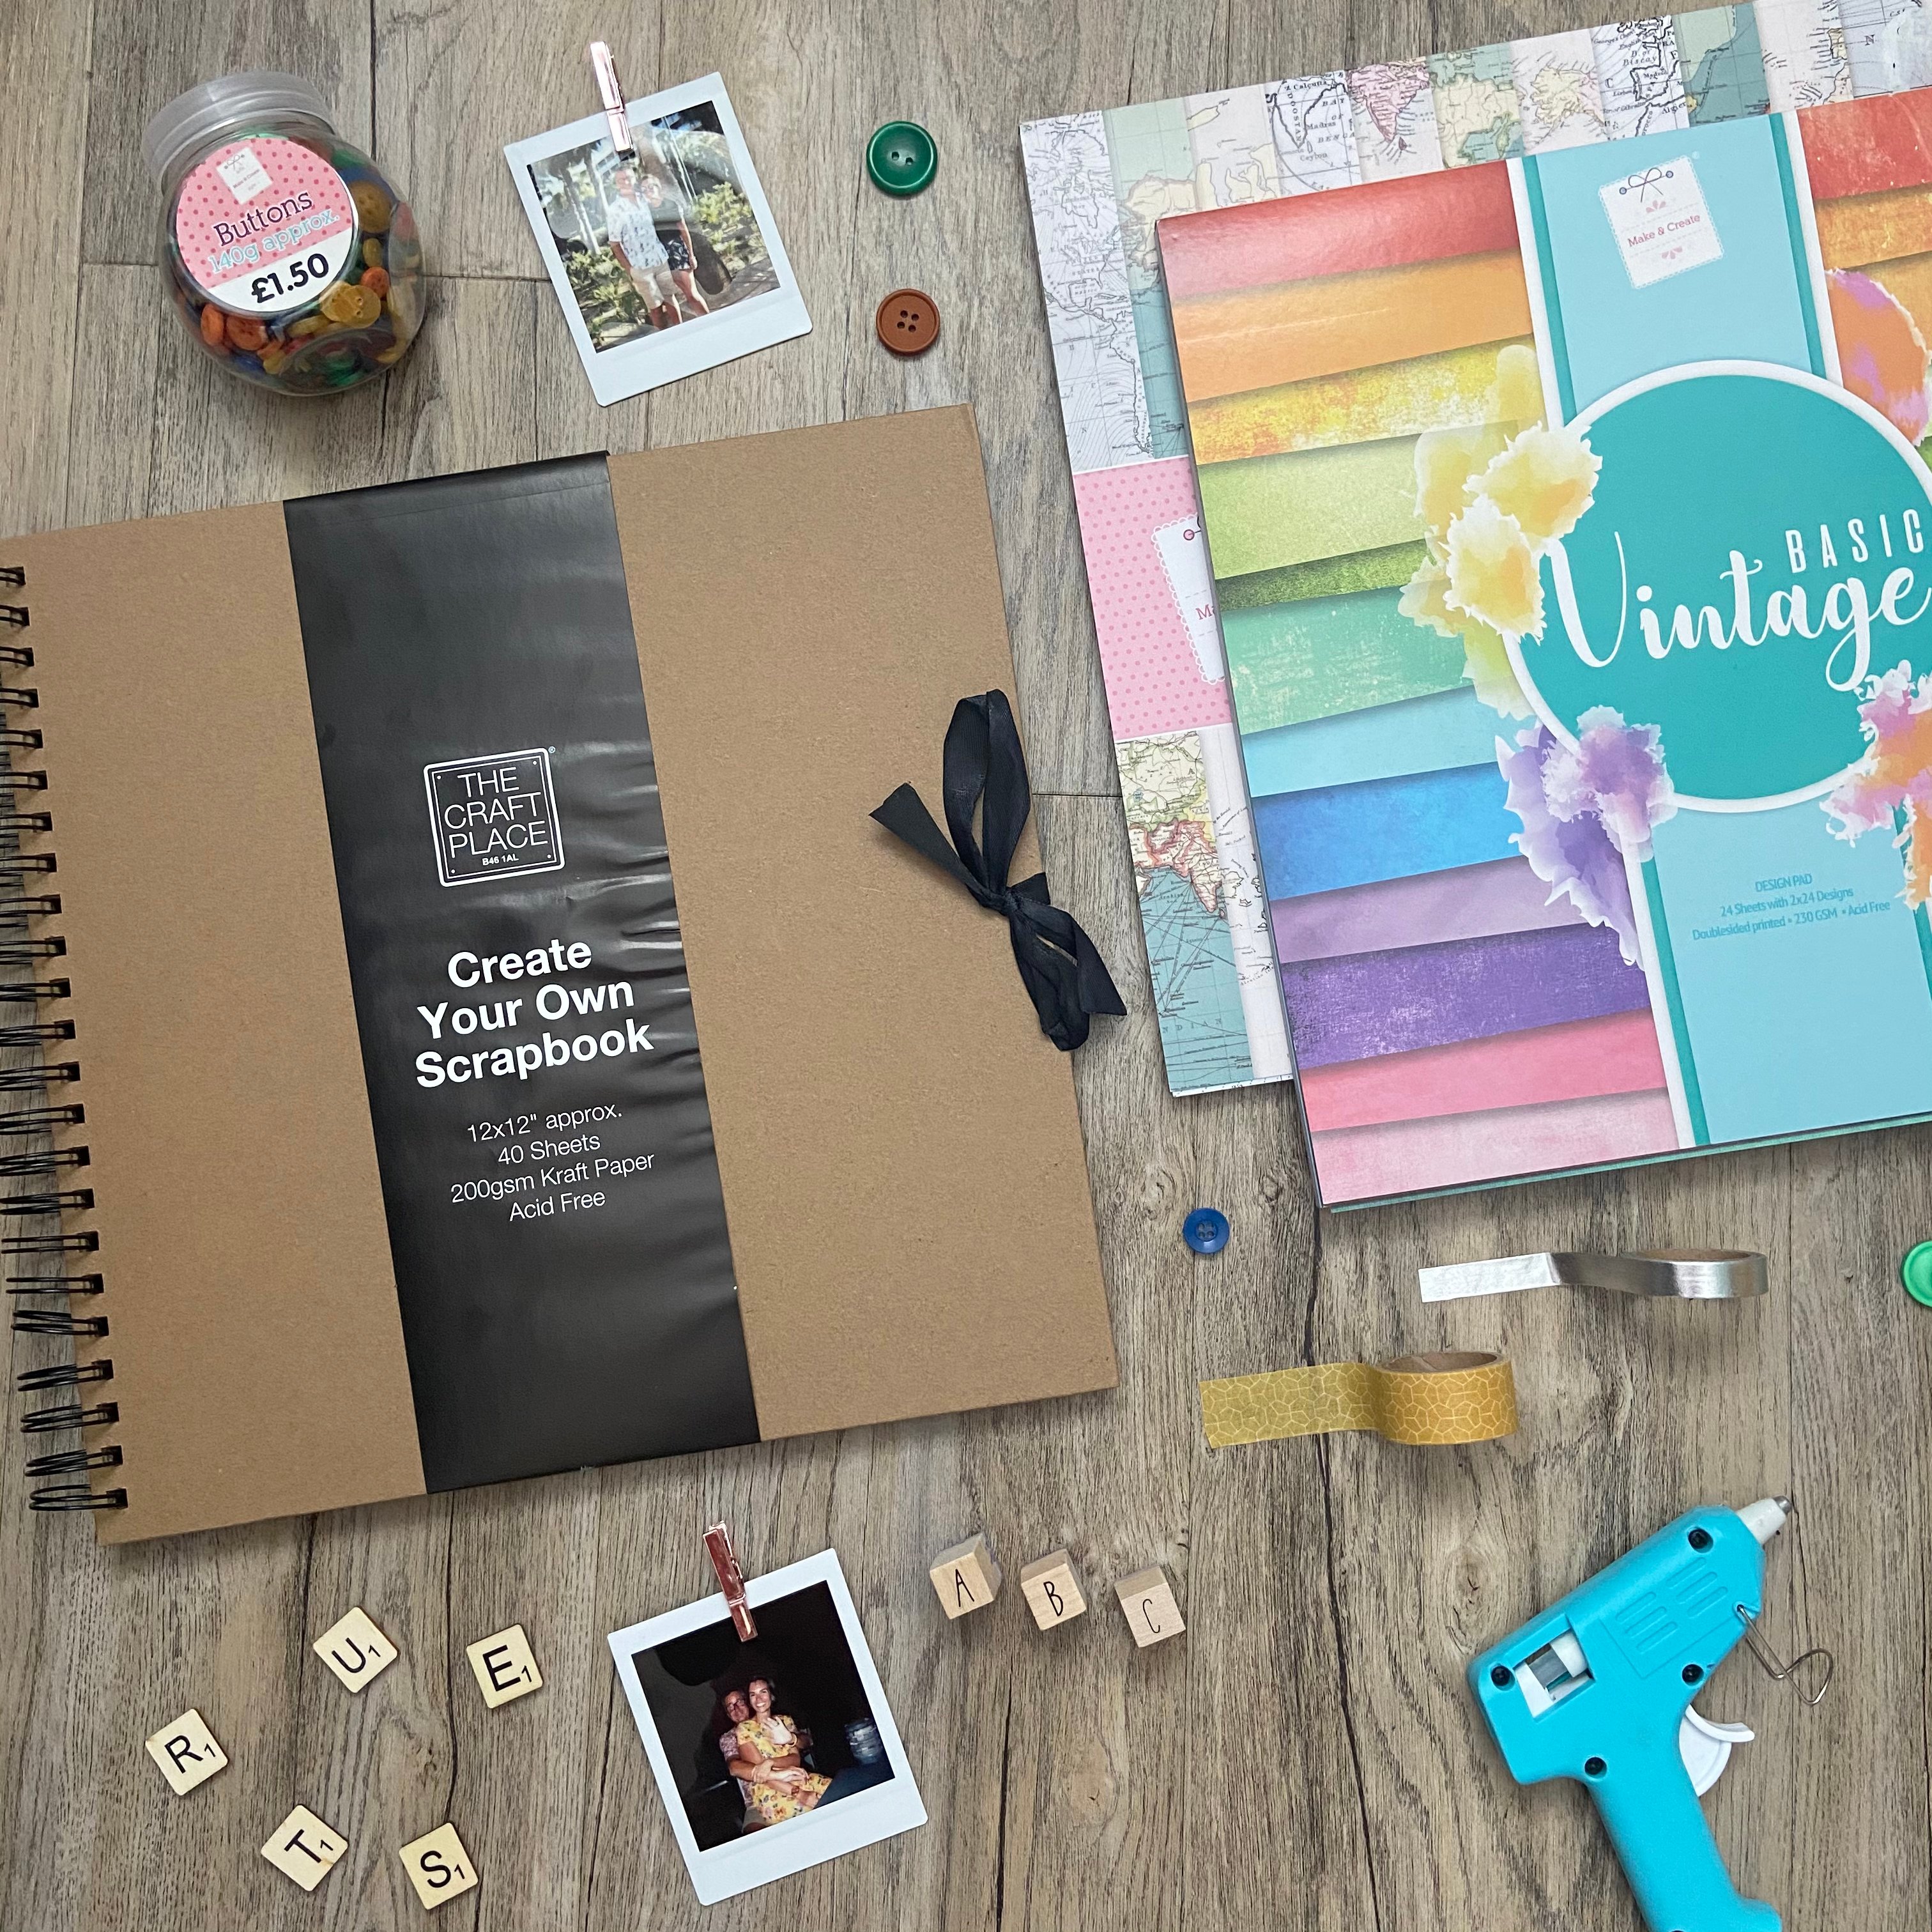
Take some time to properly plan out your scrapbook.
First choose all the photos that are most important to you and your dad. If you have saved any mementoes that match up with your photos these will make your Father’s day scrapbook feel even more personal. These can be anything from, tickets to cards, postcards and even notes.
Once you have all your photos and mementoes together you can start to think about how these will look and work in your scrapbook.
Will you have pages for all your holiday memories, pages for trips out and big occasions? Or, will you set out your Father’s day scrapbook chronologically with the memories from throughout your life together in the order you’ve experienced them in?
Tip* If all of your photos are on your phone, make sure you plan out some extra time to get them printed or sent off.
Step 2
Once you have the order of your Father’s day scrapbook planned you now need to start thinking about the layout you’ll choose.
We always find the simplest layouts are usually the most effective, but you can get as creative as you like. Take a moment to decide where your titles or notes should go and make sure to work out how many photos you need to fit on each page, so you don’t miss out any of your favourite photos.
Tip* don’t be afraid to mix things up with your layouts. Keeping every page different will make the experience of both making and receiving this scrapbook even more exciting!
Step 3

Next it’s time for you to get a bit more creative.
Start thinking about what kind of backgrounds you want to use. Will you use patterns and textures that reflect your dad and you, or will you choose a background that mirrors the memories you’re presenting on that page?
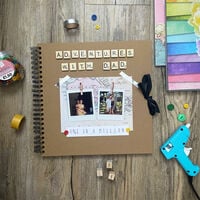
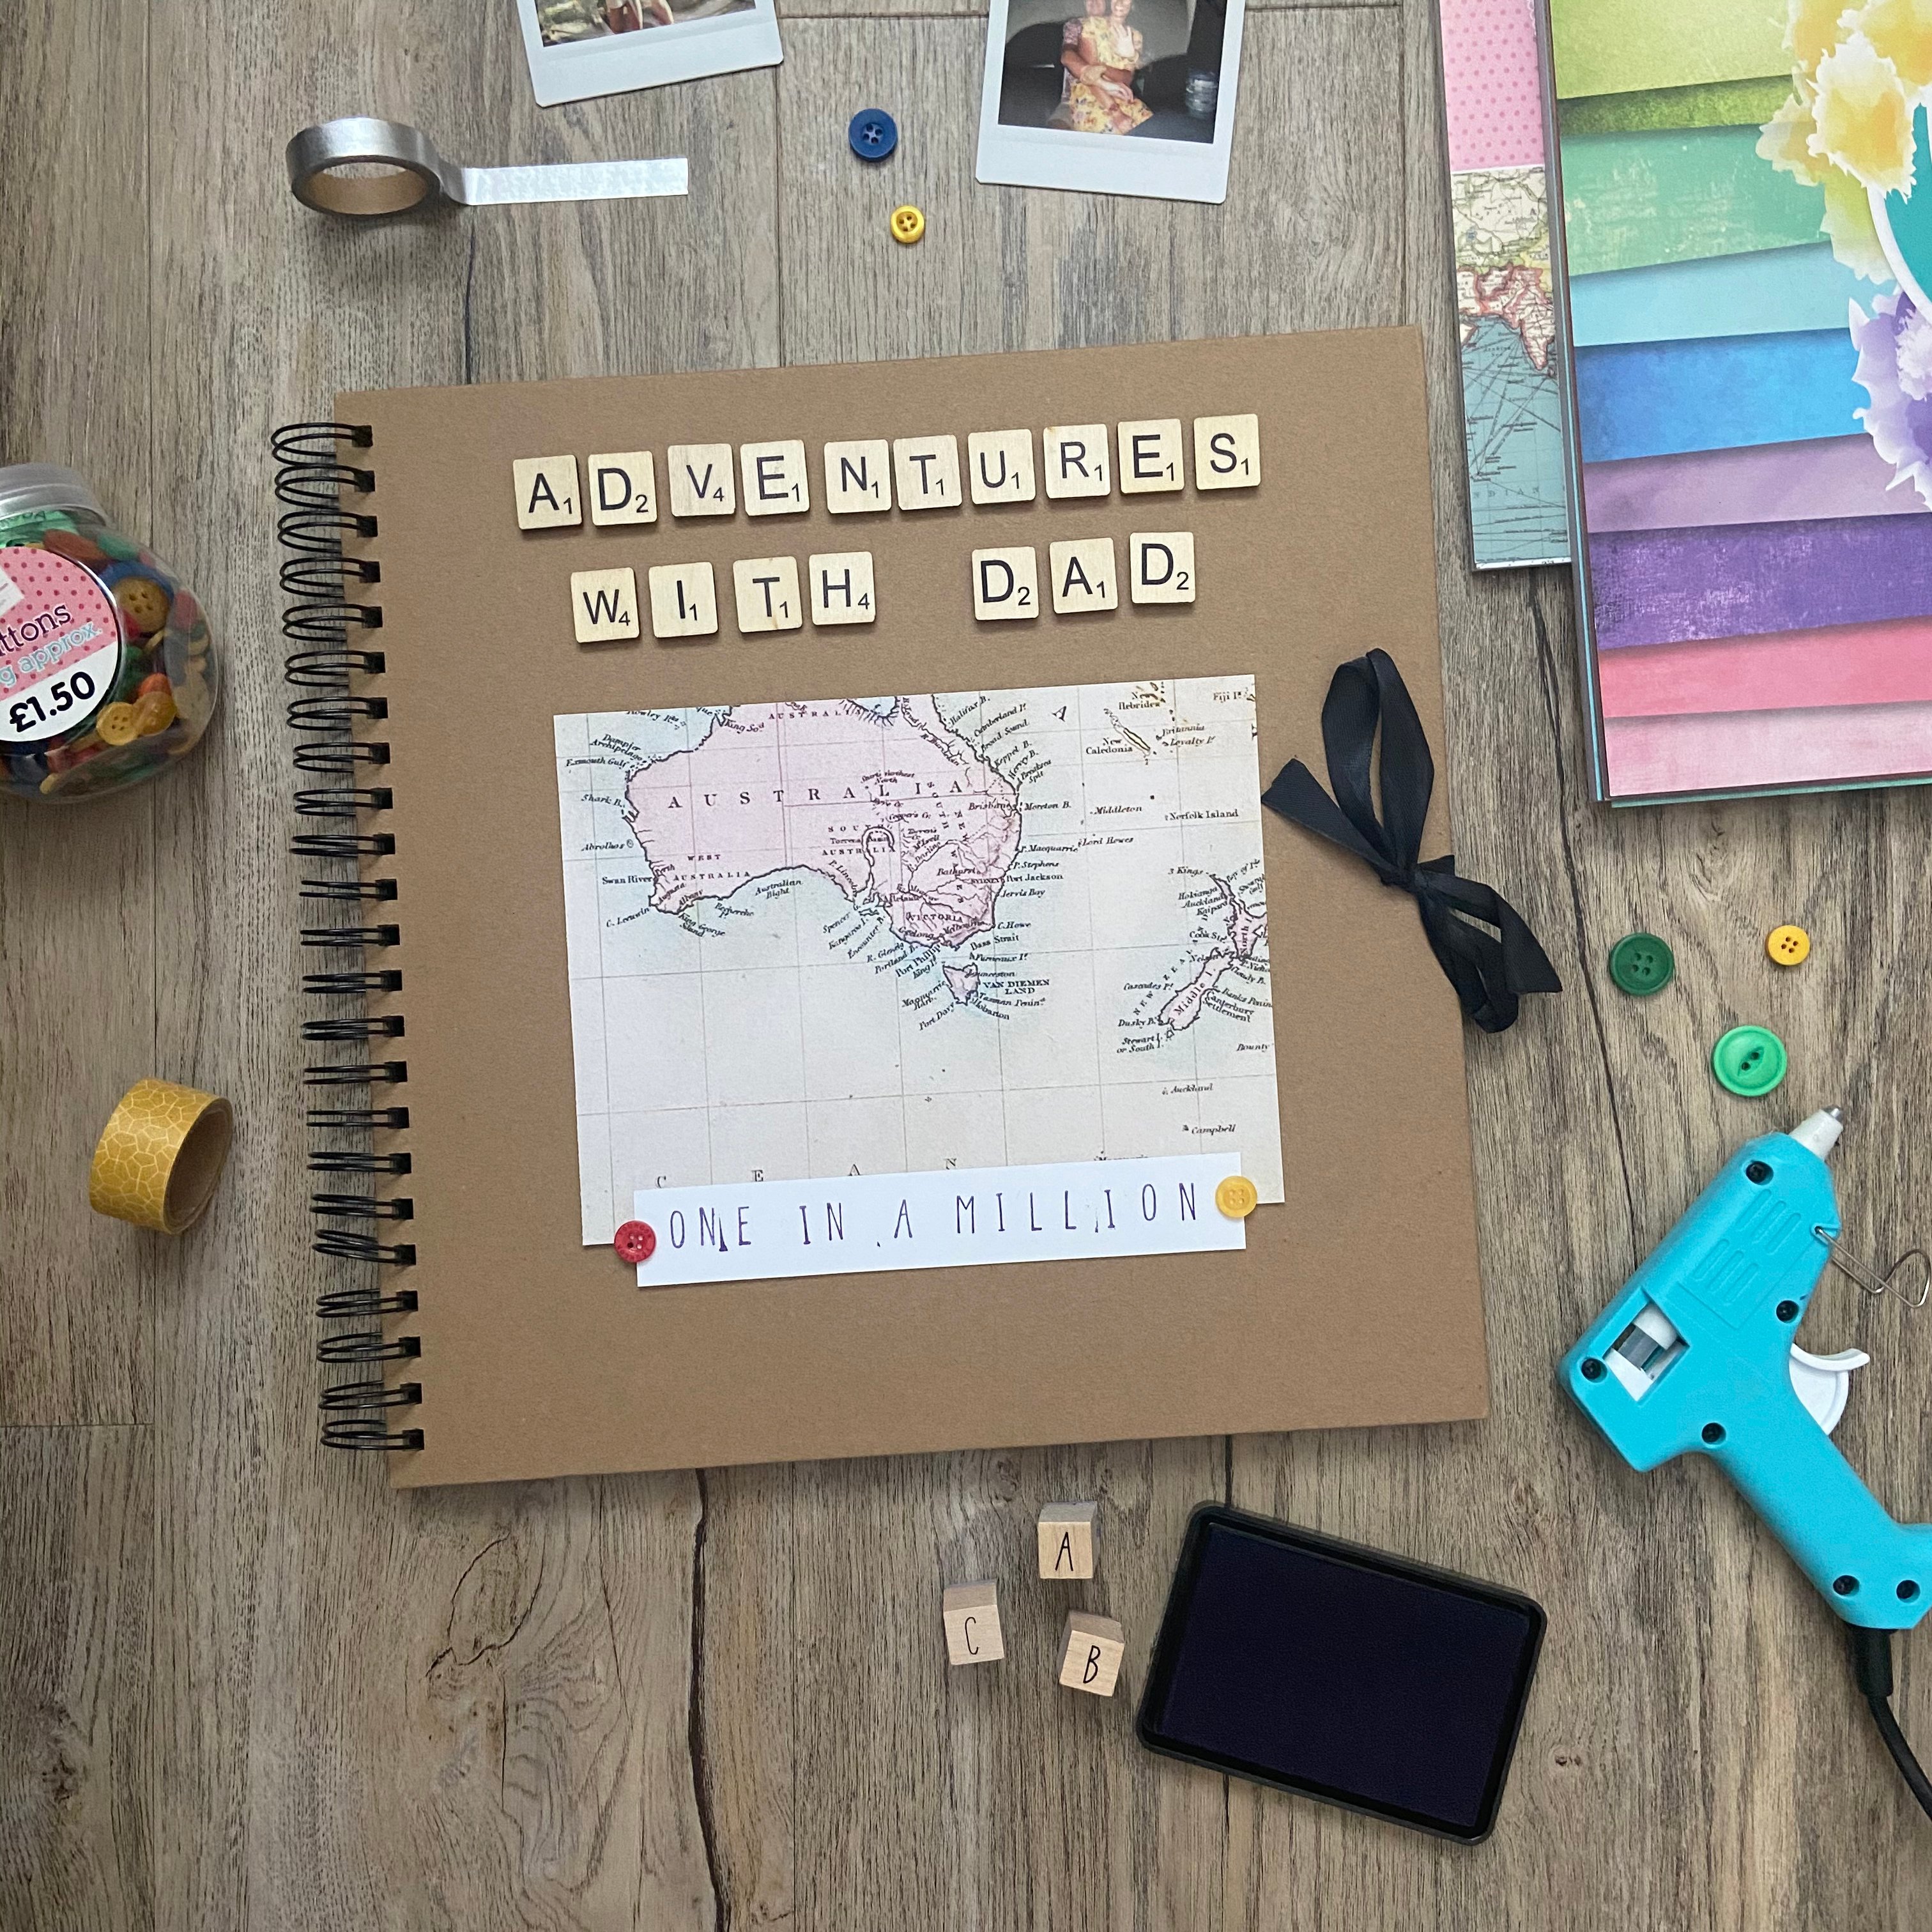
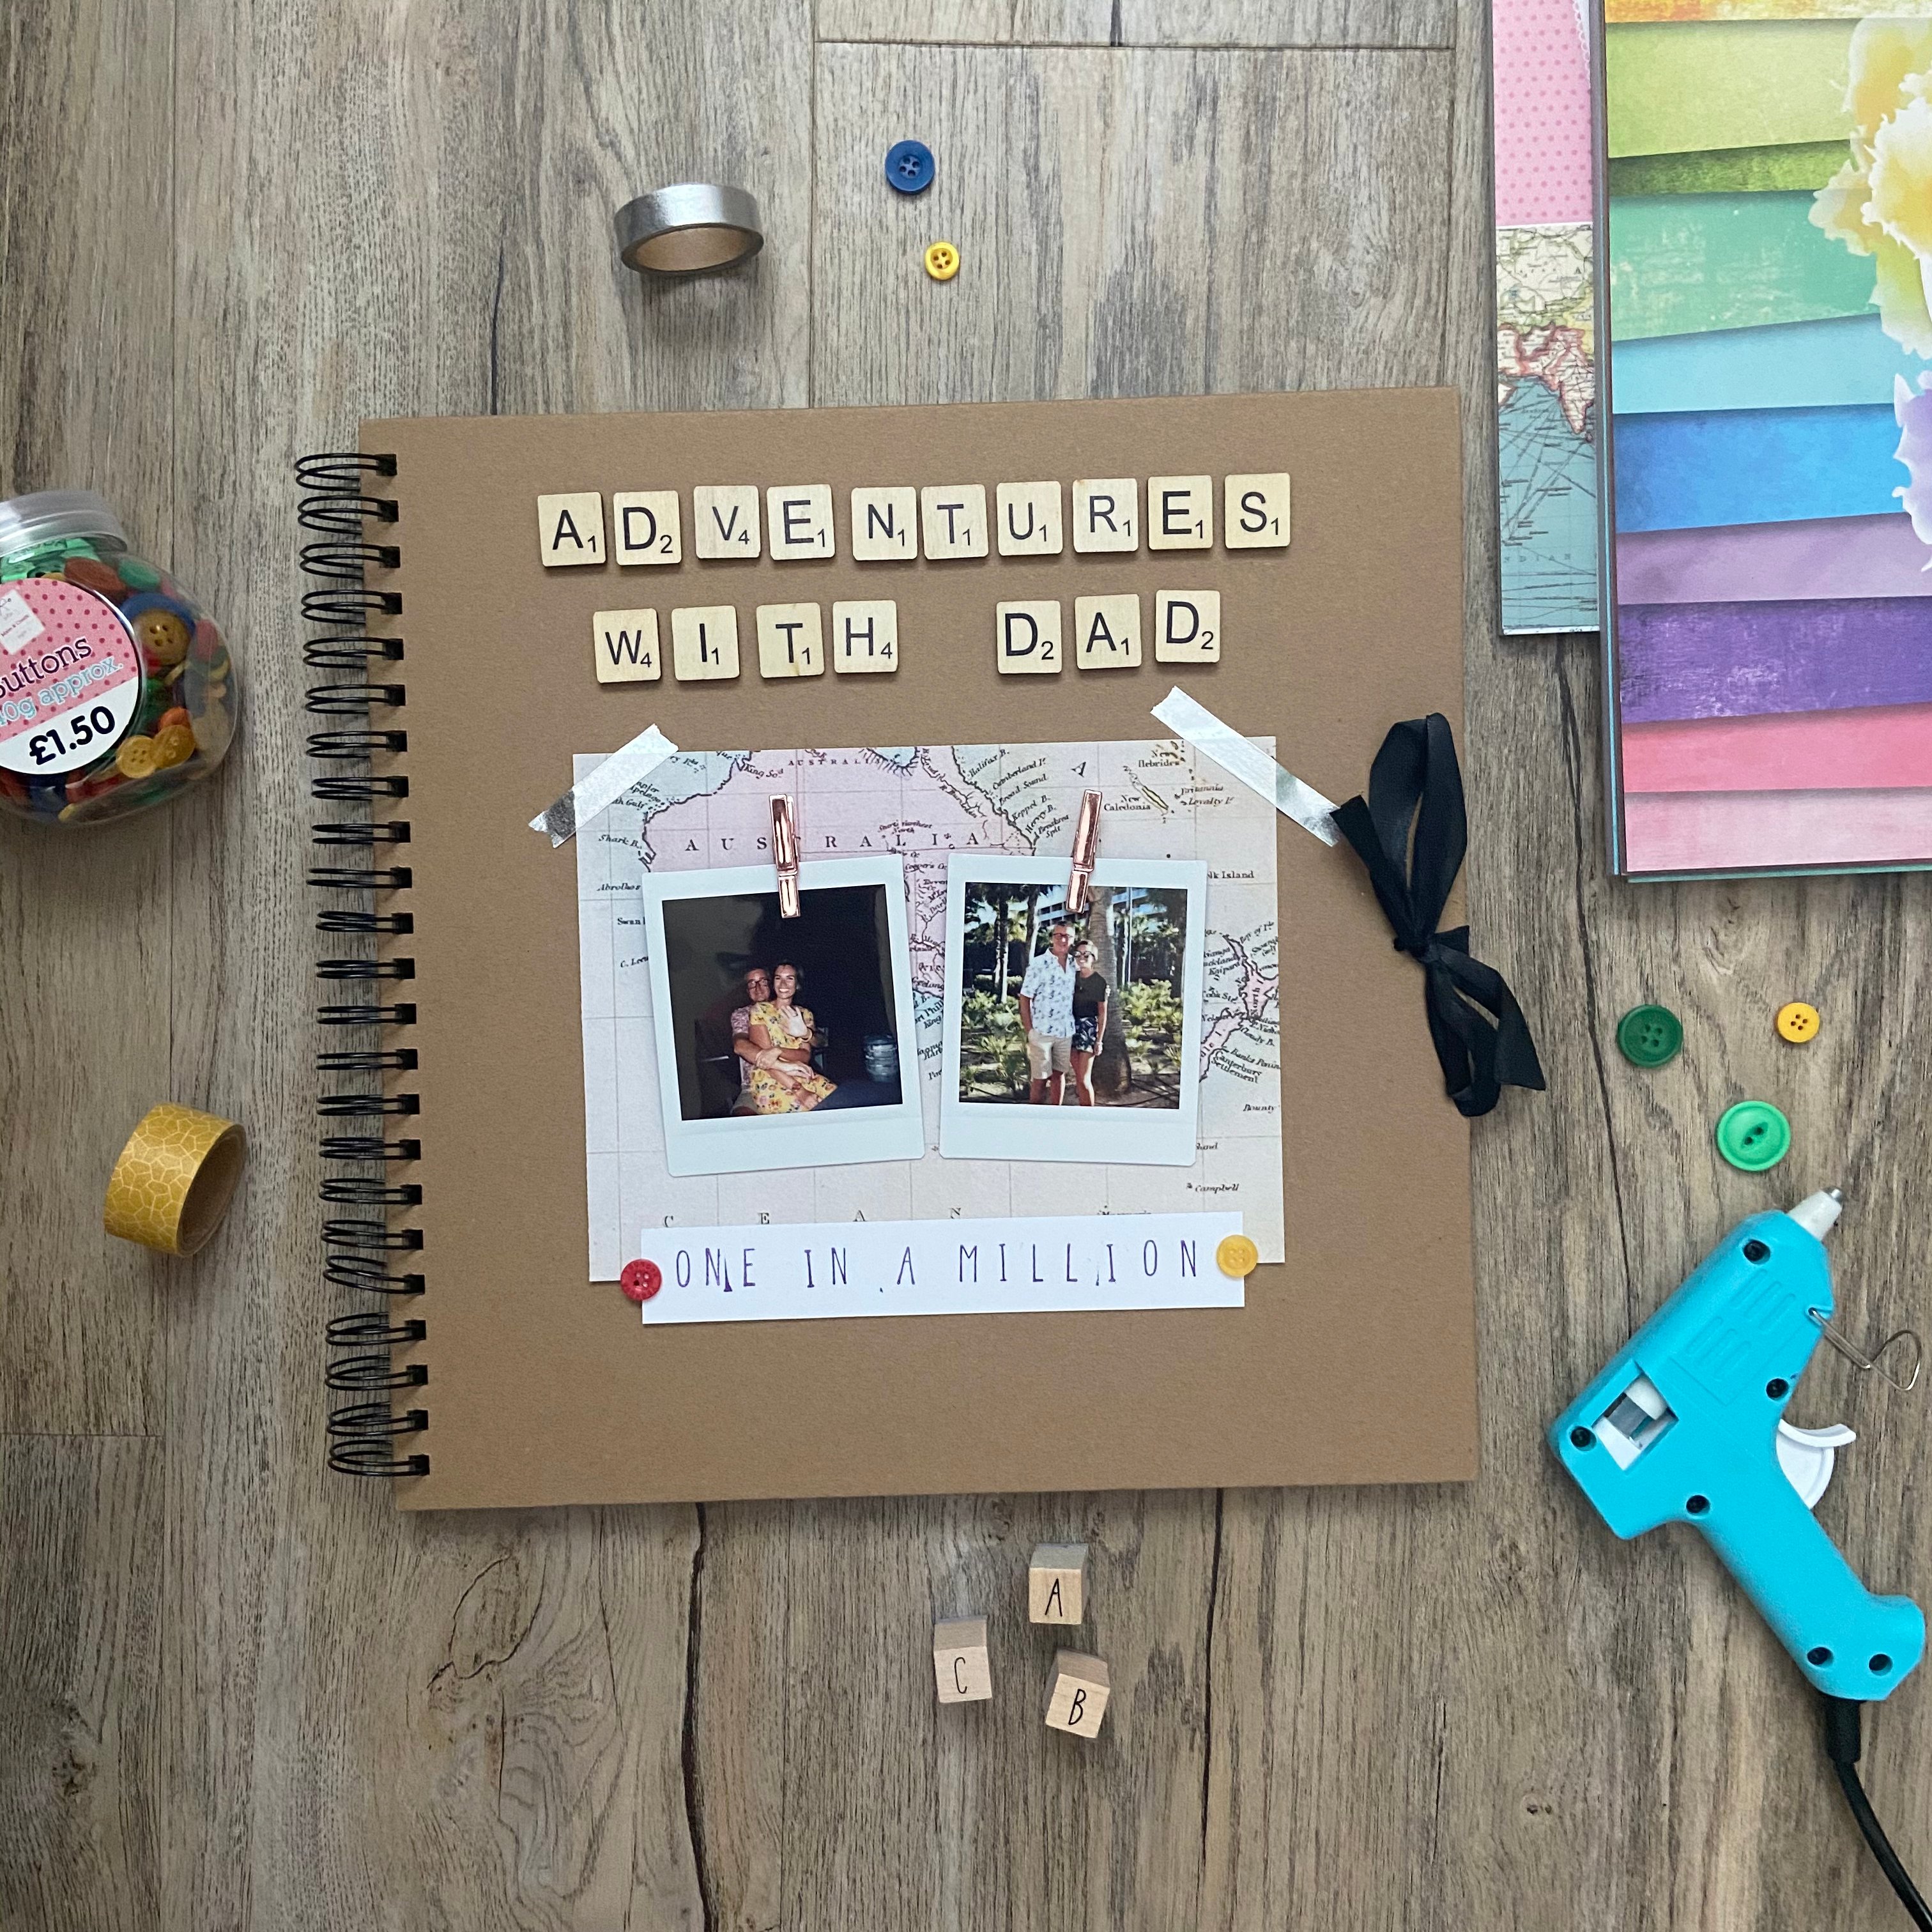
We went for the latter for our “adventures with dad” Father’s day scrapbook. We decided to use one of our travel design pads which has lots of different travel inspired backgrounds, including old style maps, compass images, travel stamps and this contemporary style map that we chose to sit behind our images.
There are lots of other design pads you could use for your scrapbook, like festive paper pads for Christmas memories, floral/jungle pads for memorable trips out or even just plain coloured card to add some fun to your page.
Step 4
What do you want to say?
From titles to thoughtful anecdotes, your Father’s day scrapbook needs some text!
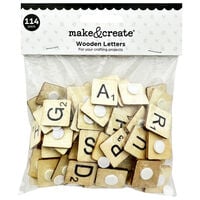
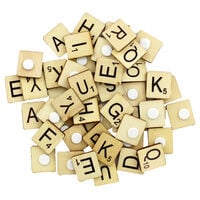
Text can also be a great opportunity to add some texture to your page. We used wooden tiles for our page title, perfect for a scrabble loving dad.
Next we used our letter stamps on plain card stock to add some extra text to our page. Stamps can be a really easy way to add some personality and information to your page and keep your scrapbook looking professional and consistent.
Step 5
Your Father’s day scrapbook needs texture!
Different papers and textures are perfect for creating levels and depth on your pages.
This is also the perfect time to add your embellishments or mementoes to your scrapbook. Add an instant personal touch to your scrapbook with items from your past. Do you have an old cinema ticket, pages from a book you used to read together or old cards you’ve given to each other?
We used pegs, buttons and washi tape to add some fun extra textures to our Father’s day scrapbook and really give it that homemade crafty feel.
Now you’ve discovered all of our tips, tricks and ideas for creating your own Father’s day scrapbook, you can get going and start filling your pages with all your amazing memories.
Shop our huge range of art and craft materials online and in store now to find everything you need for your Father’s day project.
Remember to leave a few pages blank in your scrapbook to fill with all the memories you have left to make!
Check out all our other DIY posts for more craft ideas and inspiration, make sure you share any projects with us online with #TheWorksCreations!
Happy Crafting!

