It’s beginning to look a lot like craft-mas!
If you’re looking for something fun to do with kids to get them in the Christmas spirit, then making Christmas cards with your kids is the perfect activity.
Not only is it great for letting your little ones, and not so little ones, explore their creativity, it can also be done indoors which is absolutely essential this time of the year.
So, in the spirit of goodwill and spending time crafting with your loved ones, we’ve compiled 5 easy Christmas card designs to make with your children.
Homemade Christmas Card Ideas For Kids
1. Clay Christmas card
Supplies you'll need:
-
Cards
-
Clay
-
Cookie cutters
-
Wooden stamps
-
Paint
-
Tape/clue
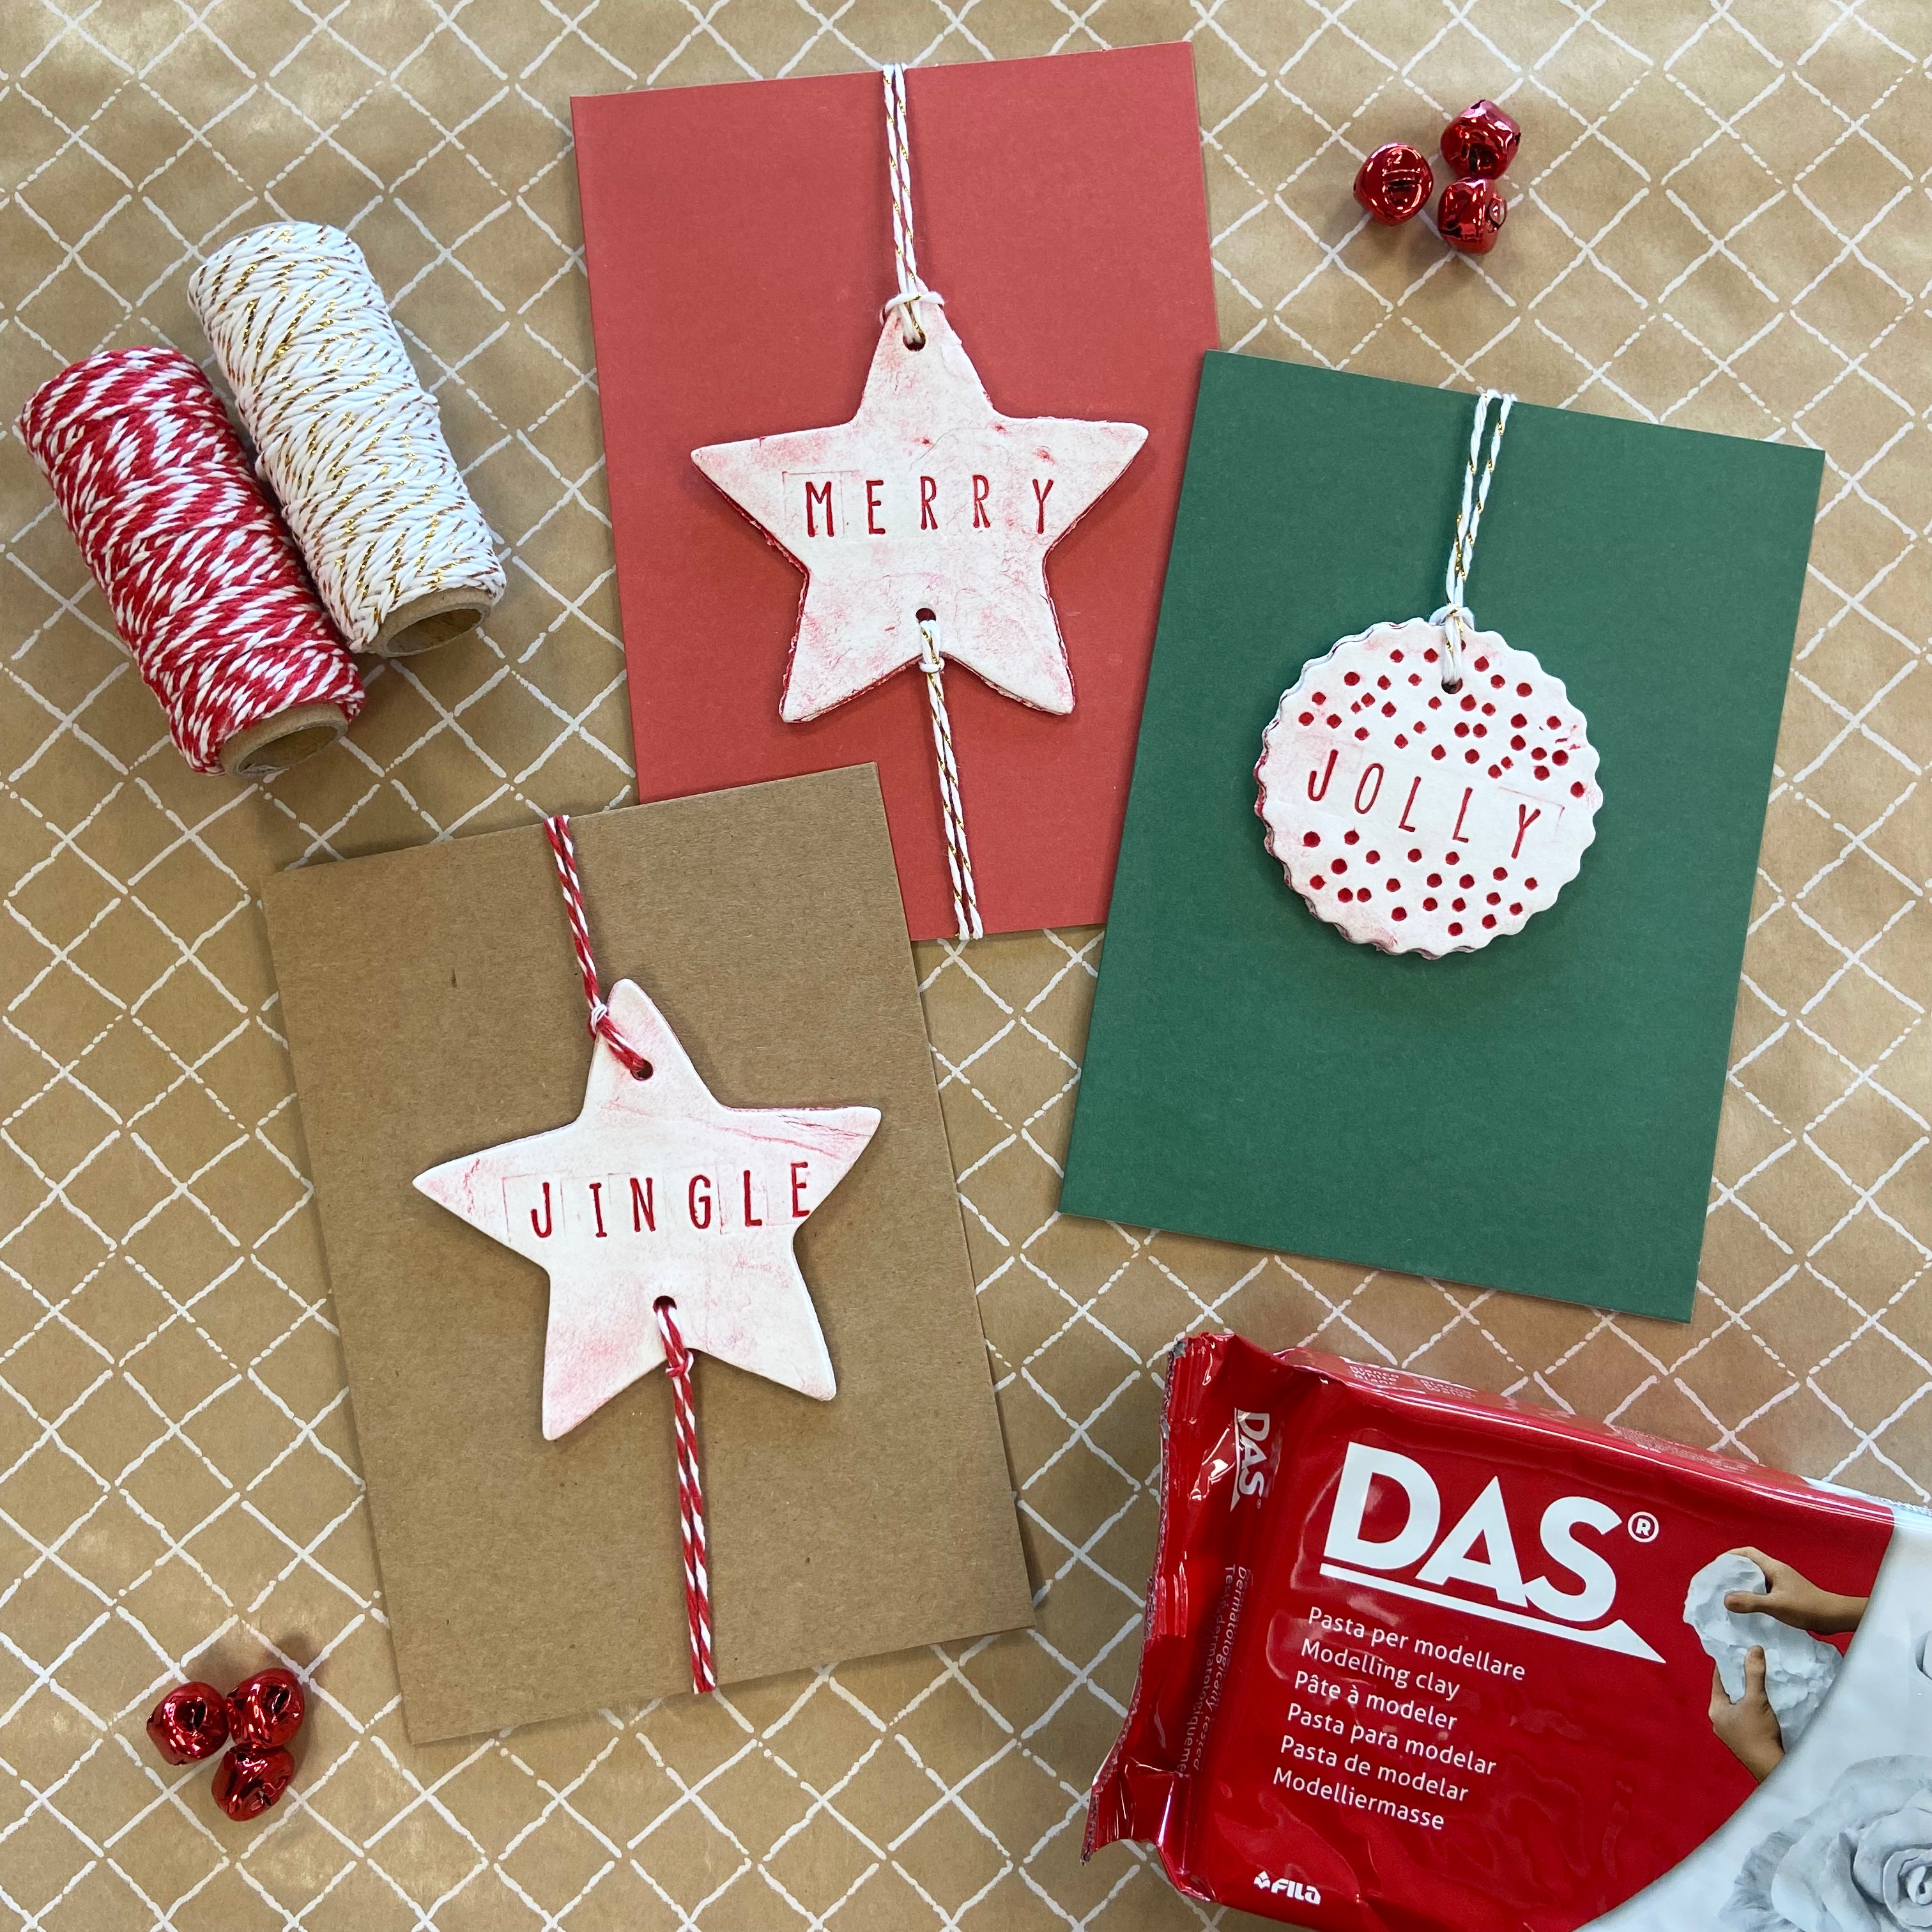
This handmade card is all about the prep, but so worth it as the receiver of your card will get their very own handmade clay decoration to use year after year!
First, you’ll need to roll out your clay. Once your clay is at your desired thickness you can cut it out into our chosen festive shape. Next while the clay is still wet you can add your personal touches and stamp our message into the clay. Before your clay has dried you will also need to add some holes to thread your string through. Now just leave your clay to dry for the required amount of time as detailed on your clays specific instructions.
Once your clay has dried you can add some colour with paint! Leave your paint to dry for a few hours before you move onto the next step.
Now you can move onto assembling your card! Take your decorated clay and thread some string through the holes, take your string and secure it on the inside of your card with tape or glue. And there you have it! An amazing Christmas card that your friends and family can enjoy for years to come!
2. Good twine-ings Christmas card
Supplies you'll need:
-
Plain greetings cards
-
Glue or a glue gun
-
Coloured string/ twine
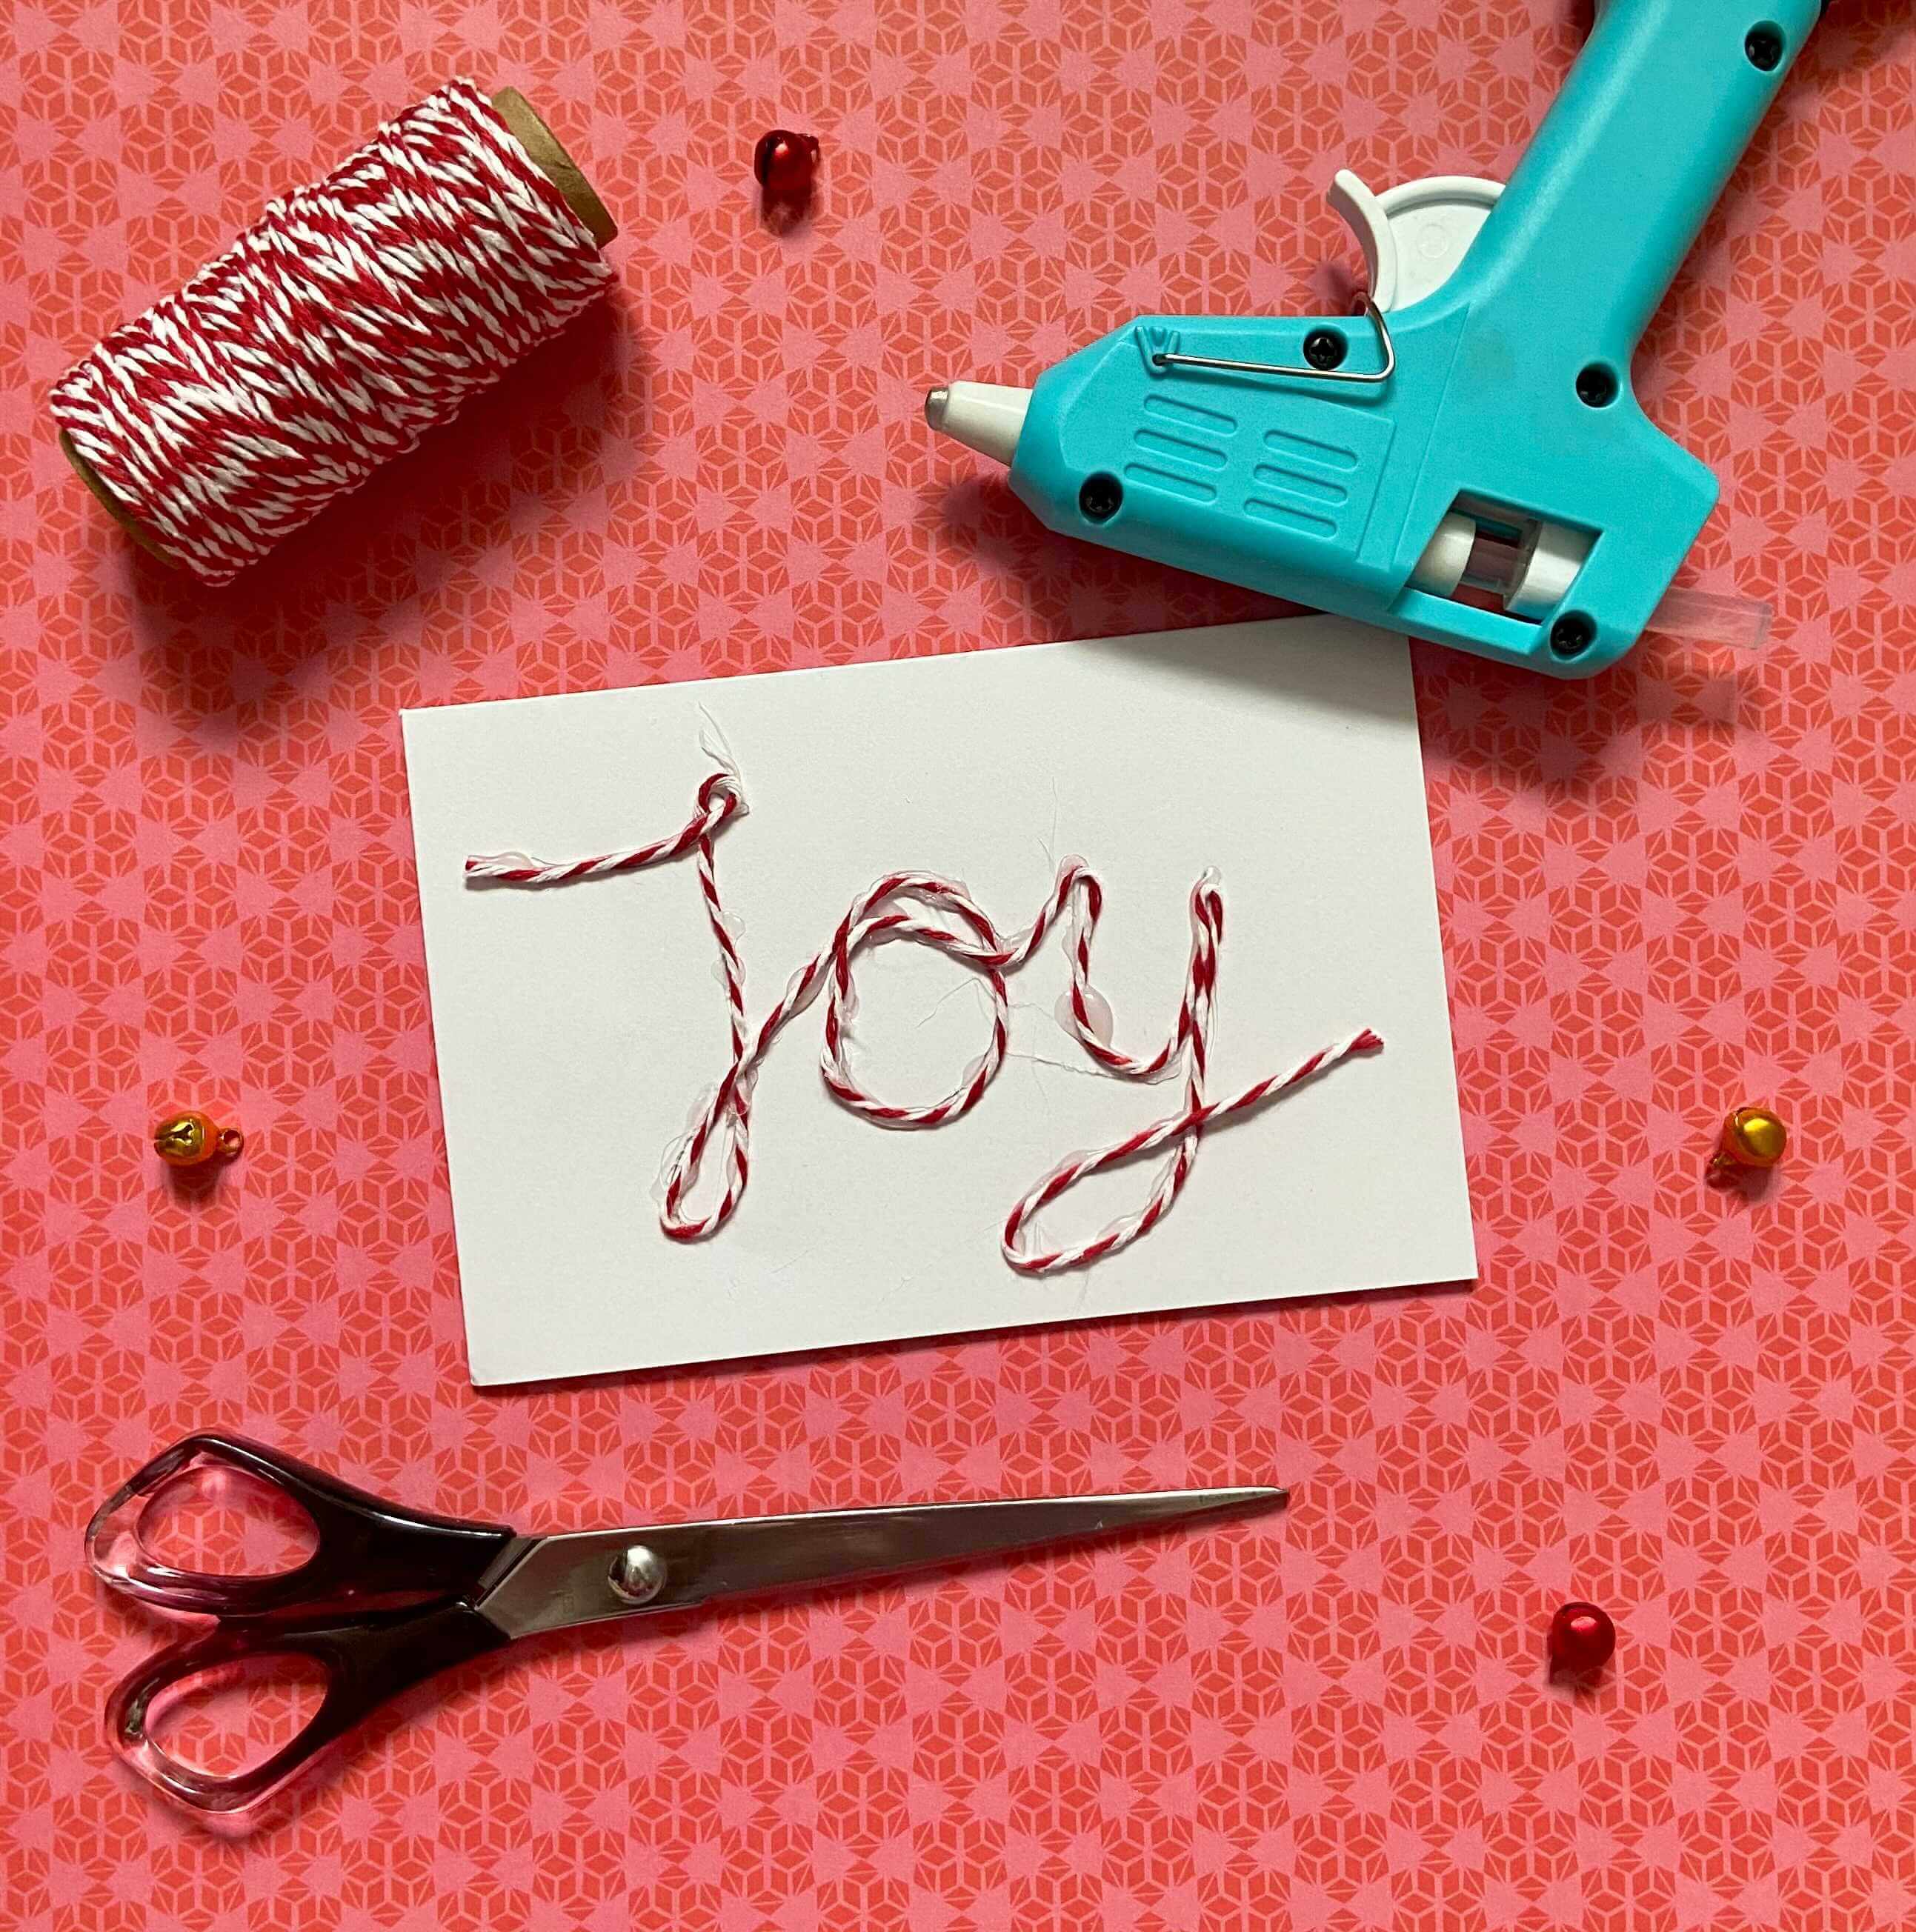
Another super simple card to make with your child!
This craft usually includes a hot glue gun, but depending on the age of your child and the level of supervision the same effect can be achieved with a regular glue stick or PVA glue.
First you’ll need to decide on your word.
Tip* shorter words will be much easier.
Once you have decided on your message, lightly draw it out on to the card with a soft pencil.
Next you can start adding glue along your sketched letters and start to add your string. Make sure you start adding the string before your glue has dried, we find it best to work in sections.
Once you have your full word all you need to do is snip off any access string.
This technique also works great with glitter, if you don’t have any string, you can create your work in glue and add glitter to leave a super sparkly message behind (just beware of the clean-up).
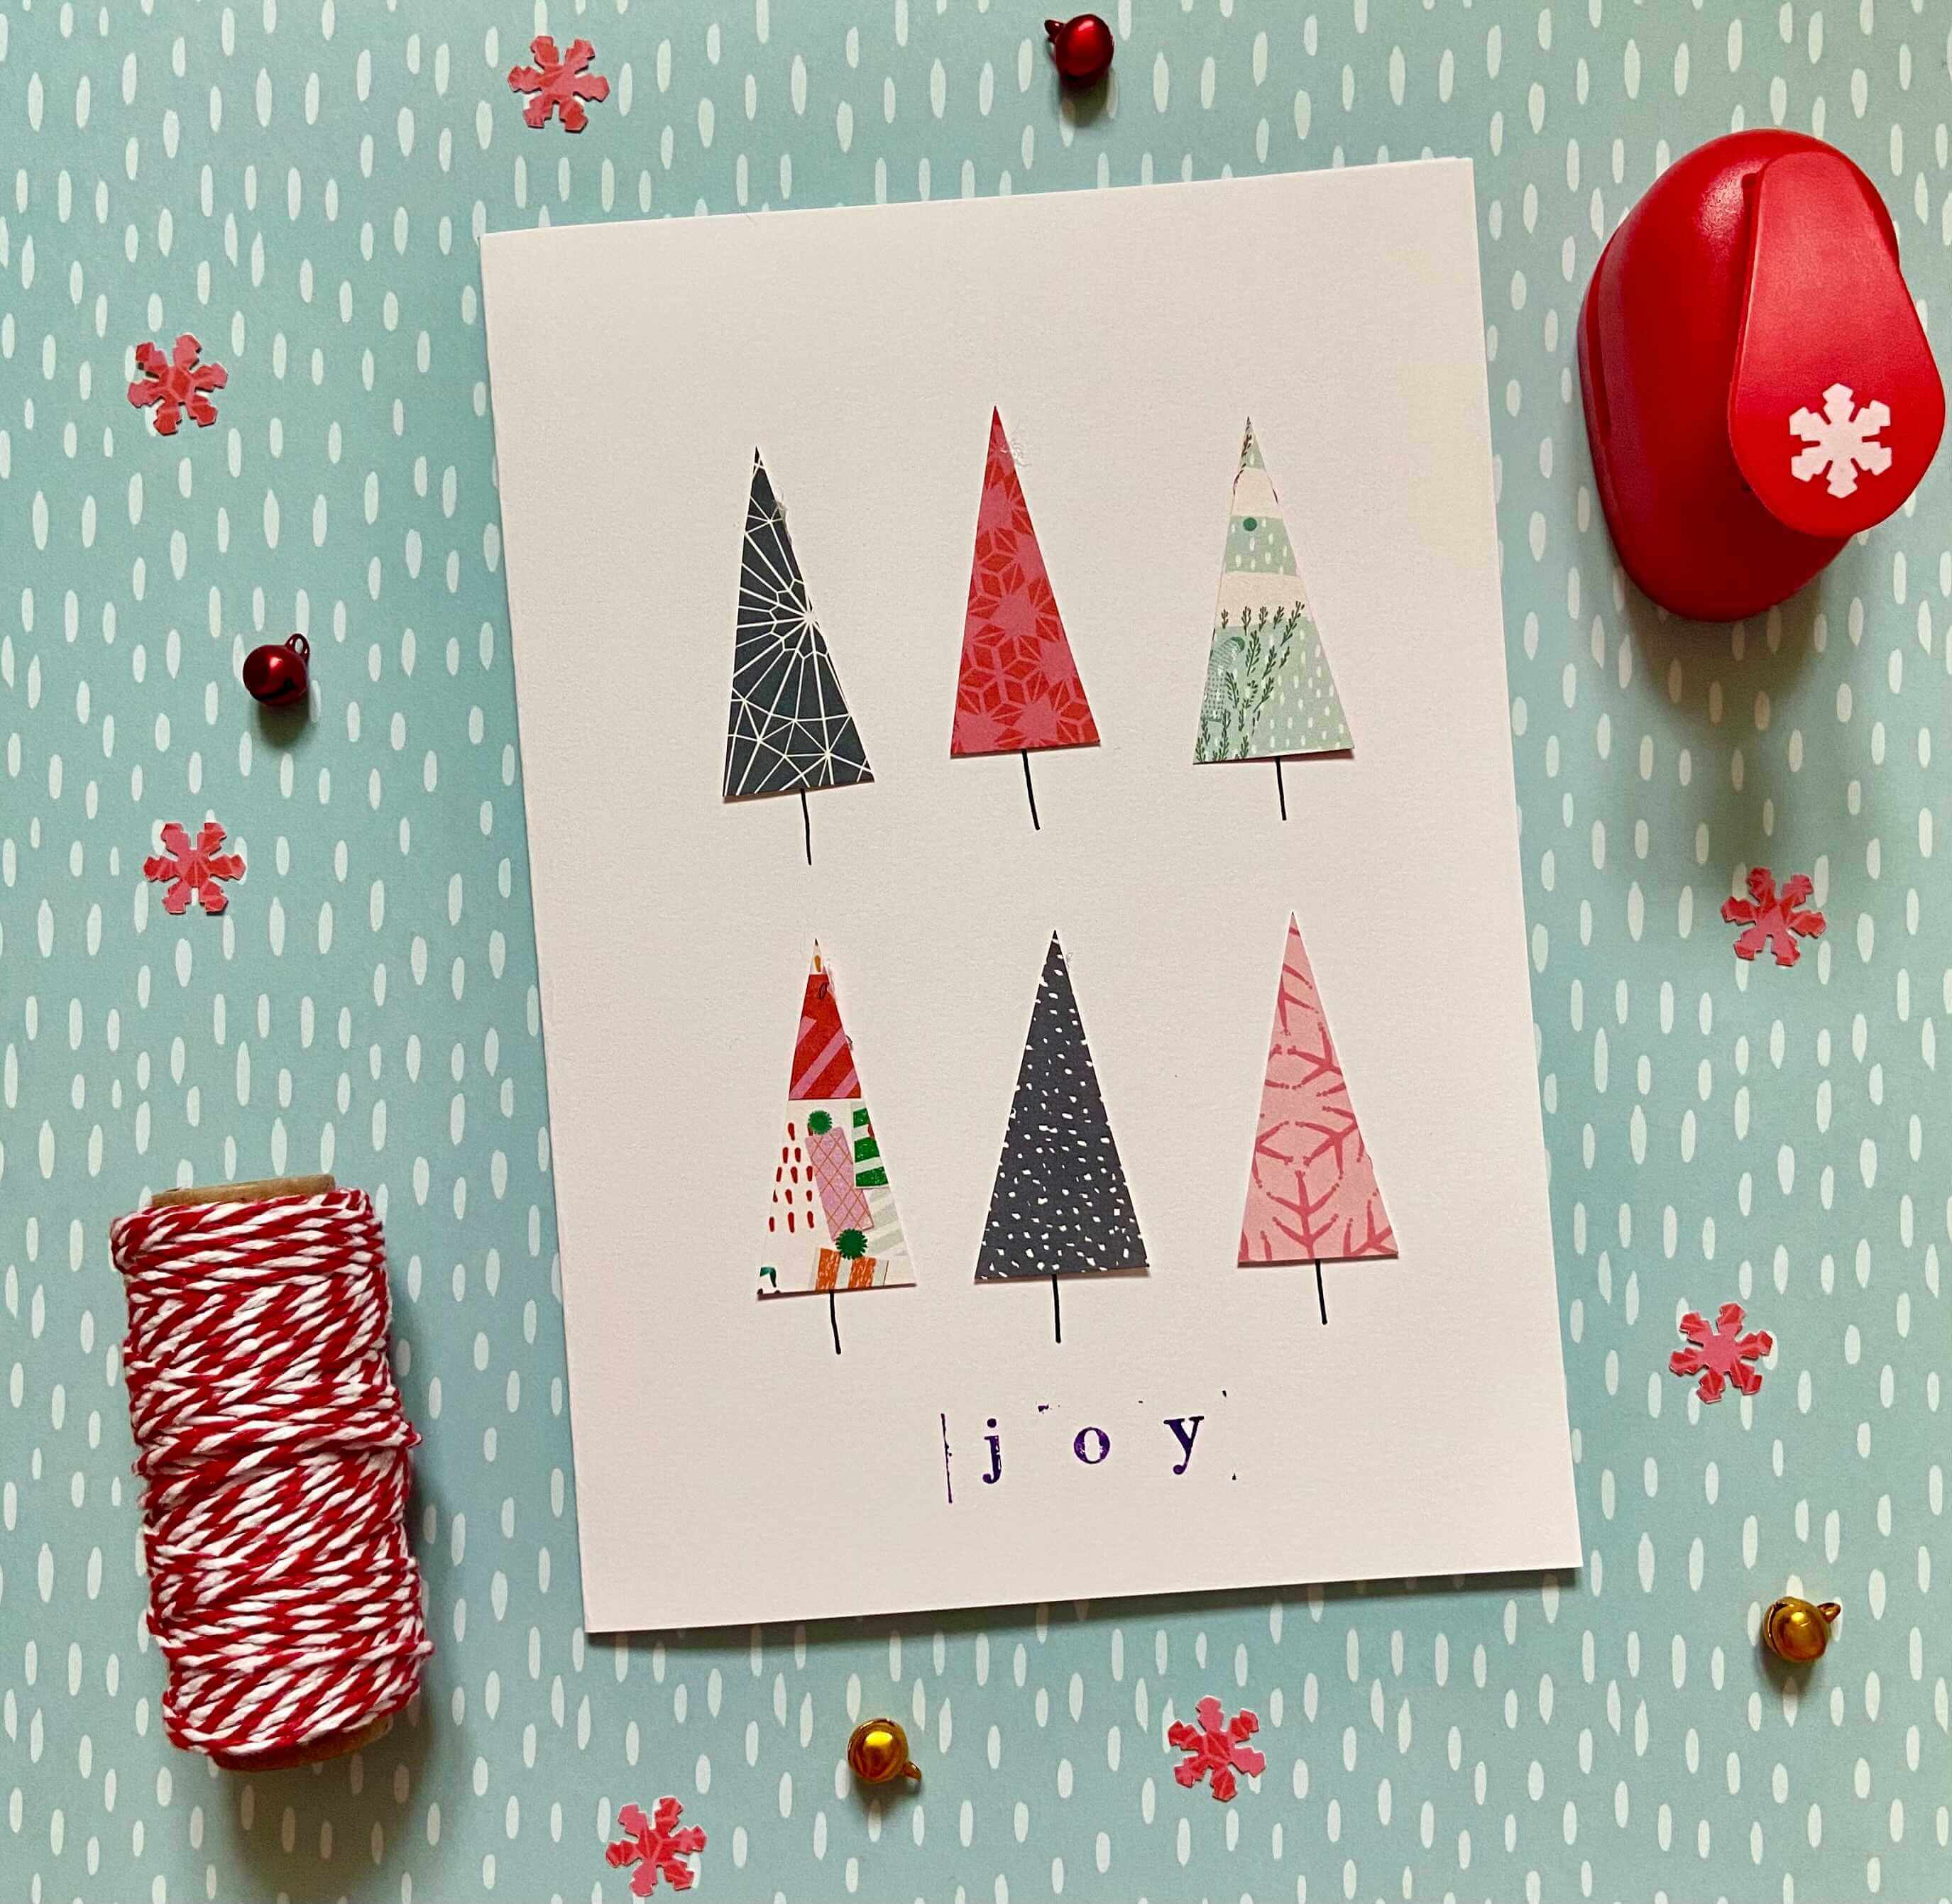
3. Minimalist Christmas tree card
Supplies you'll need:
- Glue
- Plain greetings cards
- A paper pad
- Pen
- Stamp
This simple Christmas tree card couldn’t be easier to recreate. All you need is some plain cards and envelopes, some stamps, card stock, a pen and of course one of Santa’s handy little helpers.
First you need to cut out your ‘trees’ simply cut out long triangles from your favourite paper pads, depending on the age of your child they can easily help out with cutting while you supervise.
Next, stick your trees down, a standard glue stick will be perfect for this.
Now you’ll need to use a fine liner or ballpoint pen to create some delicate lines to make the trunks of your trees.
Finally, get some letter stamps and add your personalised message, then you’re ready to post your handmade Christmas card to a loved one.
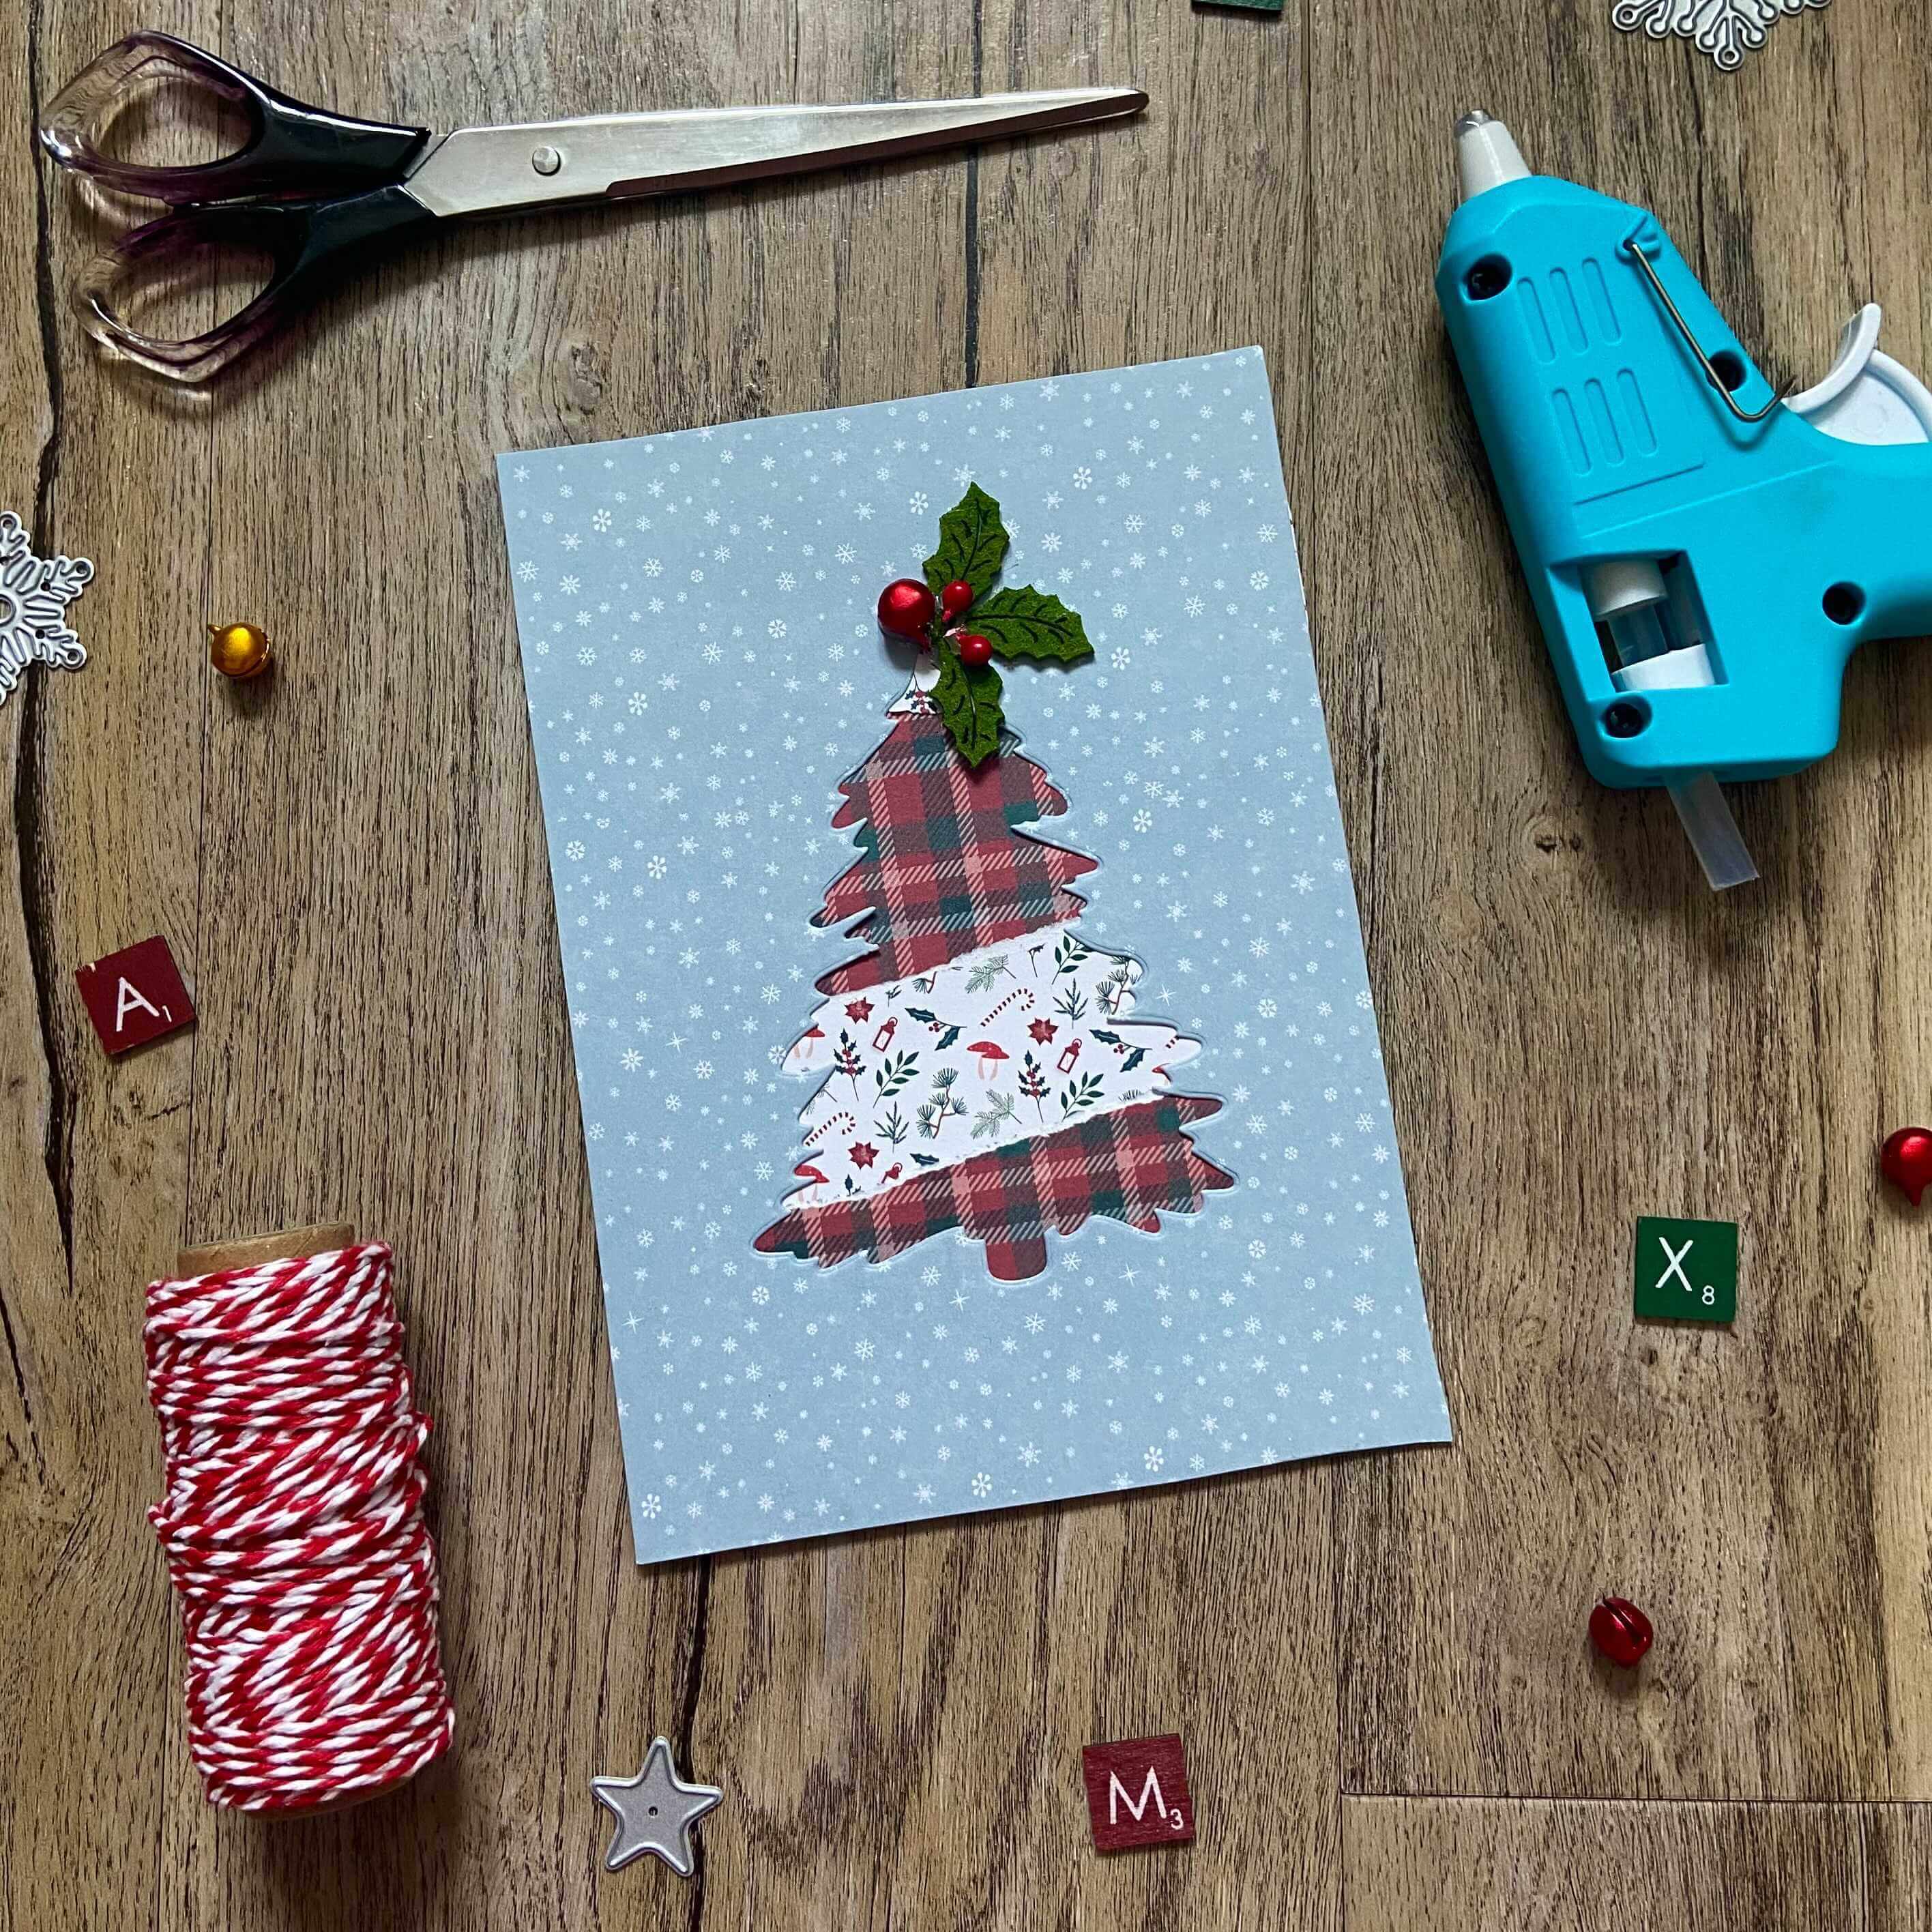
4. Under the tree Christmas card
What you’ll need:
- A paper pad
- Christmas tree die and die cutting machine or scissors
- Glue
- Felt holly embellishments
This homemade Christmas card is a really easy one to do with kids as it only has a few fun steps.
First, start by ripping pieces of your coloured card, the kids will absolutely love this part and you don’t need to be precise!
Next, start gluing your ripped paper onto the front of your plain card, don’t worry about being too neat with this as it will all come together in the end.
Next, cute a piece of coloured card to the size of your plain card and cut out the shape of a tree from the centre.
We used a die cutting machine and a tree die to make your tree shape but you can easily do you own free hand.
Now stick the card with the tree shape cut out over your ripped paper design and there you have it, a super simple, super fun Christmas card!
At this point, you can choose to add extra embellishments like holly or stars.
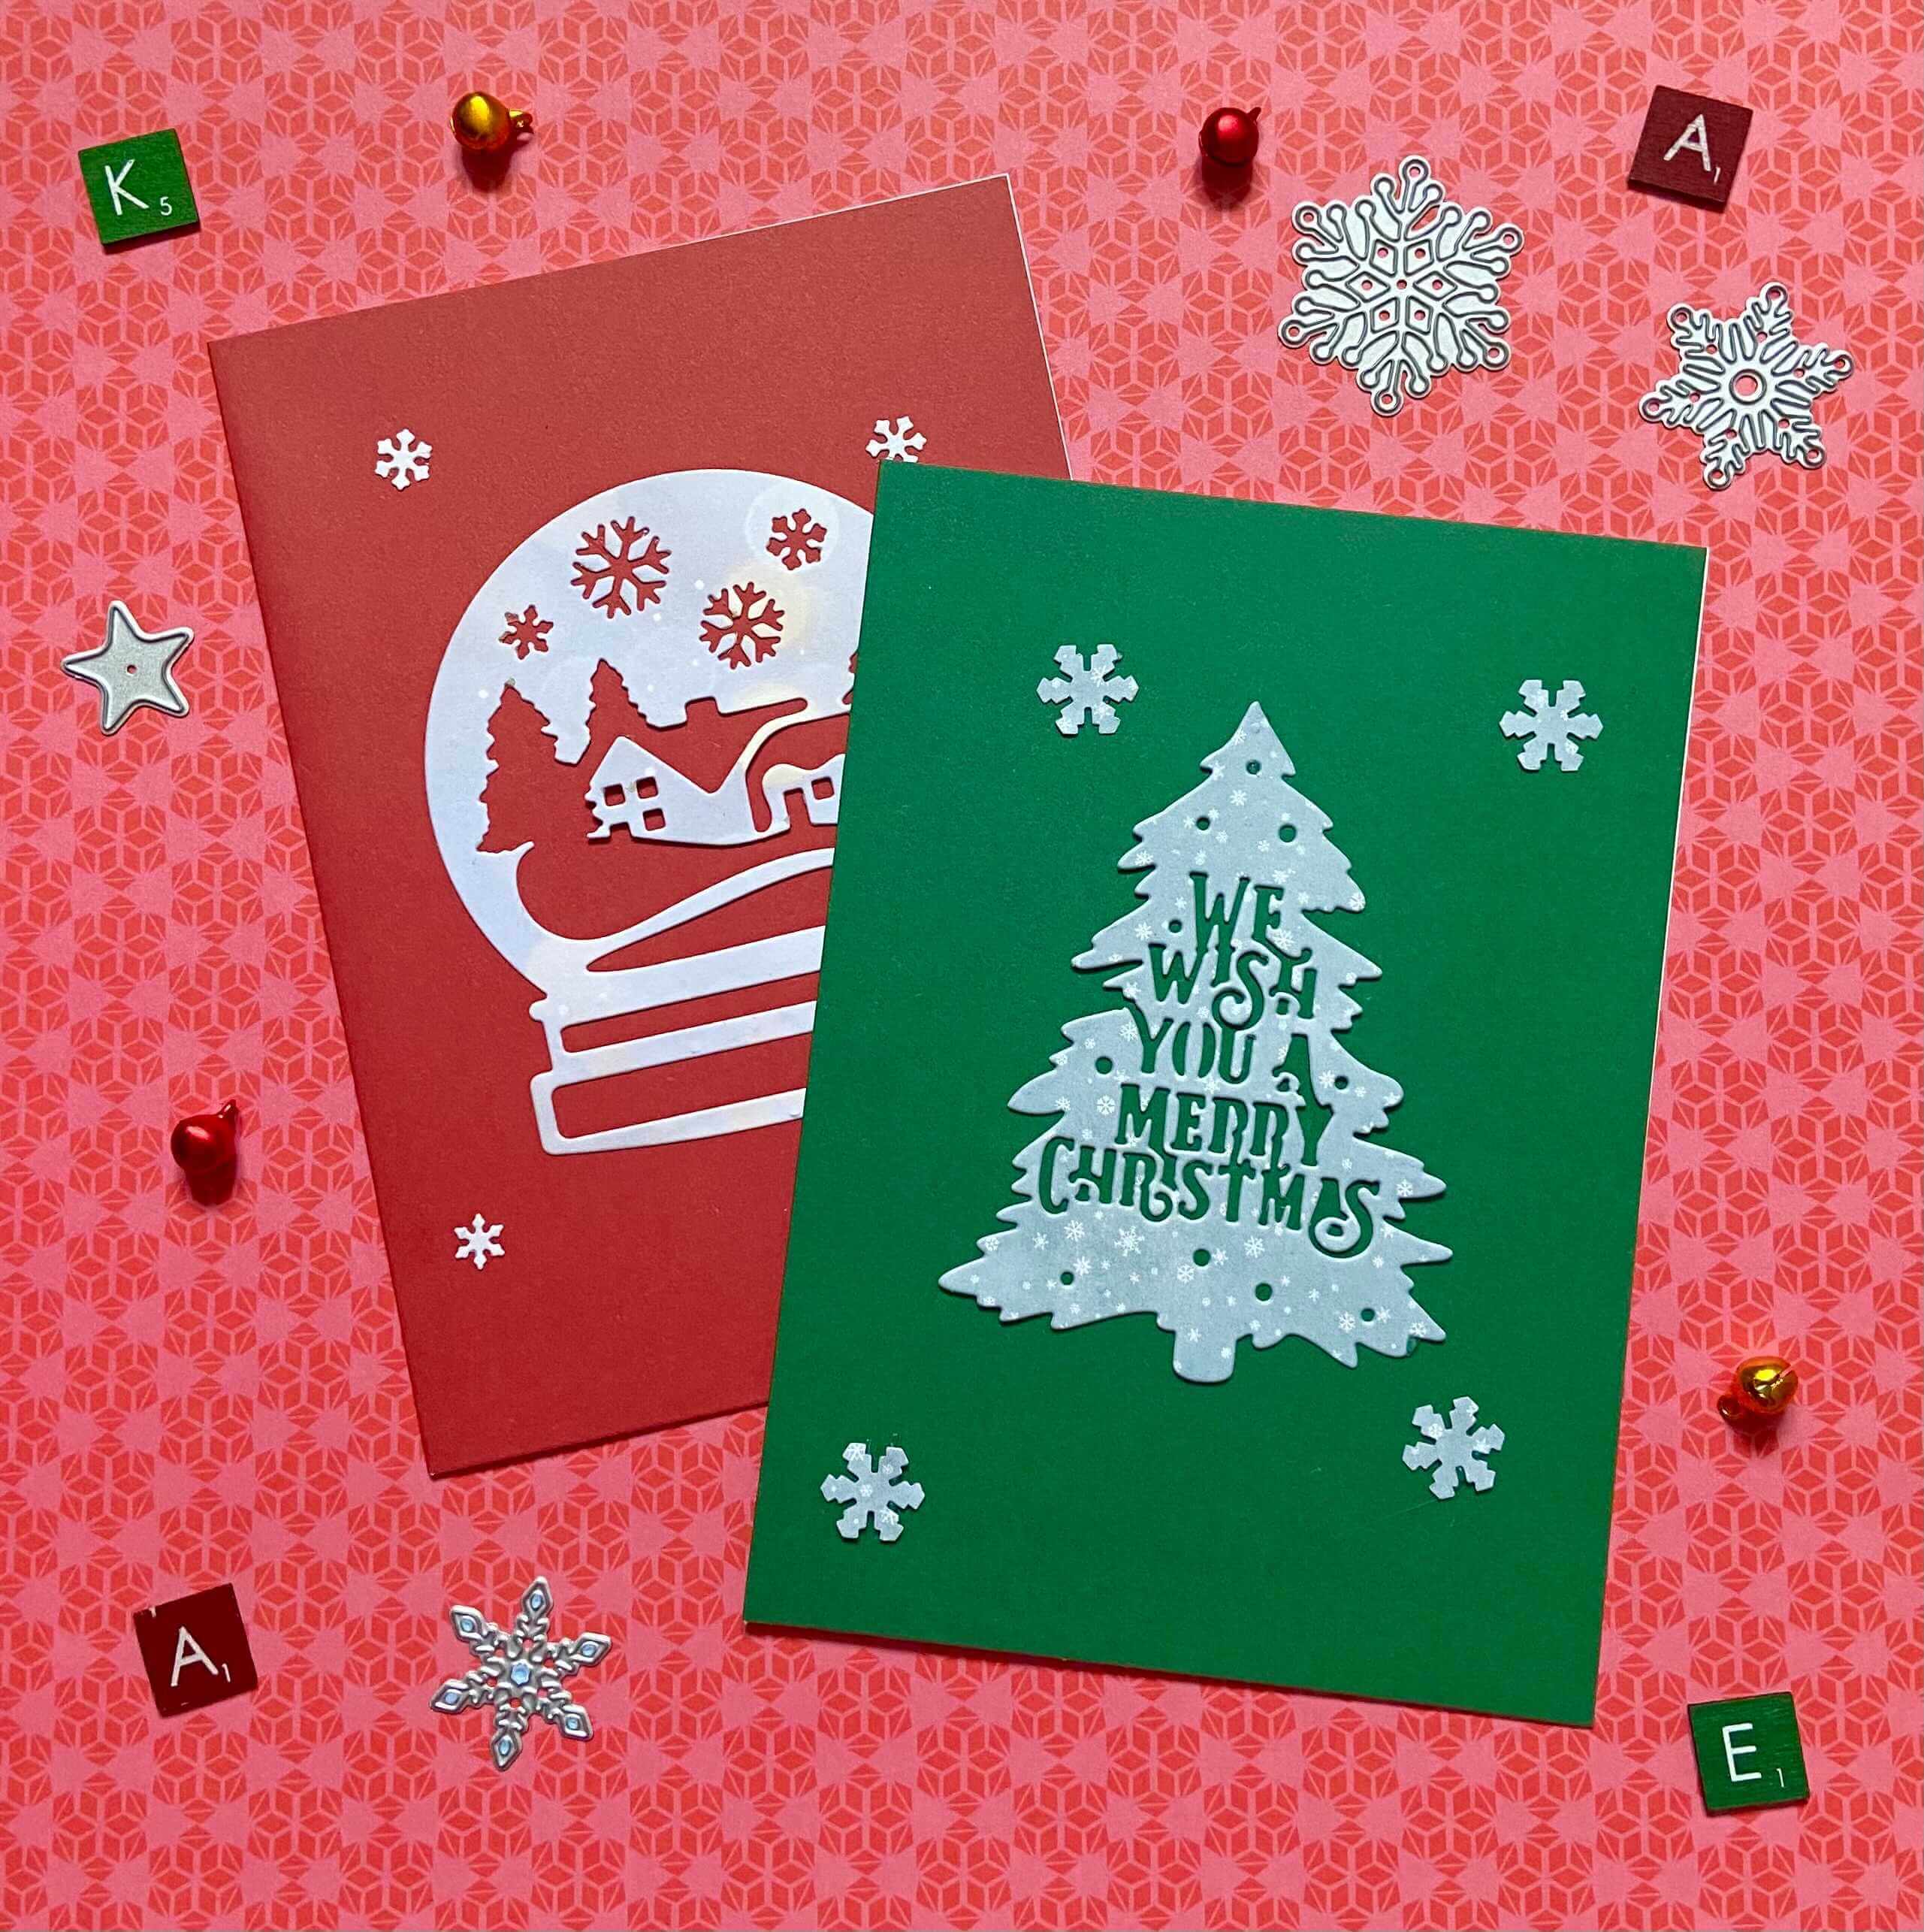
5. Die cut Christmas cards
Supplies you'll need
- Green and red greetings cards
- A paper pad
- Christmassy dies
- A die cutting machine
- Snowflake hole punch or scissors
- Glue
These simple cards also use a die cutting machine to do most of the work for you!
All you need to do is find your favourite Christmas die and paper pad, we chose a wintery snow globe and a Christmas tree with snowy blue paper.
First take your plain Christmas card, we love our plain red and green Christmas greeting cards for these designs.
Then use your die cutting machine to make your Christmassy shape in the paper of your choice.
Next, it’s time to glue the shape onto the centre of your card.
You’re almost done, all you need to do now is add some festive snowflakes around your shape, we used one of our festive hole punches but you can cut out your own snowflakes if you don’t have one.
Once you’ve stuck all your snowflakes down around your card, you’re finished!
Has this given you any new ideas on what Christmas cards you and your kids could be making this year?
We love seeing all the amazing creations our customers are making throughout the year, so make sure you follow us on all your social Media channels and share all your creations with us!
We share lots of our favourite crafts on our social pages so be sure you use the hashtag #theworkscreations or tag us for a chance to be featured on our pages!
Or if you’re looking for something else to keep you occupied this Christmas then why not check out our post on how to solve a jigsaw puzzle like an expert or you could make your own geometric jewellery box.
Happy crafting!
.png)

