Step 1: Find a photograph
Print out a photo that is slightly bigger than the picture opening in the memory box frame.

Step 2: Draw around the wooden back
Use the wooden back to draw the outline with a pencil, rounding off the corners of the photograph.

Step 3: Cut it out
Cut around the edge of the pencil line.

Step 4: Paint your box
Pick a paint colour you'd like the box to be and paintthe wooden box using acrylic paint. Repeat with another layer if necessary.

Step 5: Arrange you letters and glue
Arrange how you’d like your chosen letters to look on the memory box and then apply hot glue to the back of each one.

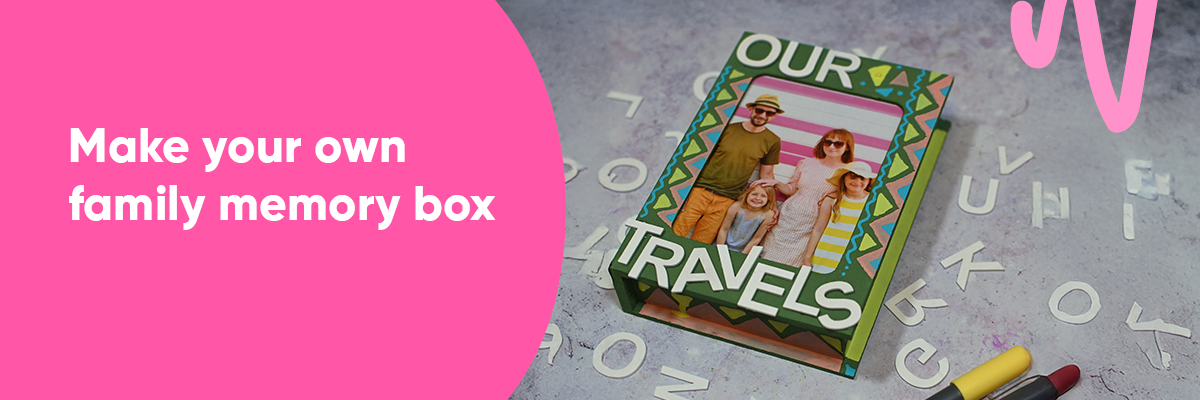
Step 6: Stick the letters on
Stick the letters on the memory box to form your chosen words or phrase; we went with 'Our Travels'.

Step 7: Pop in the photograph
Place the photo in the window and fasten shut.

Step 8: Add decoration
Use paint pens to doodle directly onto the memory box, extend your doodles to the sides, spine and edges of the box to finish. Let your creativity shine here and add any final touches you wish.

Enjoy!
Creating a family memory box is a simple yet meaningful way to capture life’s special moments and keep them safe for generations. Whether it’s a collection of vacation souvenirs, heartfelt letters, or little trinkets that bring back precious memories, this DIY project helps you celebrate your family’s unique journey. So gather your keepsakes, get creative with decorations, and start preserving the stories that matter most. Your future self—and your loved ones—will thank you for it!
And if you're itching for more craft projects, check out our beginner's guide to scrapbooking to document more memories.