Glossary (UK crochet terms)
- DC: double crochet
- MR: magic ring
- INC: two DC into the same stitch
- DEC: crochet two stitches together (insert hook into first stitch, yarn over, pull up loop, insert hook into second stitch, yarn over, pull up loop, yarn over, pull yarn through all three loops on hook)
- st: stitch
- sts: stitches
How to make your own crochet pocket hug!
Stitch count is shown in brackets at the end of each round.
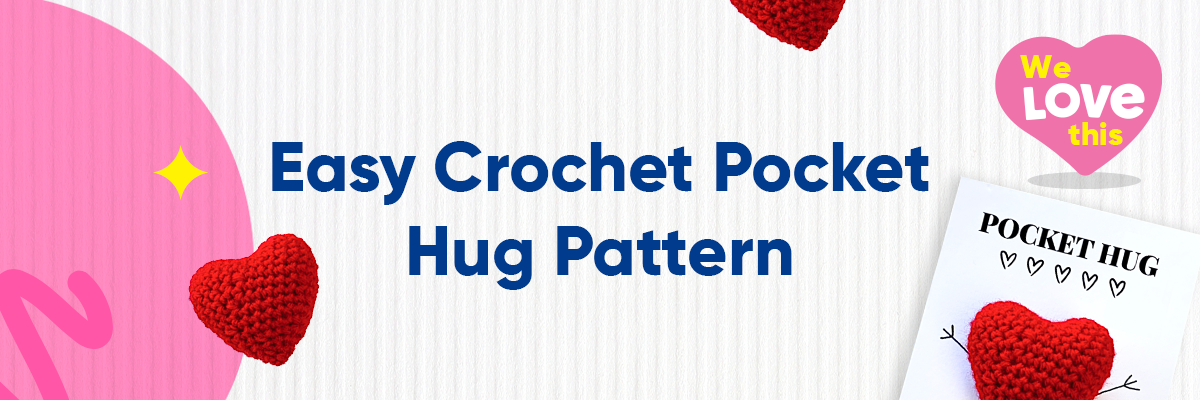
Step 1
Making the Two Top Curves
Round 1 6DC into MR (6)
Round 2 6INC (12)
Round 3 (3DC, INC) x 3 (15)
Round 4 15DC (15)
Cut the yarn with a long tail, pull yarn through the last st.
Repeat Rounds 1-4 as above, but do not fasten off.
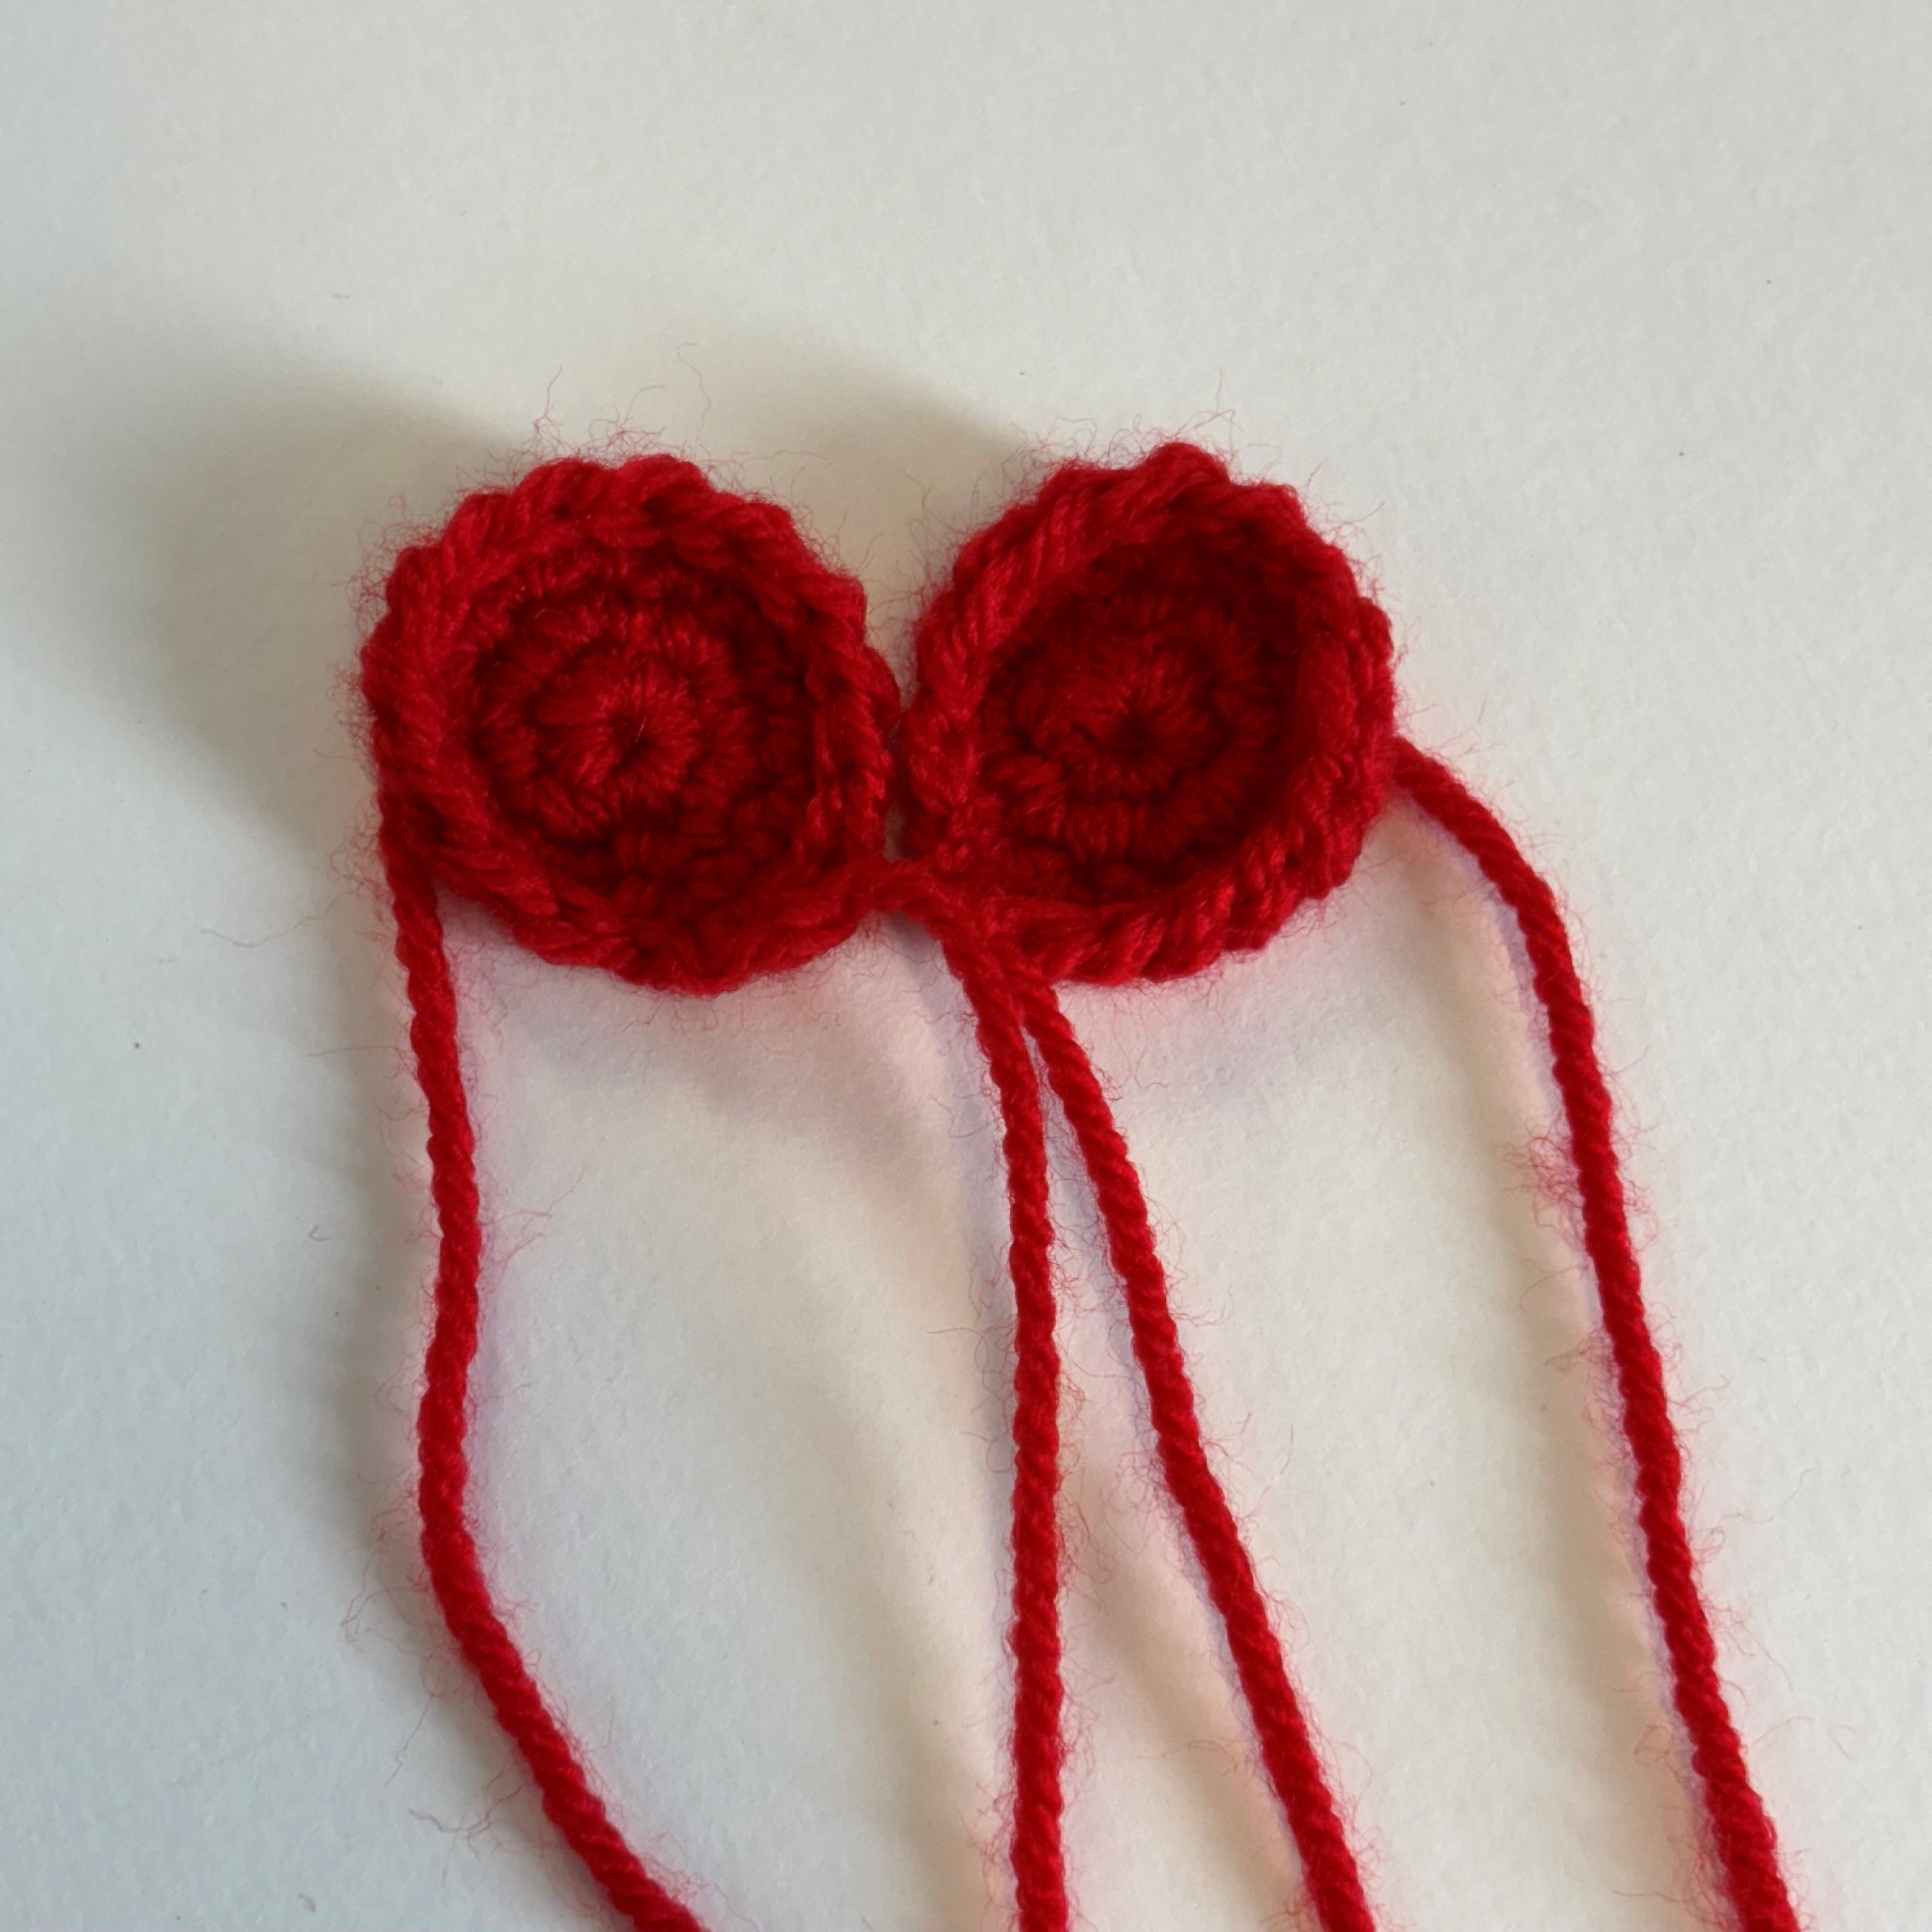
Step 2
Join the Two Curves
Holding the two circles together, DC into any st of the circle that was fastened off. Mark this st with a st marker or a small piece of different colour yarn to show the start of the round. 14DC around this circle. Continue with 15DC around the second circle, making 30 sts in total. If there is a hold in the middle of the circles, this can be sewn closed with the yarn tail from the first circle.
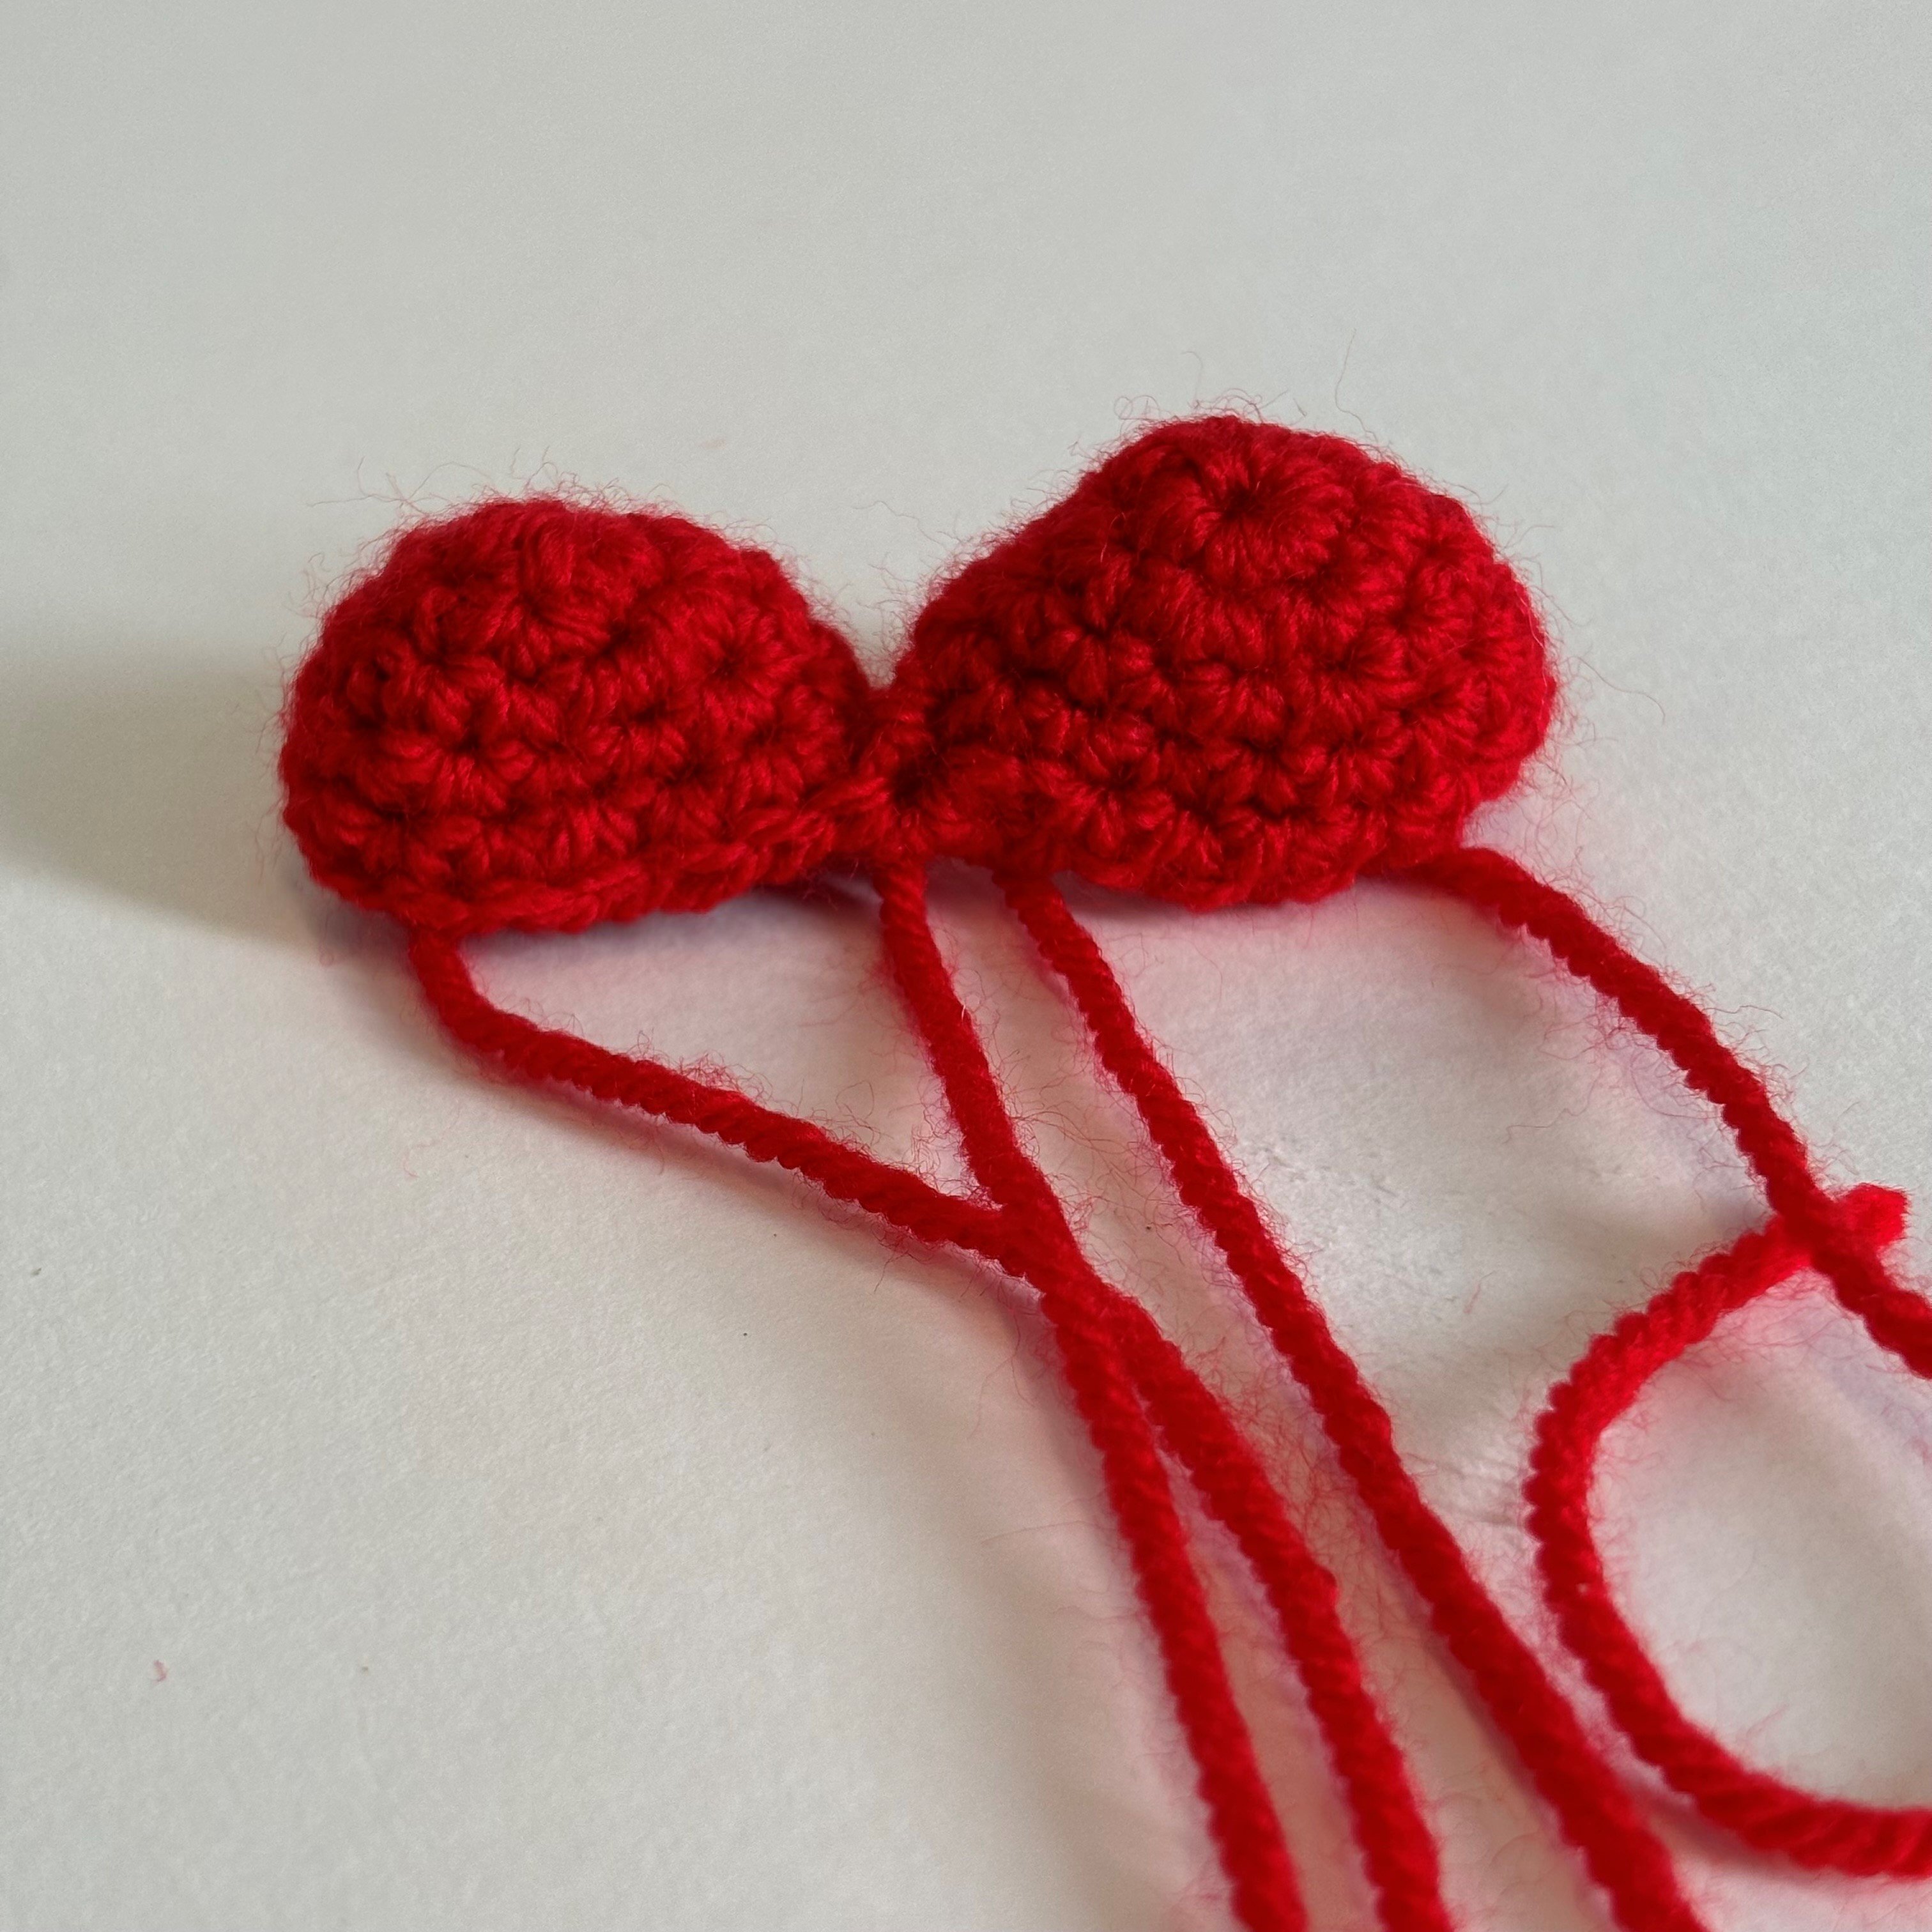
Step 3
Make the Bottom of the Heart
Round 1 (13DC, DEC) x 2 (28)
Round 2 28DC (28)
Round 3 (5DC, DEC) x 4 (24)
Round 4 24DC (24)
Round 5 (6DC, DEC) x 3 (21)
Round 6 21DC (21)
Start adding some stuffing.
Round 7 (5DC, DEC) x 3 (18)
Round 8 (DC, DEC) x 6 (12)
Finish adding stuffing.
Round 9 (2DC, DEC) x 3 (9)
Round 10 (DC, DEC) x 3 (6)
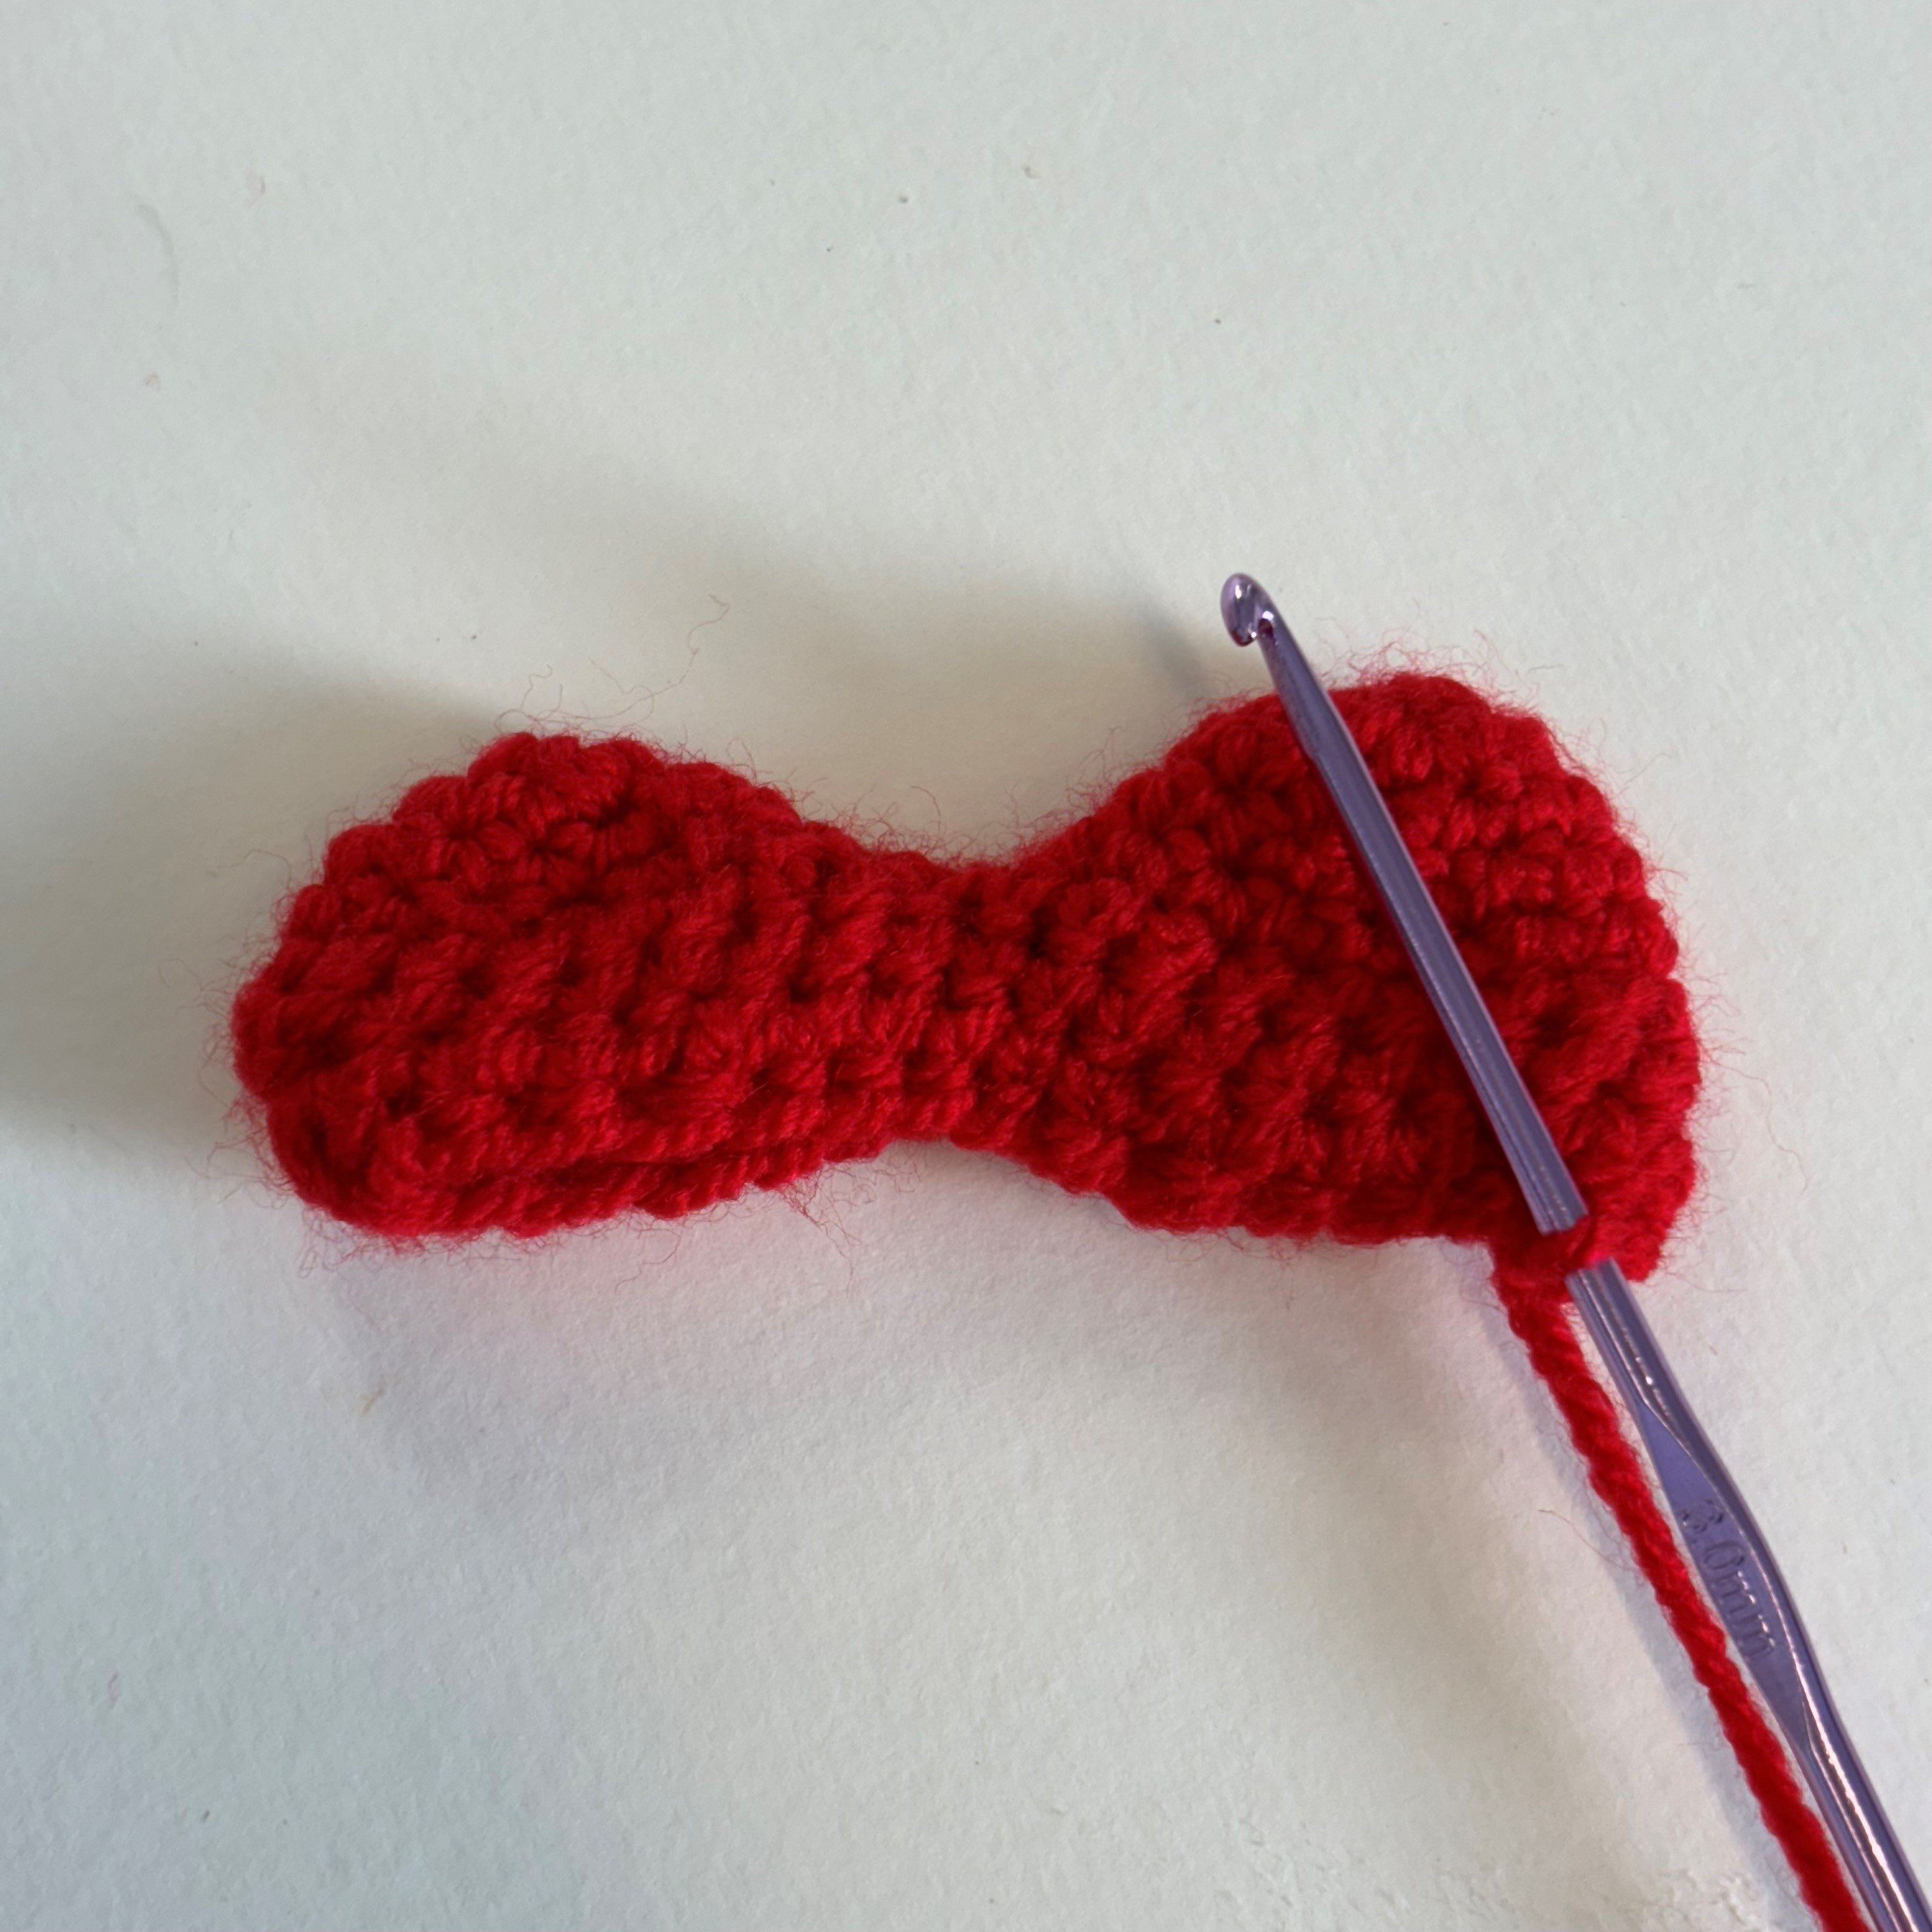
Step 4
Finishing the Heart
Cut yarn with a long tail, pull yarn through last loop. Add a little more stuffing if necessary, and sew hole closed using darning needle. Pull the yarn tail through the heart to hide the tail and finish off.
Step 5
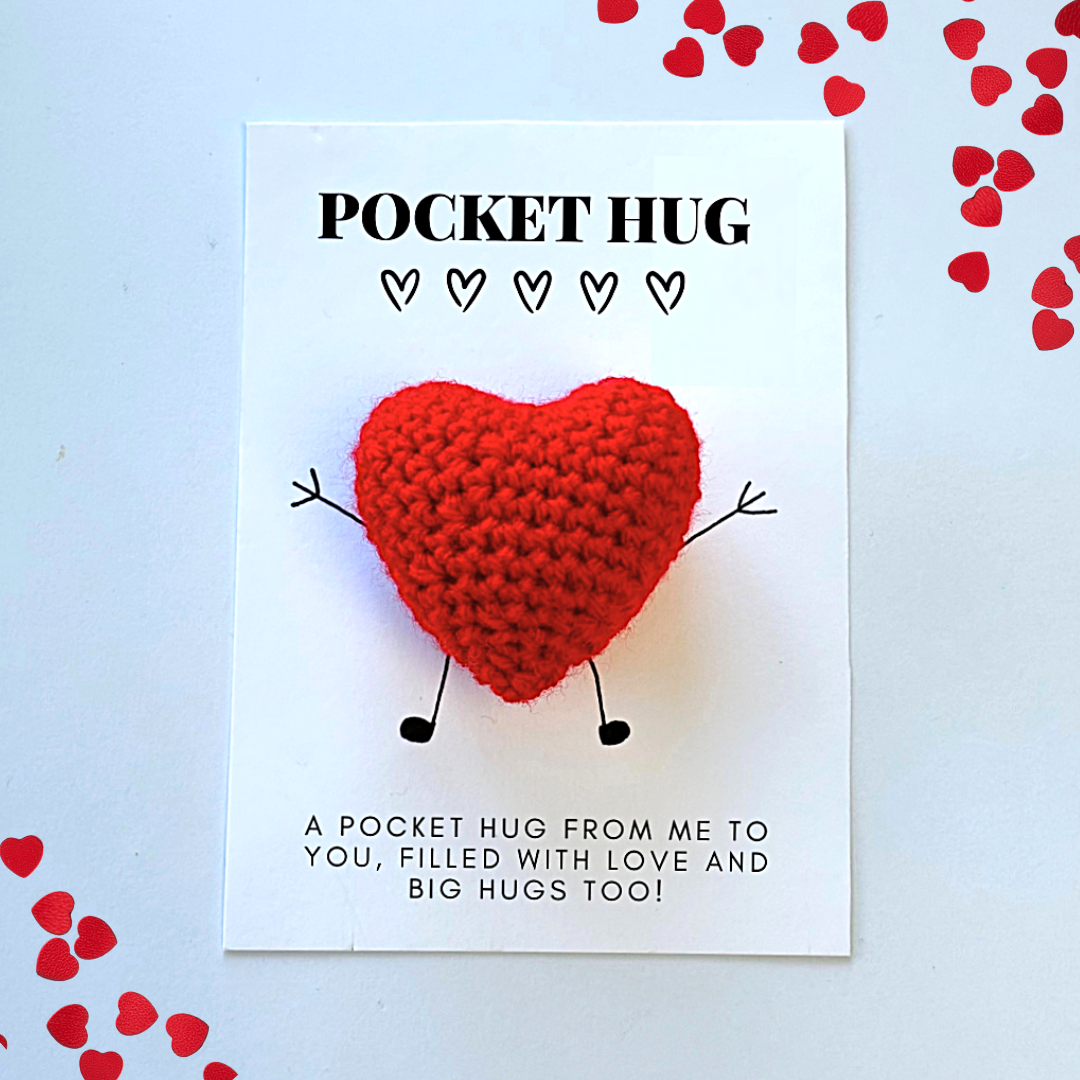
Place the heart on the card to check the space that you have above and below. Once you know where your heart is going to be placed, you can write your own pocket hug message above and below the heart. We also suggest printing the message if you would prefer, which we have done in the example.
Step 6
Attach the heart to the card by making two small holes in the card where you are going to place the heart. Using your yarn needle, thread a piece of yarn through the back of the heart and into the holes, tying the ends of the yarn at the back of the card into a bow or secure knot. Cut any tails.
Your pocket hug is now complete! Why not gift to a loved one or keep for yourself to show some self-love!
Enjoy!
With this simple pocket heart crochet pattern, a little yarn and some love, you'll be stitching pocket hugs for all your friends and family in no time!
If you're feeling the love and want another simple stitching craft, why not give knitting a go with our free heart coaster knitting pattern? Or make your own paper hug as a fun Valentine's craft.