How to Boil Eggs For Decorating
Before you unleash the paint and glitter, you’ll need some eggs that won’t crack under pressure. Literally. You’ll need a couple of hours to prepare these before you start so that the eggs have a chance to cool down.
And this part is for the grown-ups because small children + boiling water = a terrible Easter story.
Here’s how to boil eggs for Easter decorating:
1. Gently lower your eggs into a saucepan and cover them with water (about an inch above the top).
2. Bring it to a boil, then lower the temperature to a simmer.
3. Pop the lid on and let them cook until hard. For large eggs, this will take around 15 mins, and for medium 10–12 minutes.
4. Once time’s up, take the pan off the hob and top it up with cold water to cool the eggs slowly.
5. Finally, refrigerate them for an hour or two until they are cold. The aim is to get the eggs to cool down slowly. The slower the cool-down, the fewer cracks later when the kids start crafting chaos.
How to Blow Eggs For Decorating
Boiling’s great, but if you want your eggs hollow (and hangable!), it’s time to try the classic, slightly weird, but very satisfying art of egg blowing. Plus, you can have the leftover egg guts for lunch.
Here’s how to blow eggs for Easter decorating:
1. Grab a needle, toothpick, or similar small poking instrument and make a small hole at each end of the egg. Stir it around to help break up the yolk and make it easier to remove the insides, but be careful not to break the shell. This isn’t a toddler task - adults only, please.
2. Gently blow through one end like you’re inflating a balloon. The insides of the egg should come out the other side.
3. If nothing’s happening, don’t panic. It can take a minute to get going, so don’t lose faith if nothing happens right away. You can carefully make the holes a bit bigger and blow again (gently but firmly). Eventually, the egg will start to empty.
4. You’ll know you’ve hit the finish line when the egg feels lighter and you’re just puffing out a few sad little bubbles of egg white and air.
5. Once your egg is empty, give the shell a gentle rinse under hot running water. Carefully wipe it with kitchen paper and leave it to dry completely. Then bring on the crafty chaos!
Egg Decorating Ideas
1. Classic Dyed Eggs
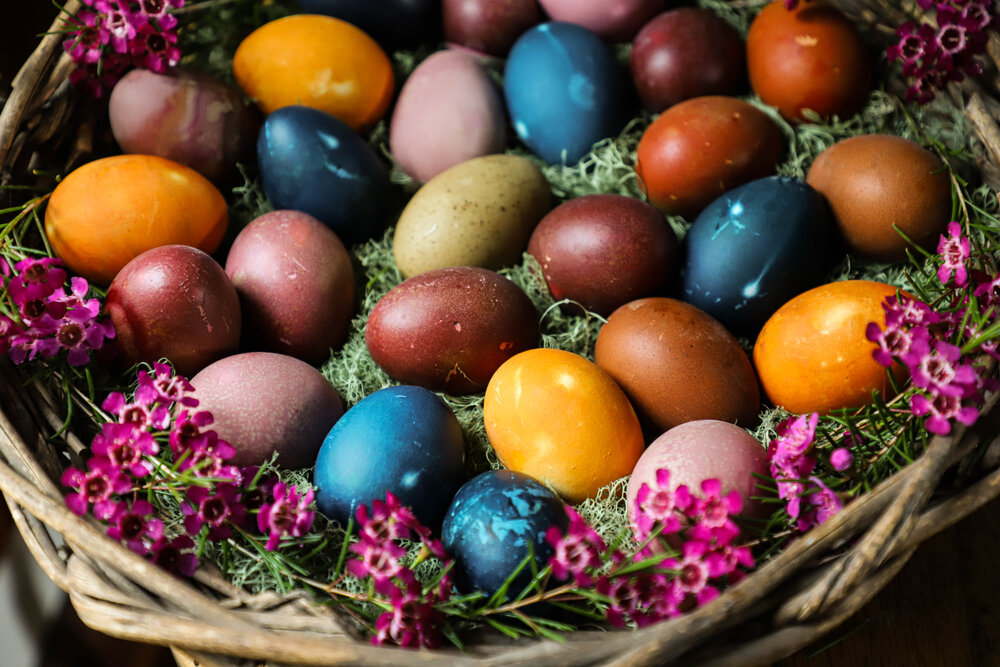
Dyed eggs are the OGs of the Easter decorating world. They’re easy to do, relatively mess-free, and look gorgeous as Easter decorations.
All you need is food colouring, water, a splash of vinegar, and a vague willingness to let your kitchen look like a rainbow sneezed. You can also make natural dyes from food that you probably already have lying around the house. Use paprika for a reddish orange, turmeric for yellow, beetroot for pink, and cabbage for green. Just boil each food with water and vinegar for 30 mins to 2 hours, dunk your eggs, and ta-da! Nature’s paintbox.
Find the full tutorial here.
Try these egg decorating ideas:
- Ombre effects: Dip slowly, pause halfway, and dip again for egg gradient magic.
- Rubber bands. Wrap them around the egg before dyeing, and when you peel them off you’ll get cool stripy patterns
- White crayons to draw secret messages before dying, like “You found me!” “Don’t eat me!” “I’m a dragon egg!”
2. Painted Eggs
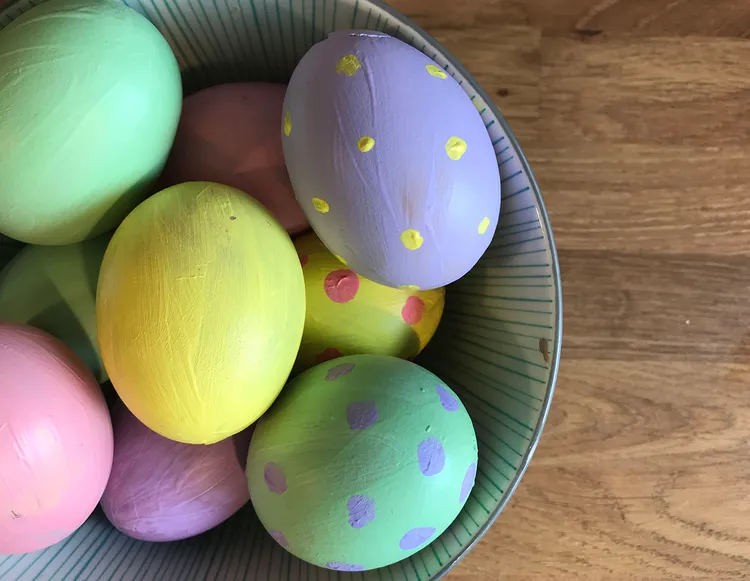
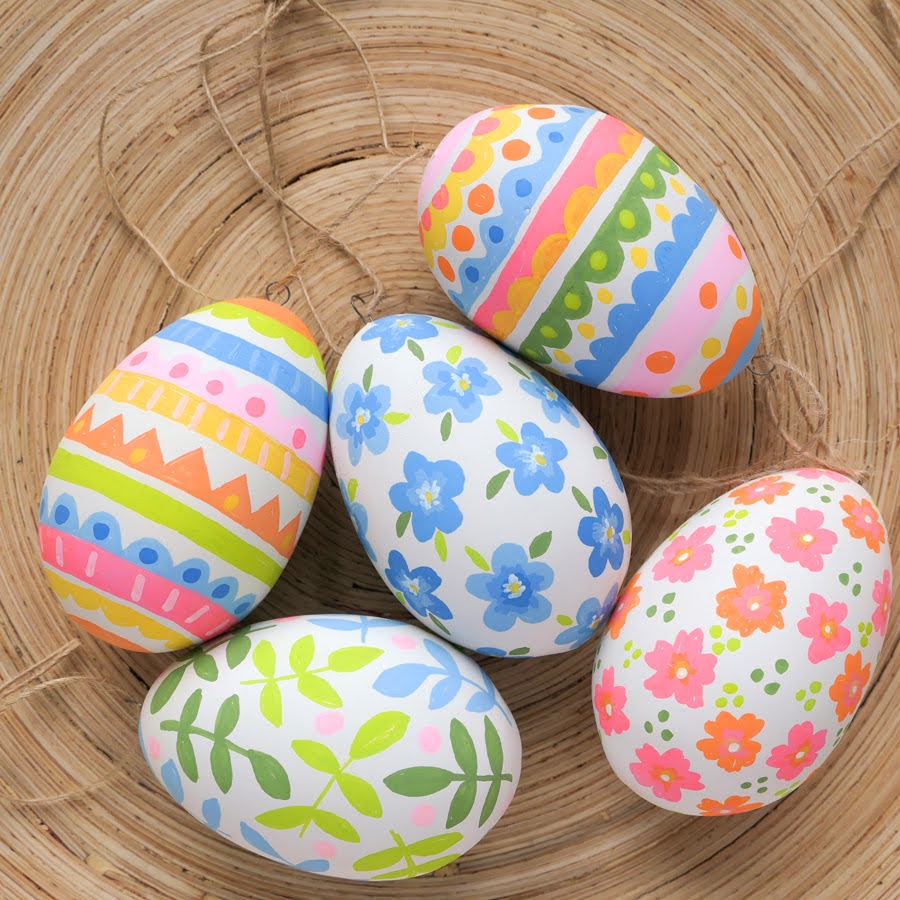
Grab some acrylic paints and let your inner egg-van Gogh run wild! Stick a cocktail stick or skewer into the egg’s base to hold it steady while you paint. Use a brush or sponge and add a second coat if you want really bright colours. Poster or acrylic paints work best, but you can try watercolours for a nice whimsical look. Pop your eggs in an empty carton while they dry (it shouldn’t take too long) and enjoy your beautiful hand-painted Easter eggs!
Find the full tutorial here.
Try these egg decorating ideas:
- Paint on animal faces. Bunnies, chicks, lambs... anything cute and cuddly!
- Get abstract! Think swirls, zig-zags, polka dots, and patterns that inspire you.
- Add teeny-tiny flowers or leaves for those cottagecore vibes or when you want your eggs to look like they read poetry in their spare time.
3. Marker Doodles
No mess? No problem. Use chalk markers to draw on springtime patterns and doodles onto your eggs. They’re perfect for kids because they’re odourless, water-based, and washable from anywhere the kids might get them! It’s a fun and mess-free way to get creative at Easter.
Find the full tutorial here.
Try these egg decorating ideas:
- Draw faces, mustaches, or silly expressions
- Create mandala or zentangle patterns
- Write Easter-themed jokes or riddles on the shells
4. Stickers & Washi Tape
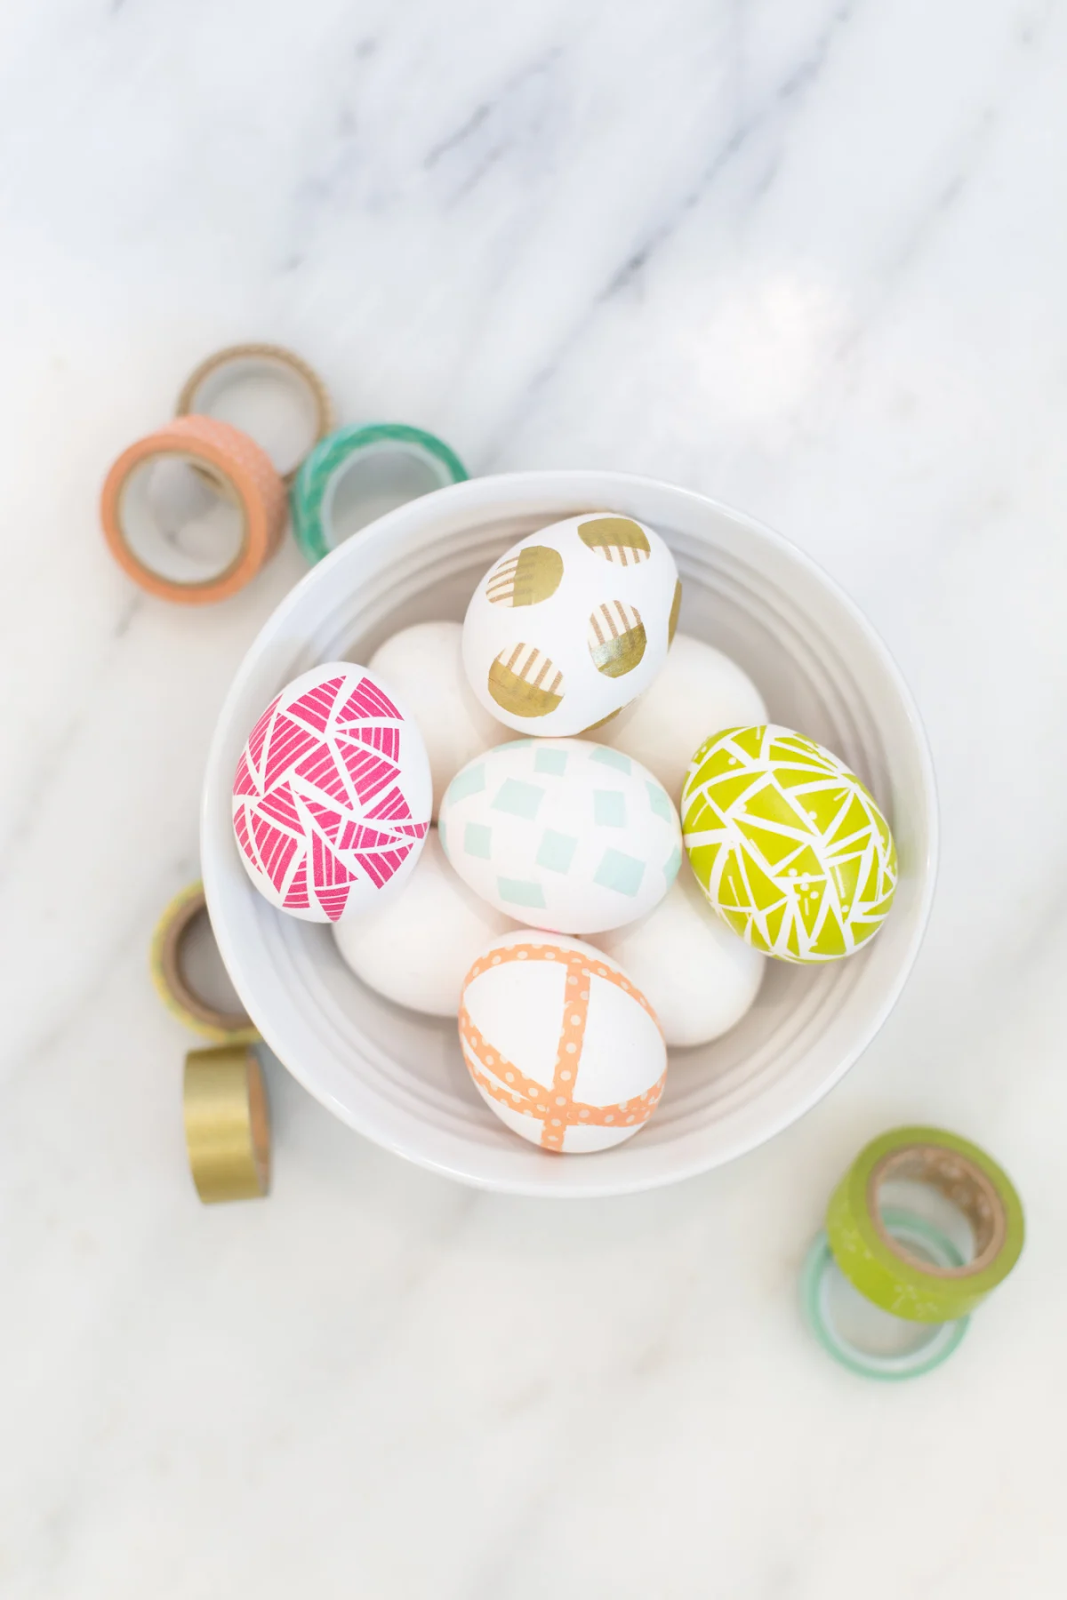
Create gorgeous DIY Easter eggs using washi tape. This craft is perfect for little ones as there is no messy dye or paint required! It will need some adult supervision if using anything sharp to cut the tape, but you can also just wrap strips of tape around hard-boiled or faux eggs for instant pretty patterns with zero cleanup.
Find the full tutorial here.
Try these egg decorating ideas:
- Wrap washi tape around the middle like a belt and add googly eyes for instant character!
- Use tiny stickers (stars, dots, hearts) for decoration
- Cut the washi tape into thin strips for a stripe effect
5. Glitter Eggs
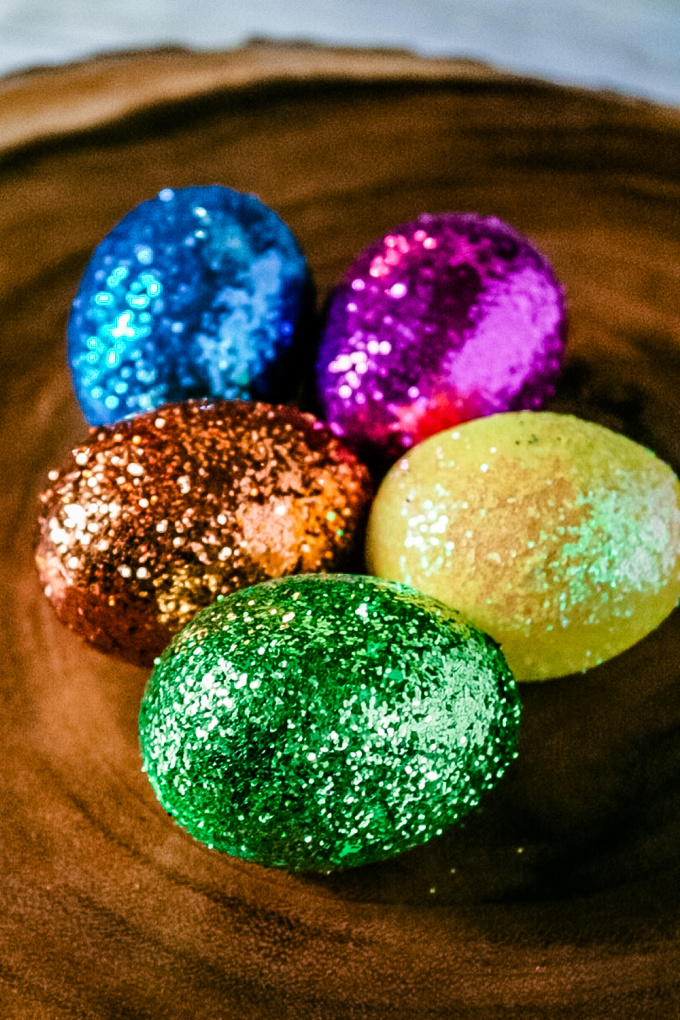
Dress your eggs to impress with glitter!
Make sure to start with cool, dry, hard-boiled eggs (no one likes a sweaty egg). Paint them for a solid colour base and let dry, then coat them in ModPodge. Fill a plastic cup with glitter and drop each egg in, shake it like a gentle maraca, and suddenly you’ve got sparkle eggs worthy of a Pinterest trophy.
Find the full tutorial here.
Try these egg decorating ideas:
- Paint your egg with swirls of blue, purple, and white and use silver glitter to get a sparling starry-night.
- Use a cotton bud (or the end of a pencil) to dab glue in little dots all over your egg, then dust on glitter for a fun polka dot effect.
- Apply glue in a swirling motion around the egg, then roll in glitter for a magical, galaxy-style effect.
6. Nature-Inspired Eggs
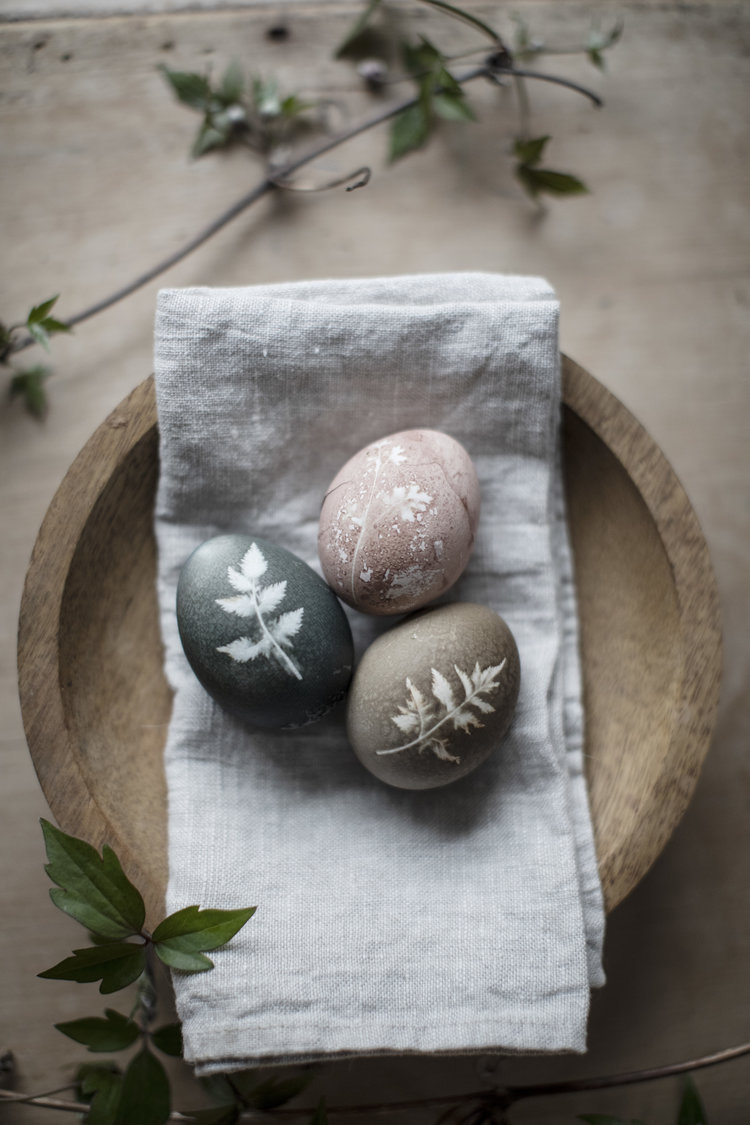
For leaf print eggs, choose a leaf or a fern with a clear shape and place it on a white egg. Stretch a piece of mesh (or some old tights!) over the egg to hold the leaf in place, then secure it with string or an elastic band. Pop the egg into your dye and leave it overnight. The next day, remove the tights and leaf to reveal a beautiful natural print.
Find the full tutorial here.
Try these egg decorating ideas:
- Go rustic with pressed leaves or flowers glued to the shell.
- Tie herbs like rosemary or dill around them for texture.
- Use natural dyes to stay true to the nature-inspired theme.
7. Découpage Eggs
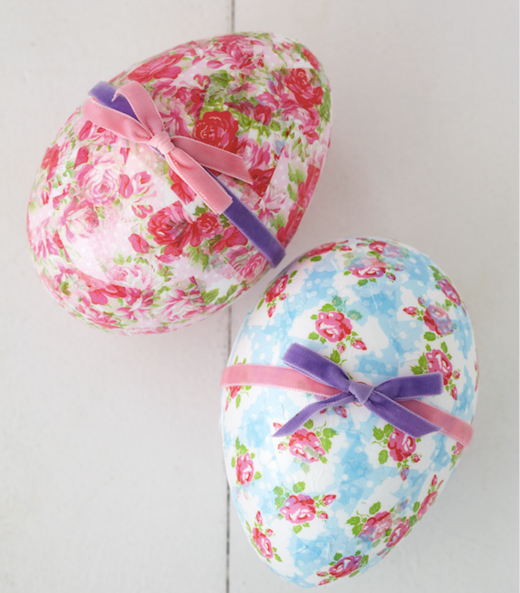
Découpage eggs are as beautiful as they are versatile, and the perfect craft for adding to your Easter decorations. First, coat your egg with glue and let it dry until it is tacky to help the paper stick. Cut découpage paper into small rectangles, then glue and layer them onto the egg, overlapping the pieces slightly. Once covered, brush on a final layer of glue or varnish and leave to dry. Tie it with ribbon, and you’ve got a beautifully handmade Easter egg!
Find the full tutorial here.
Try these egg decorating ideas:
- Use floral napkins or doilies to create vintage effects.
- Cut out comic book characters or illustrated pages for a storybook style.
- Use pages from old maps or atlases and découpage them onto the eggs for a wanderlust-inspired finish.
Happy Decorating!
Now you’ve got enough cracking ideas to keep you and your little ones entertained, covered in glue, and wondering how glitter ended up everywhere for weeks. Whether your eggs turn out Pinterest-worthy or Picasso, these decorated eggs ideas will give you some cute handmade Easter decorations and some wonderful memories.
If you’re looking for more Easter-themed fun, we’ve written a post with 5 simple and fun Easter craft ideas and have free printable Easter activity sheets! Check out our Easter collections for all things arts, crafts, and egg-cellent!
Happy Easter, and happy decorating!

